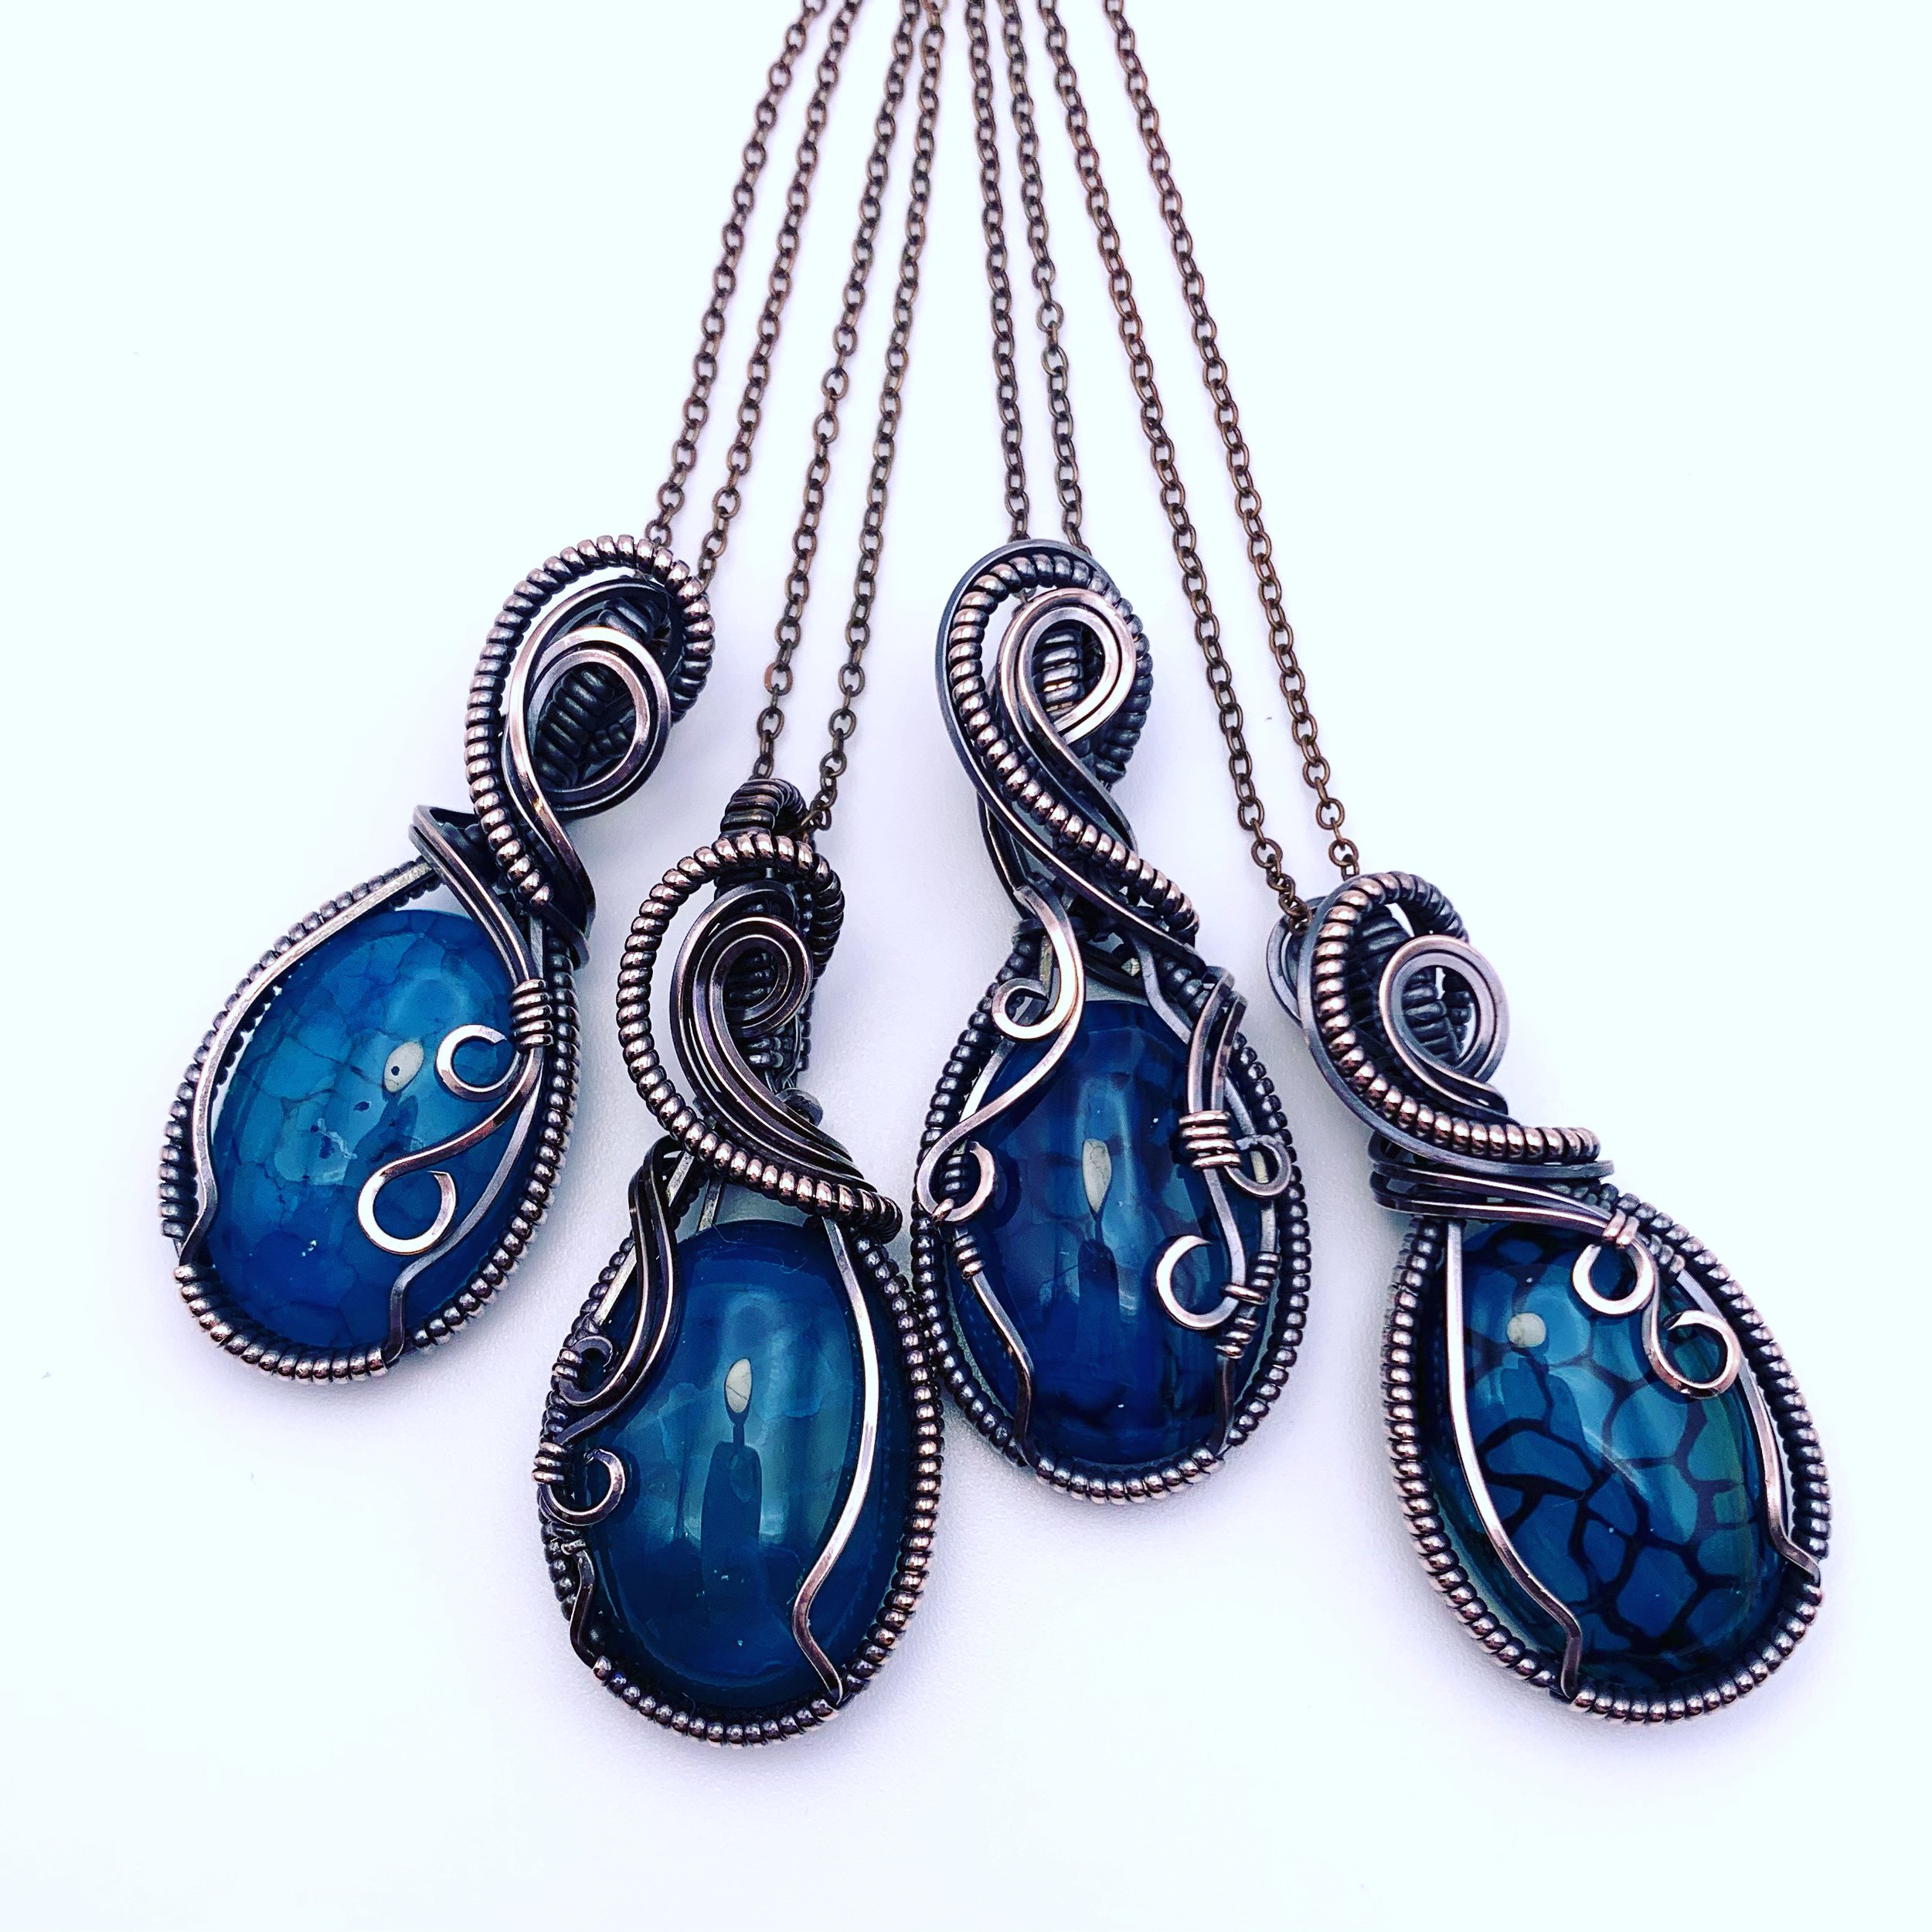
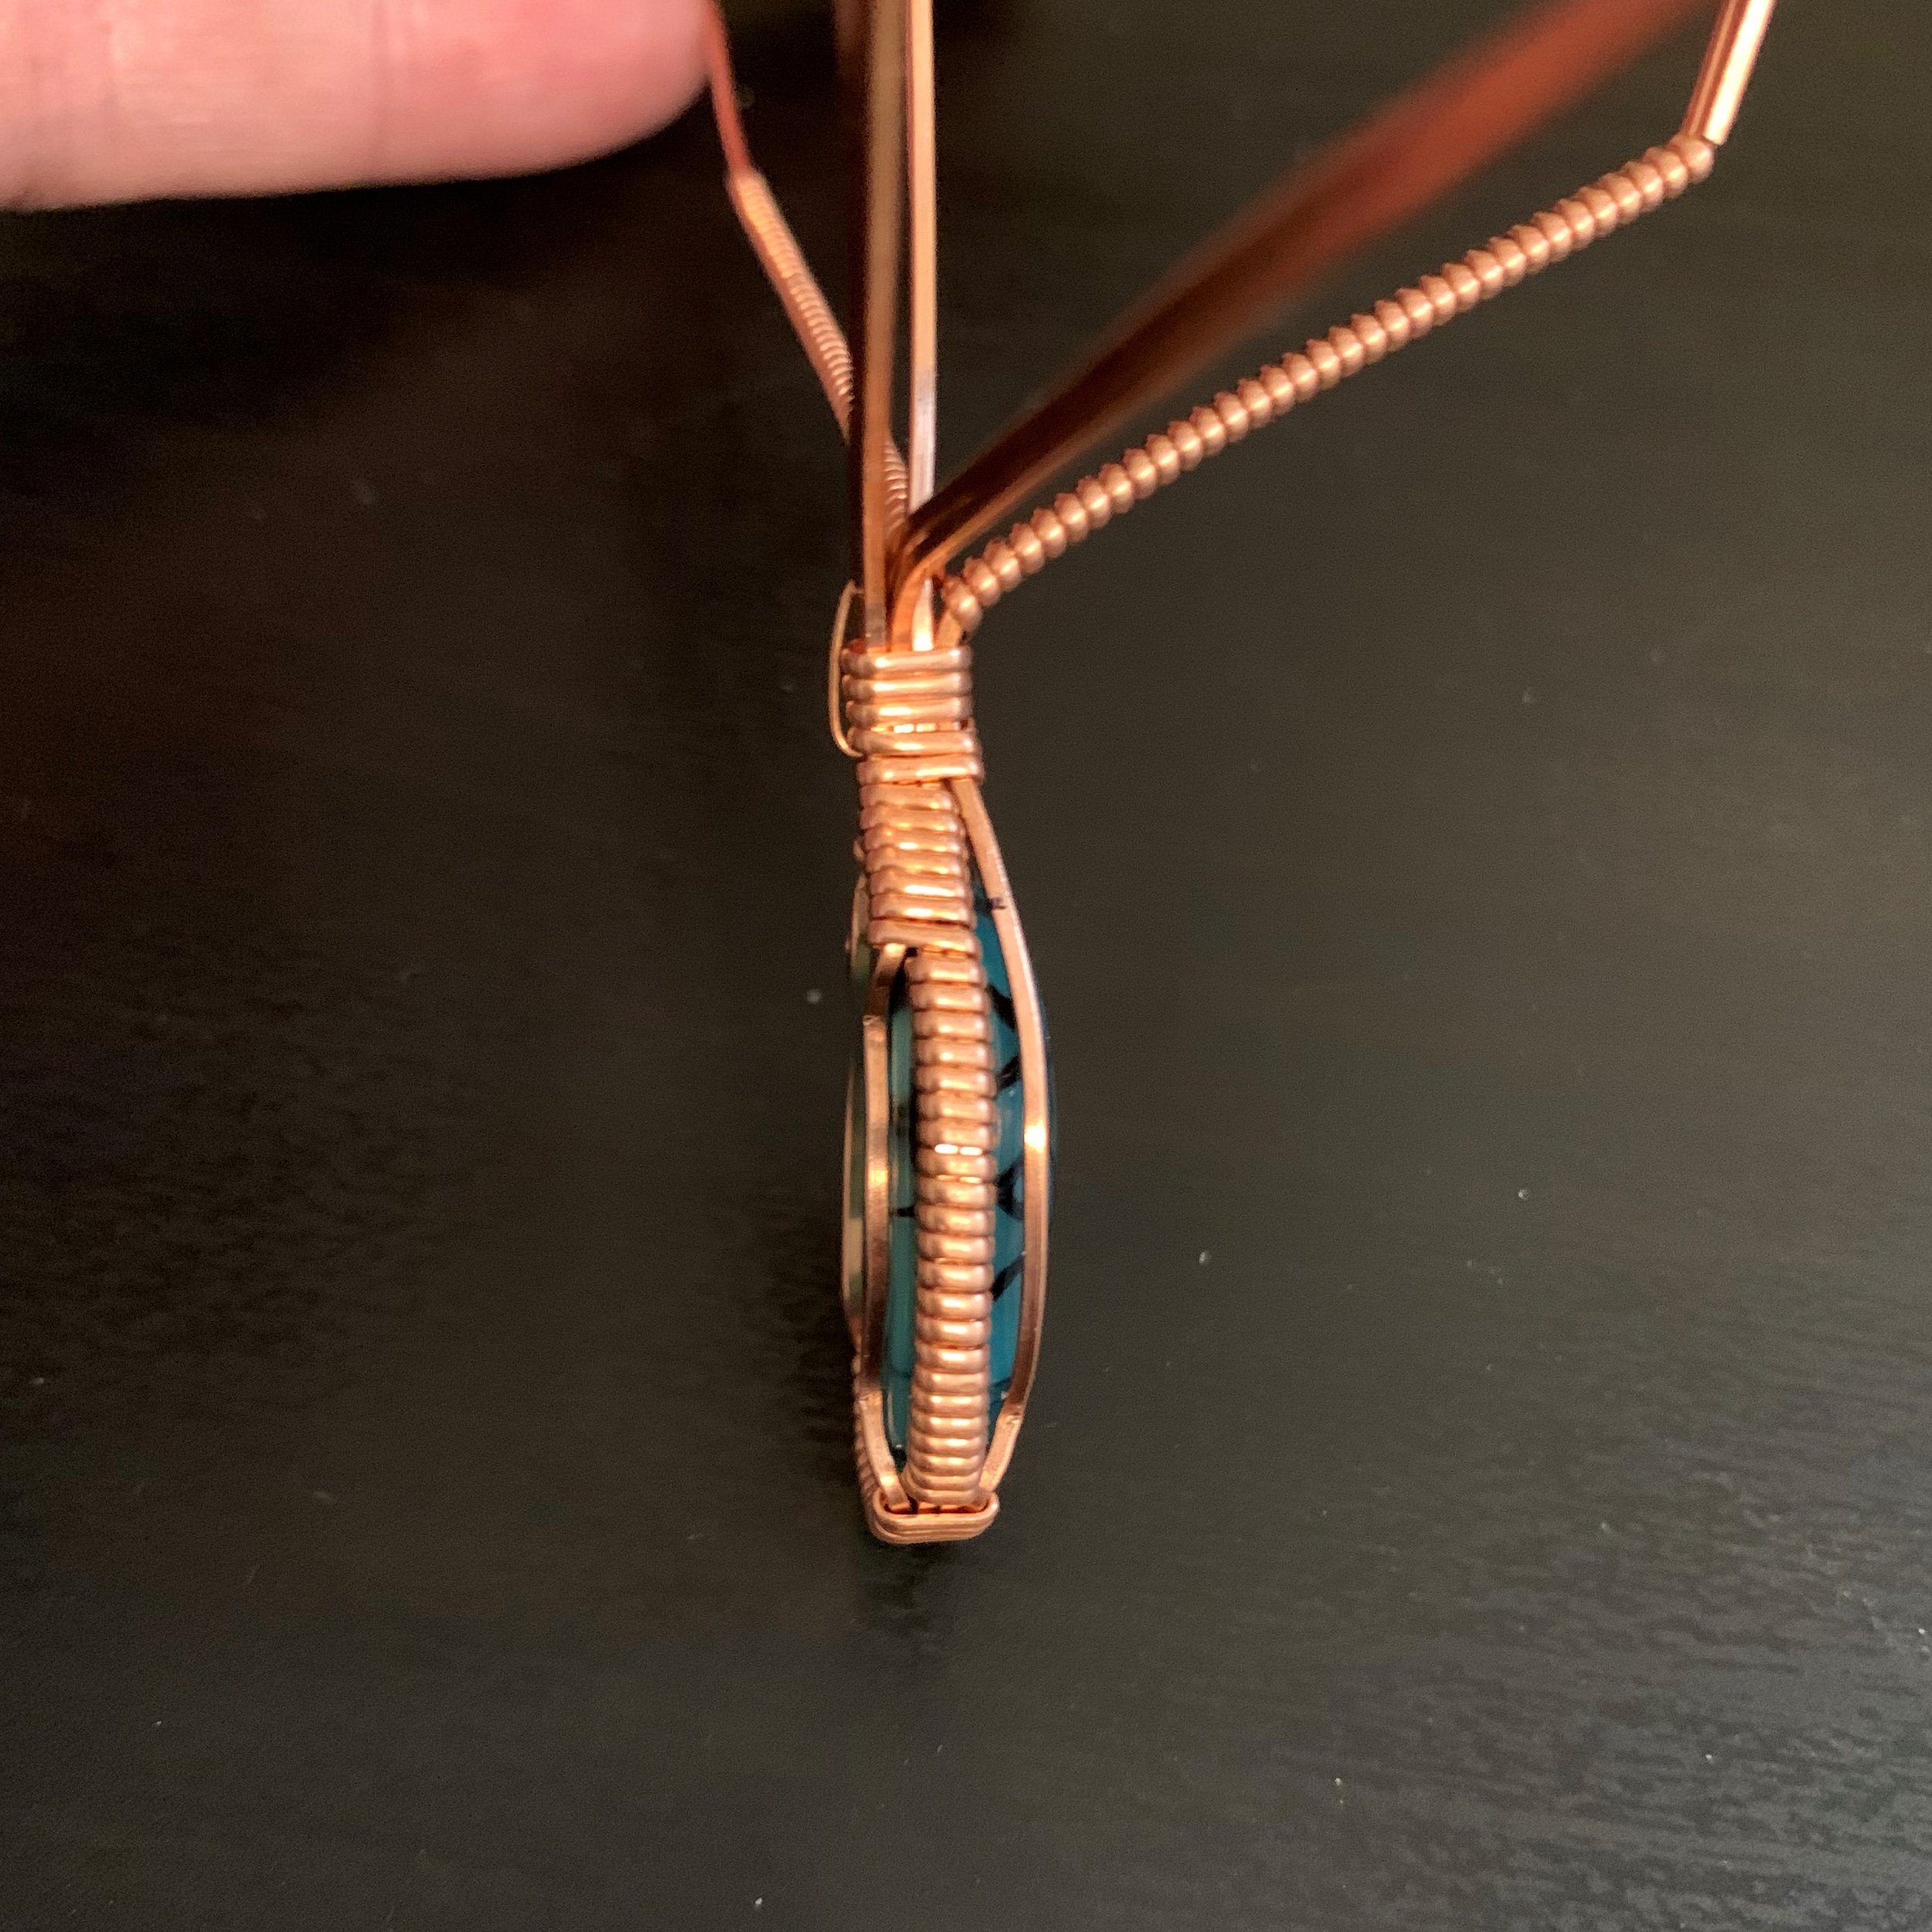
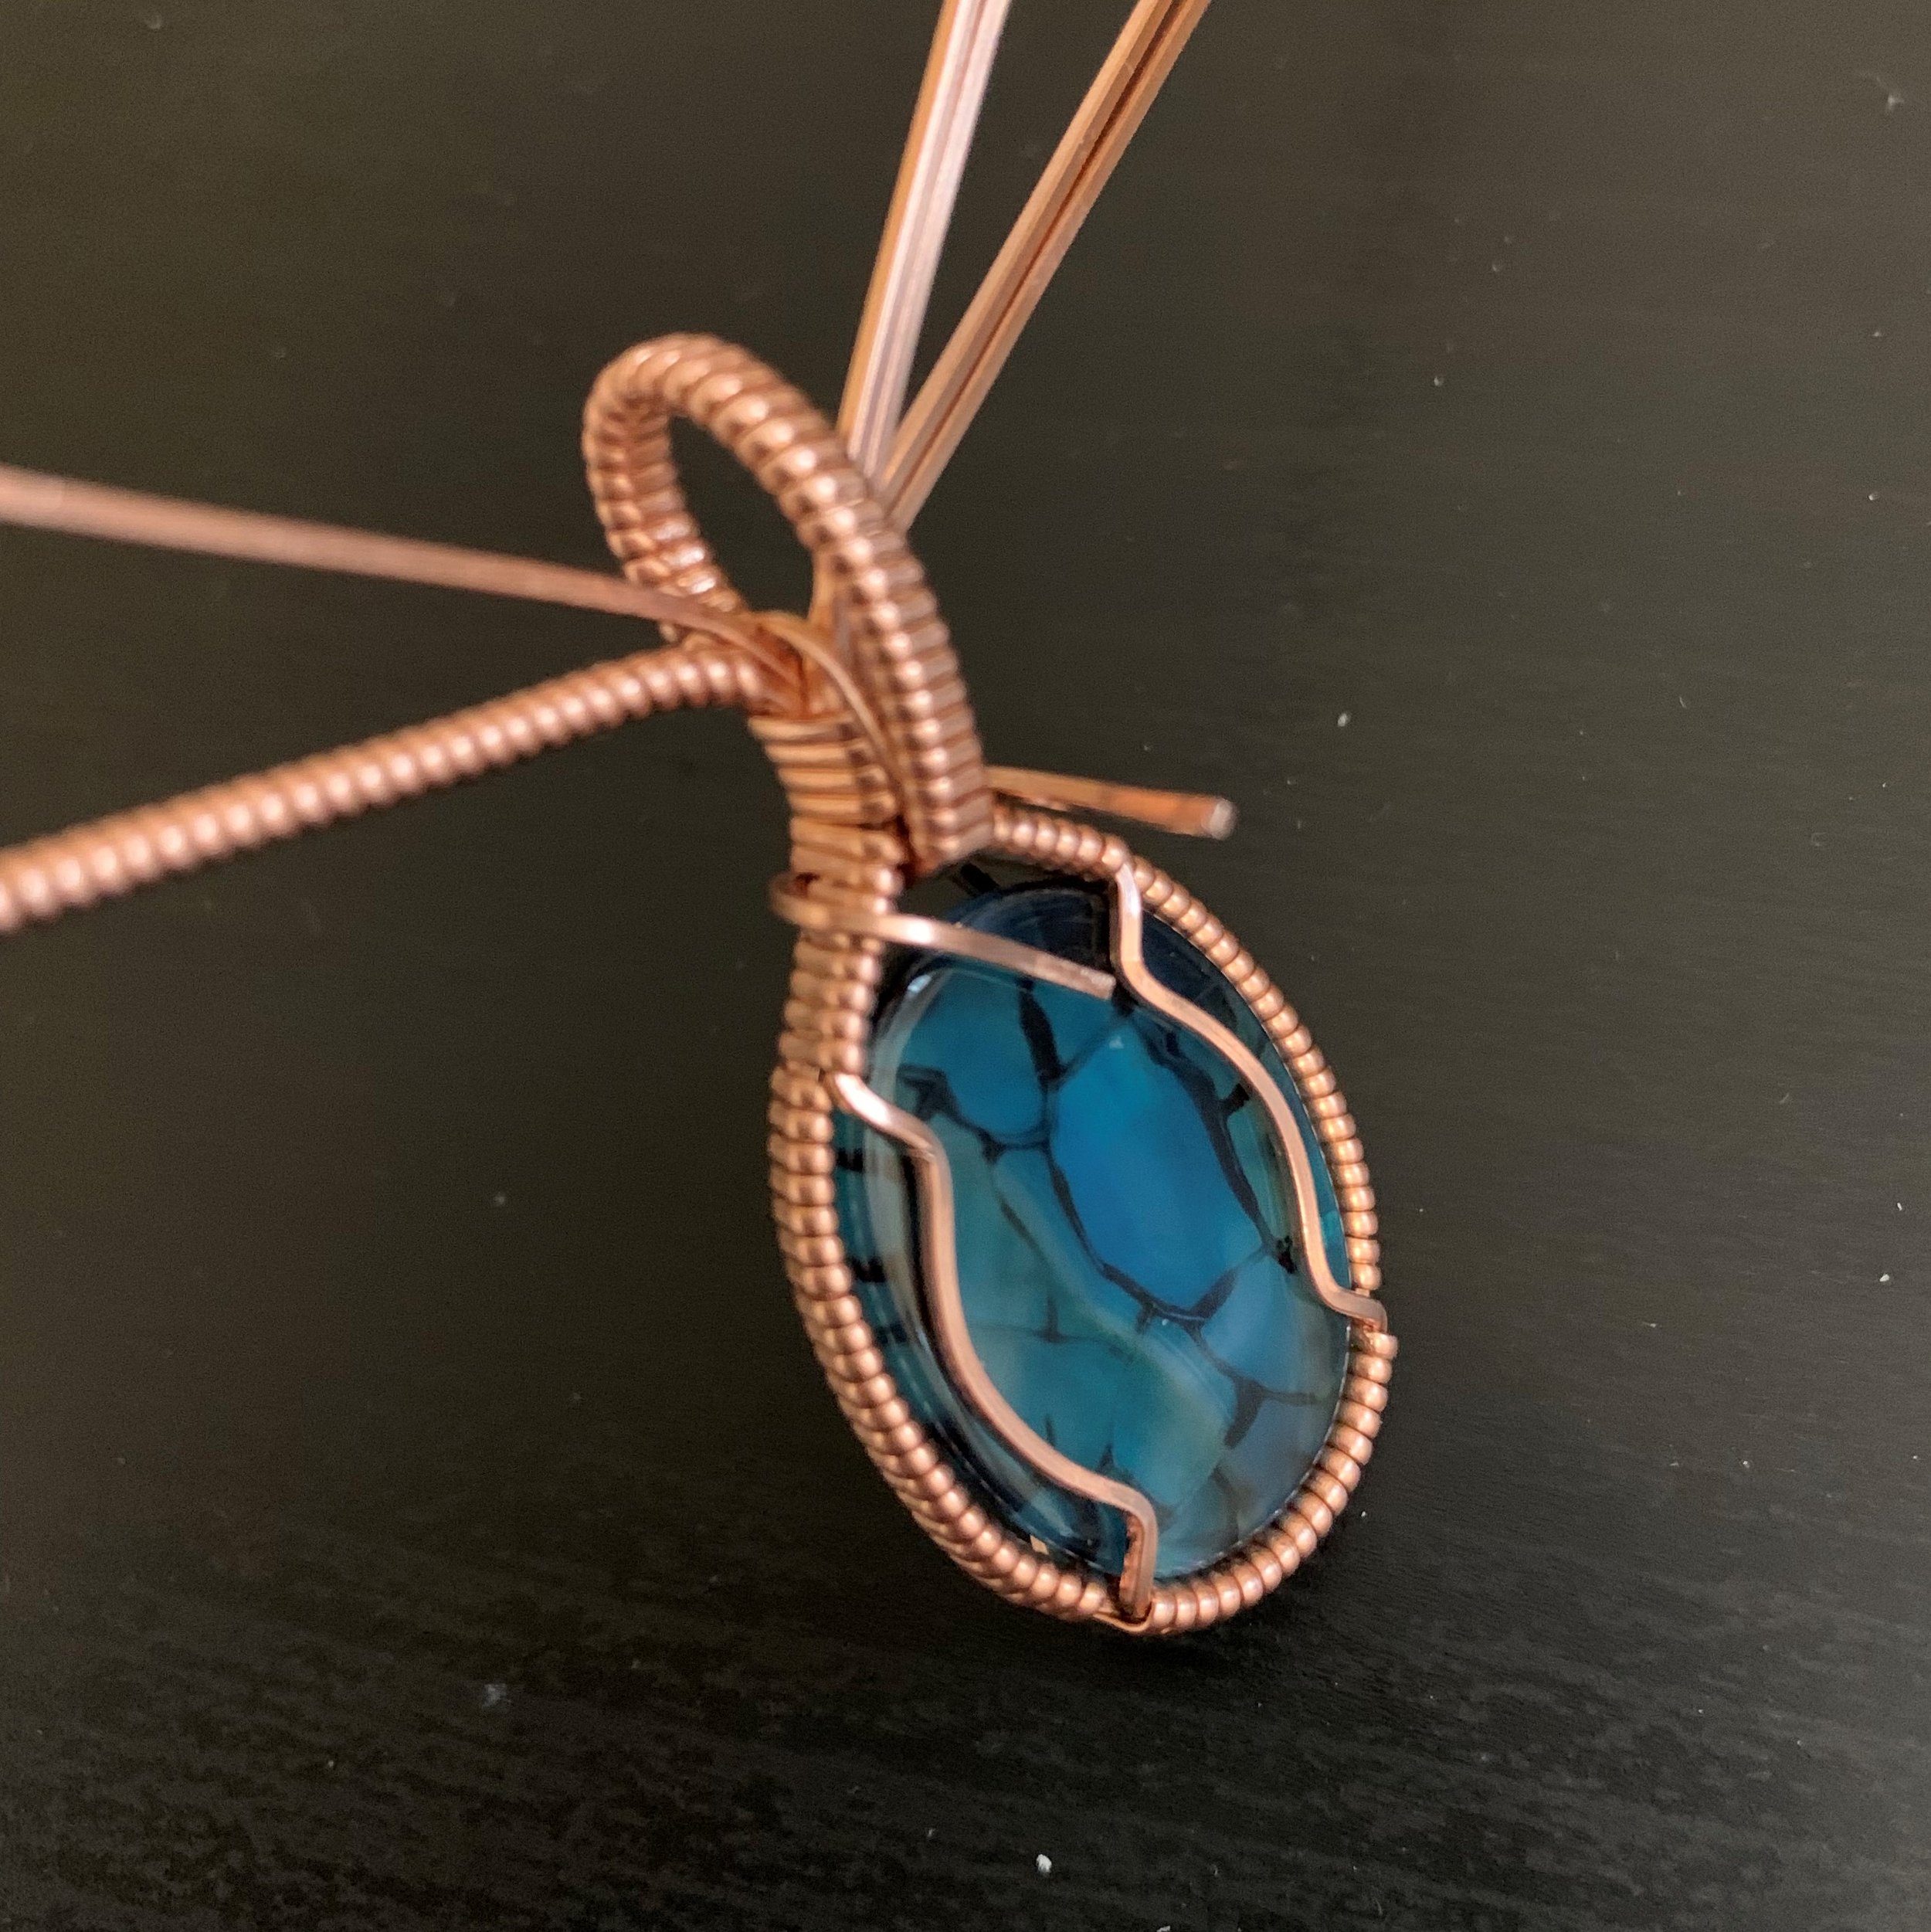
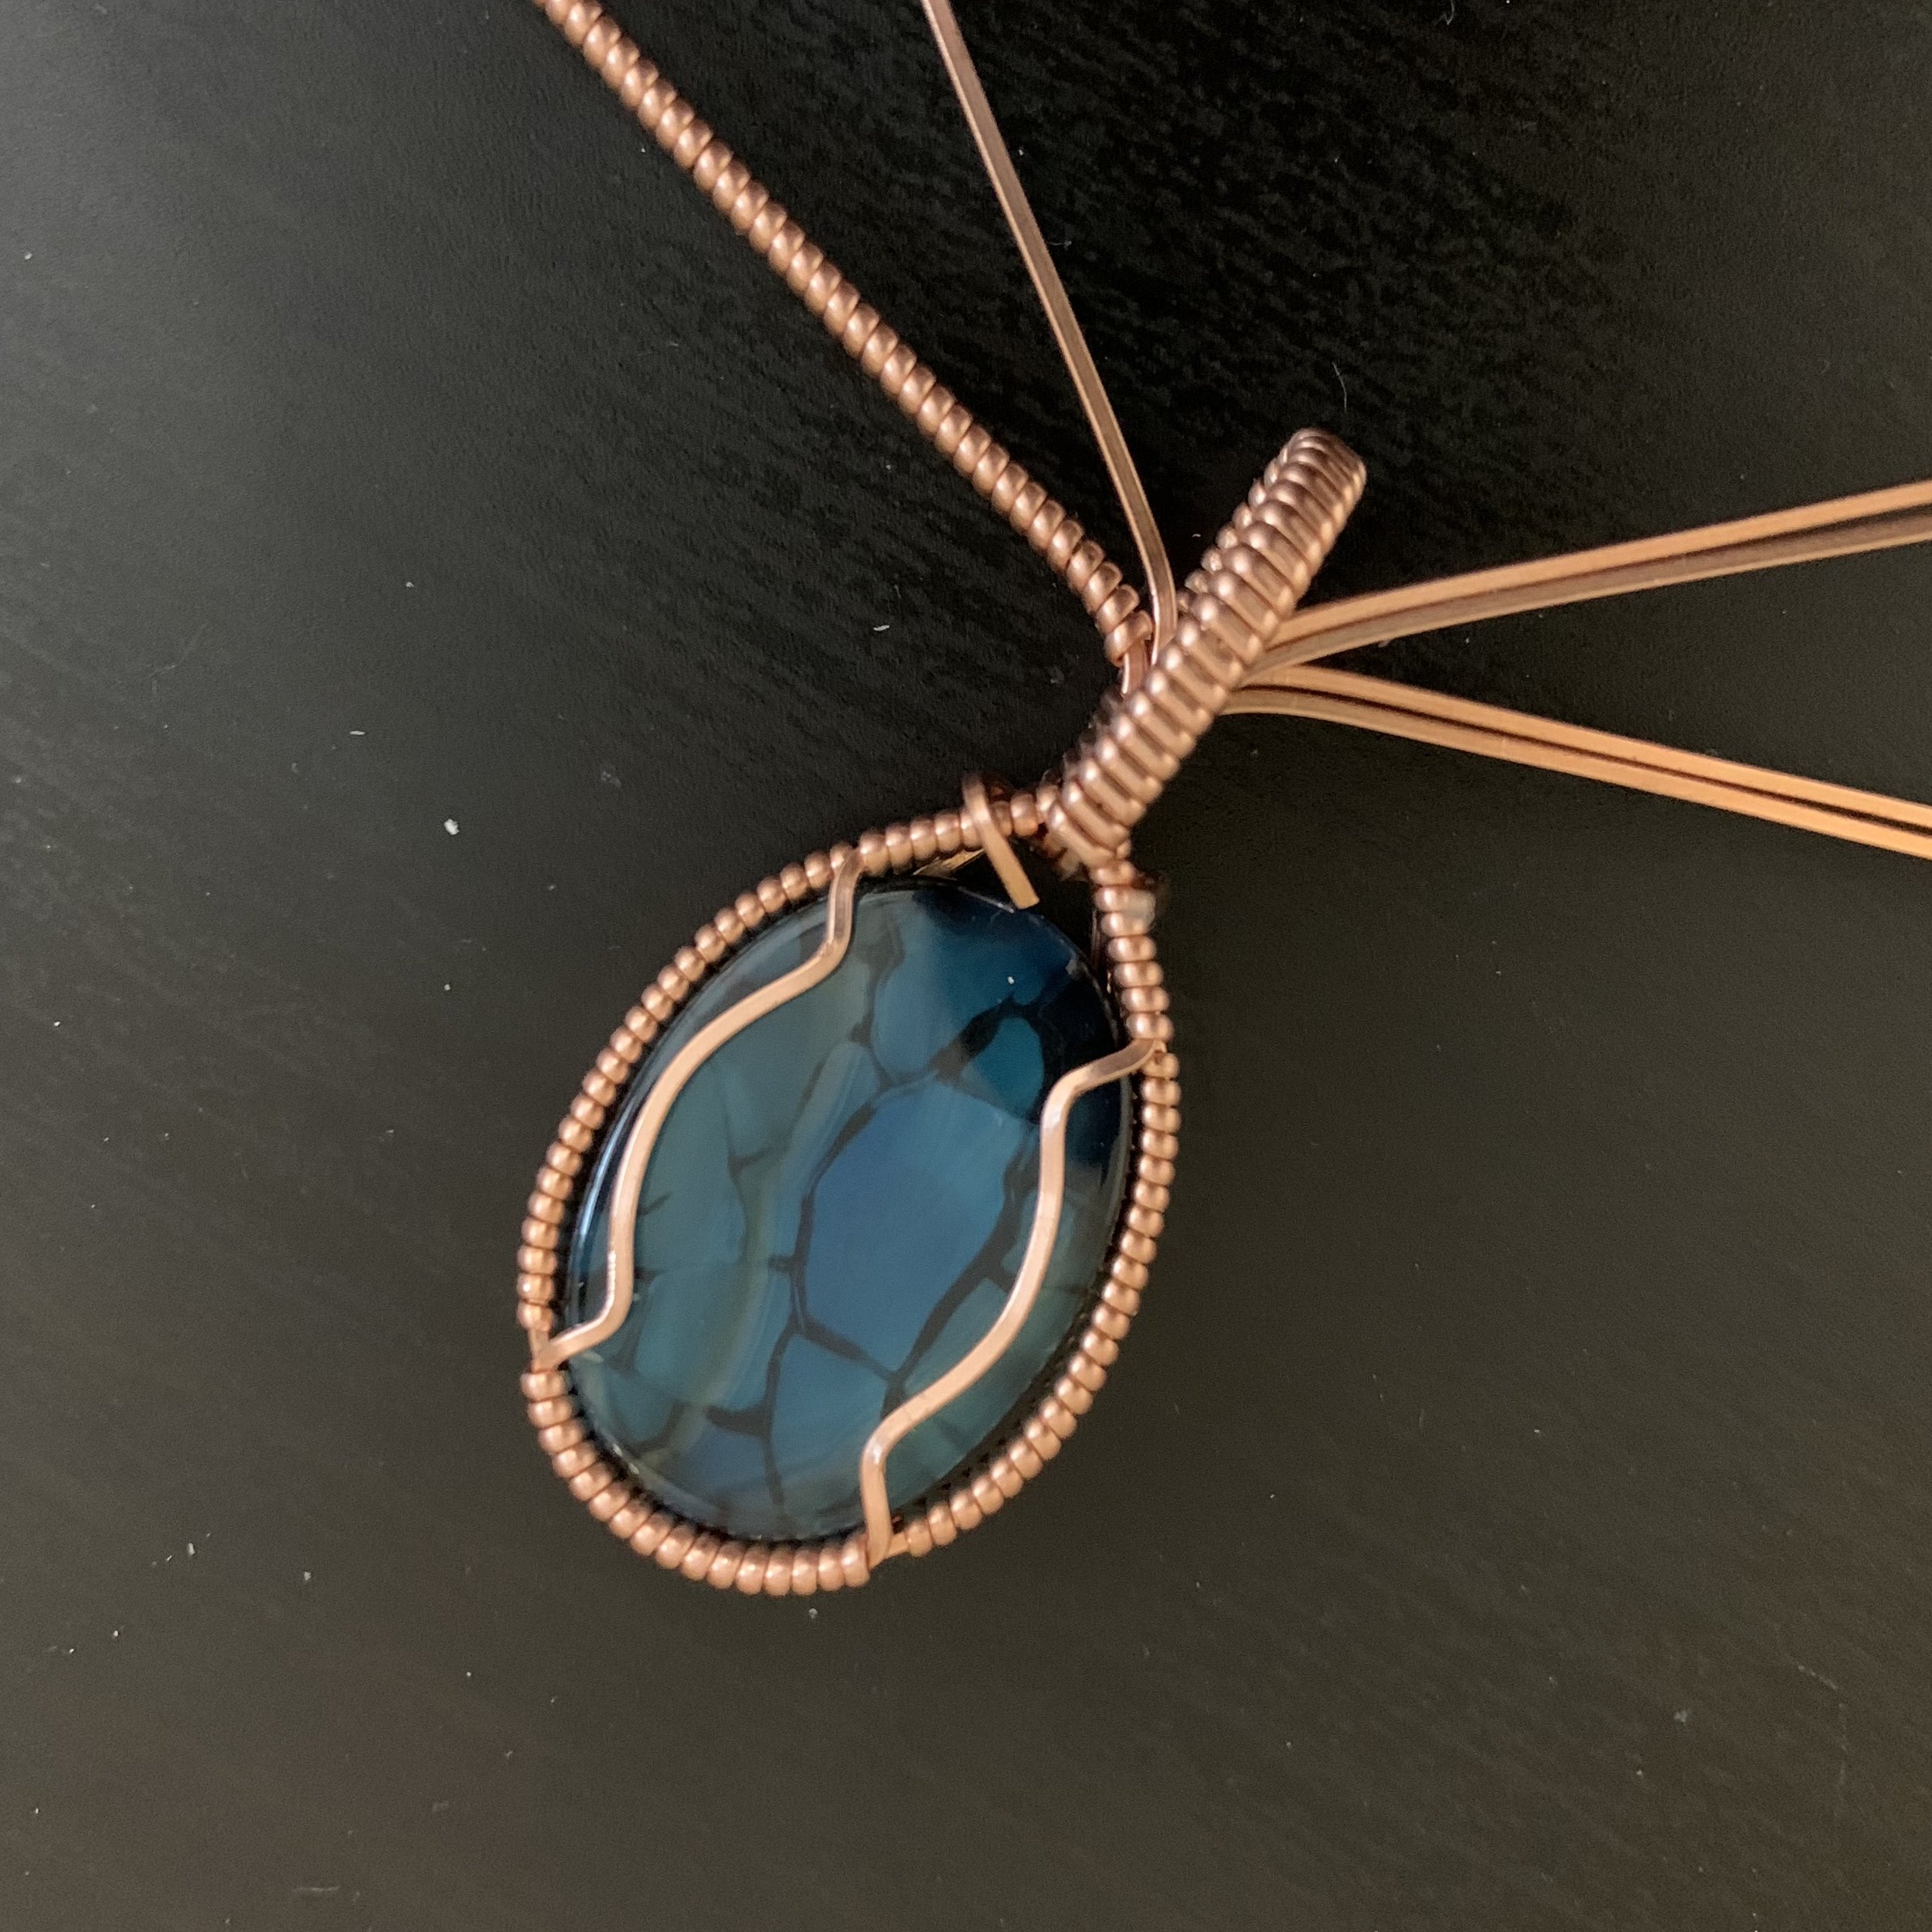
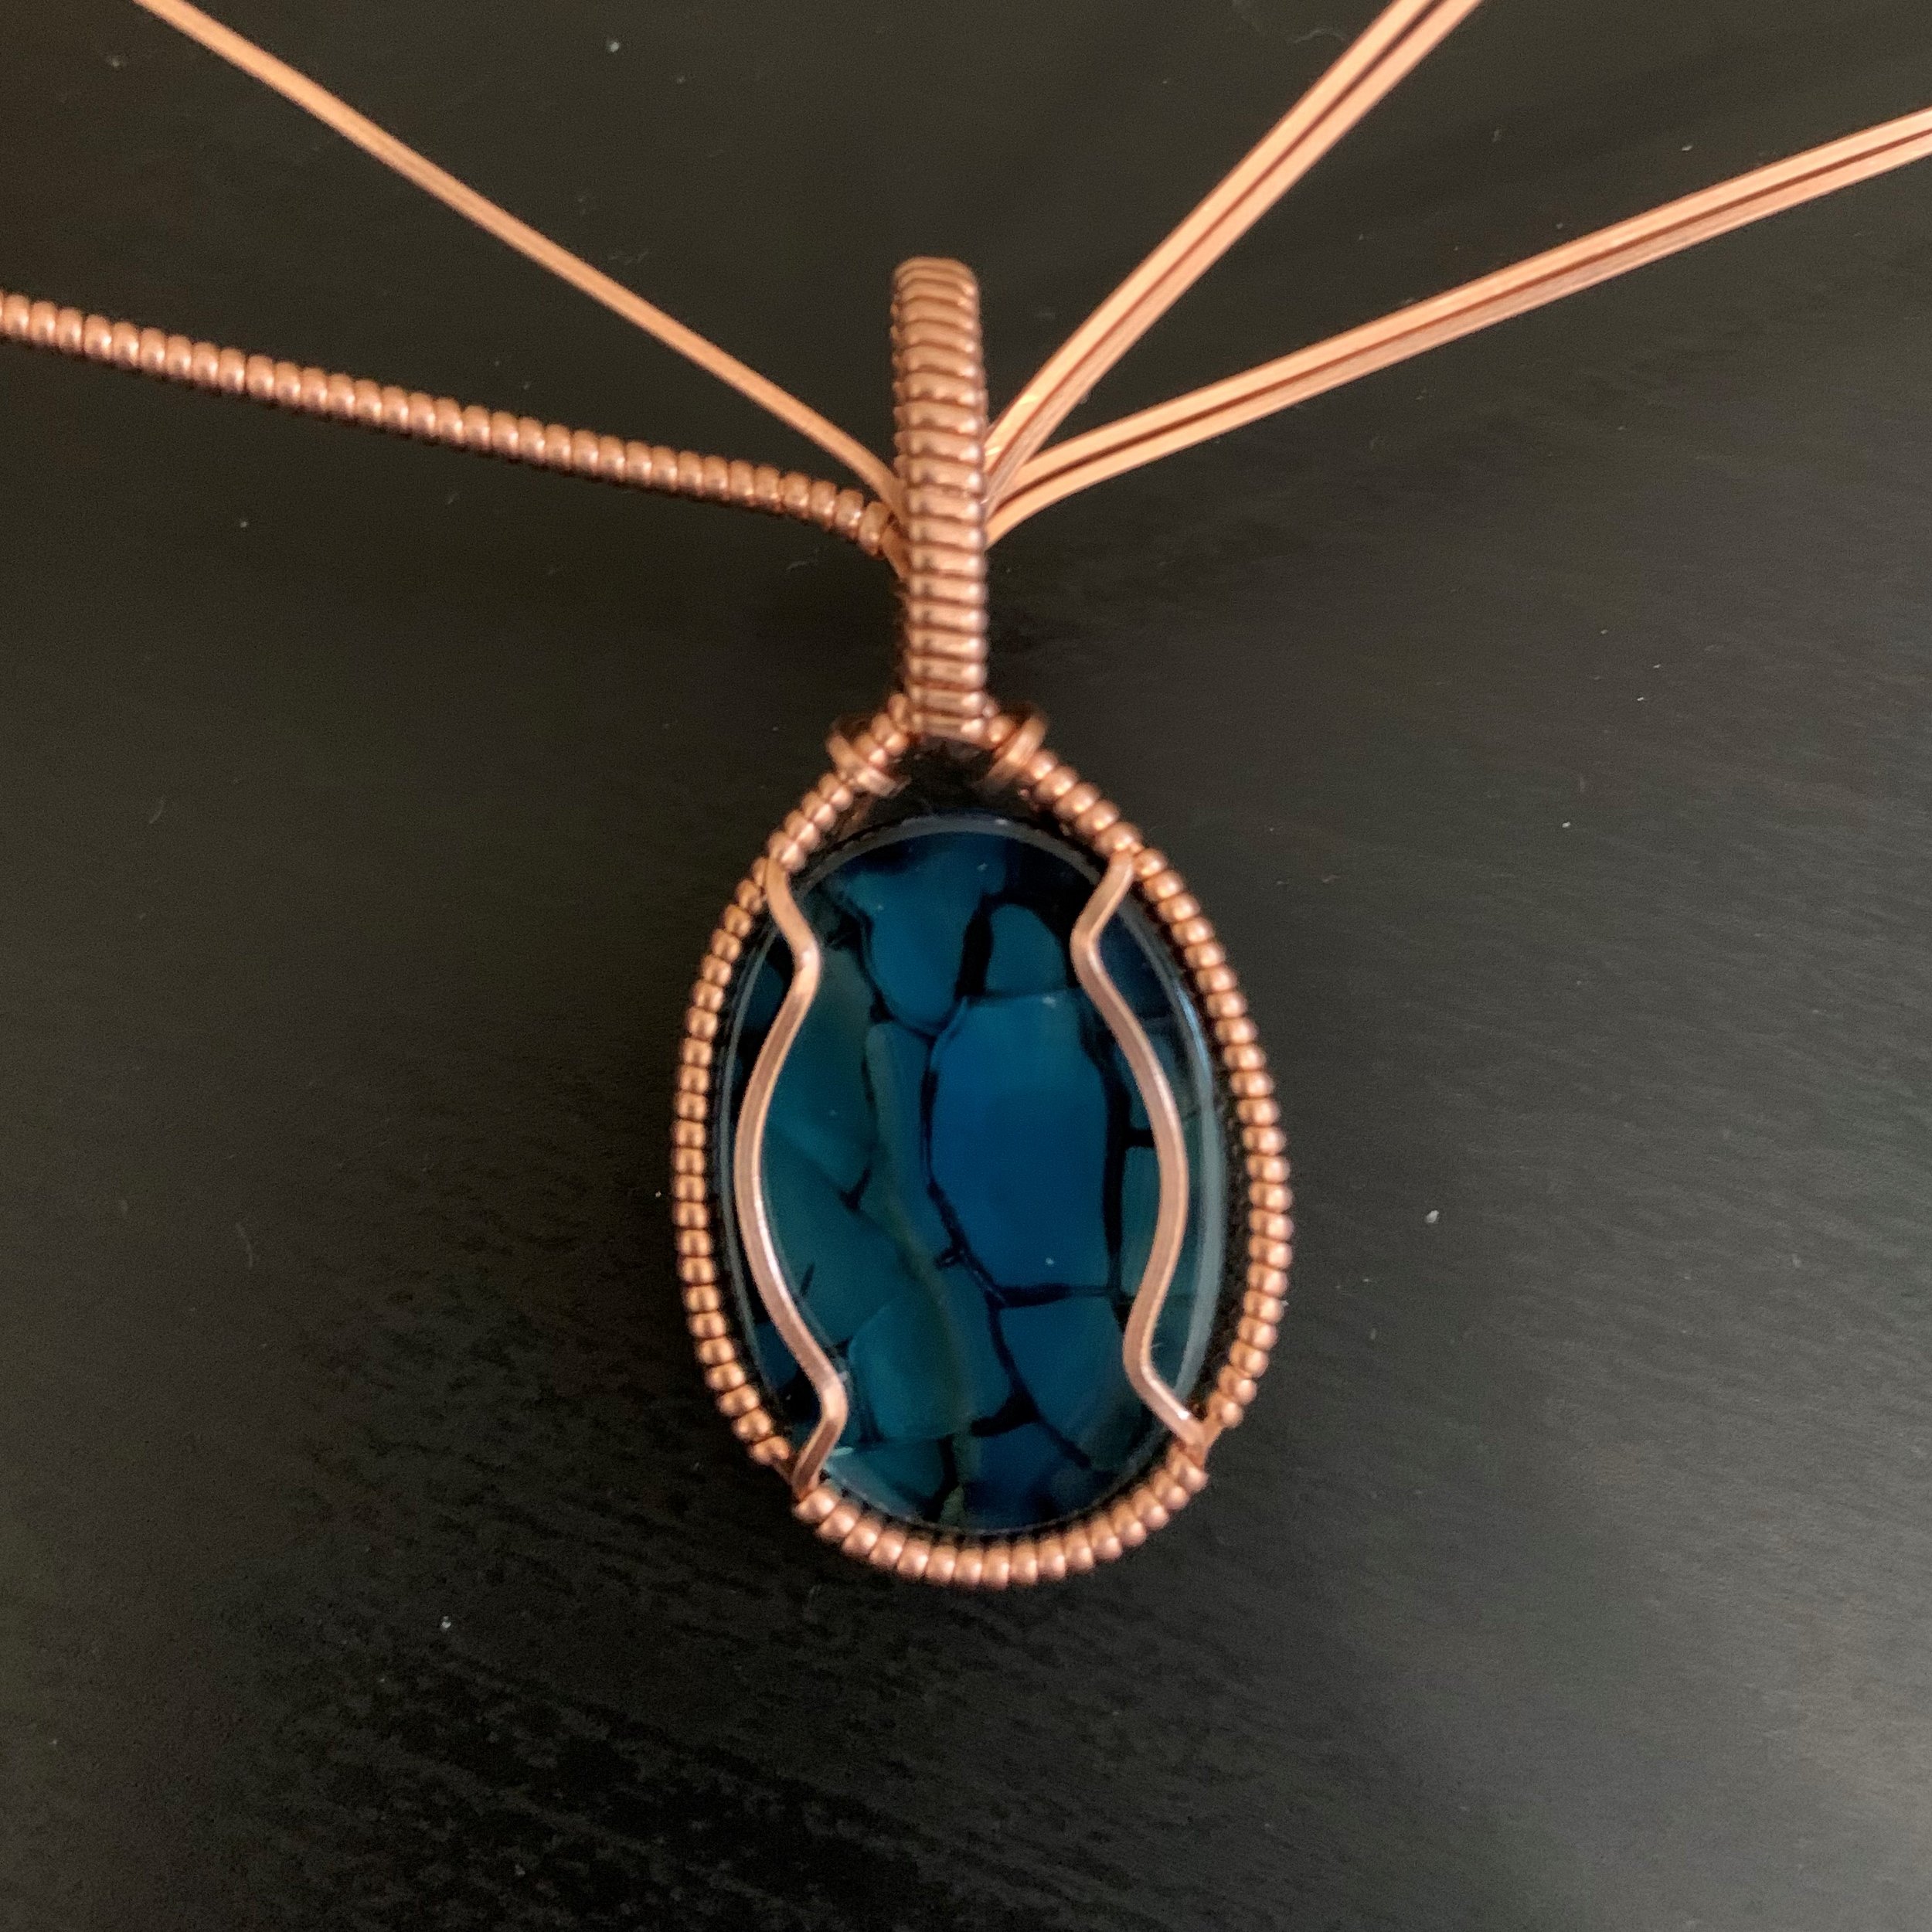
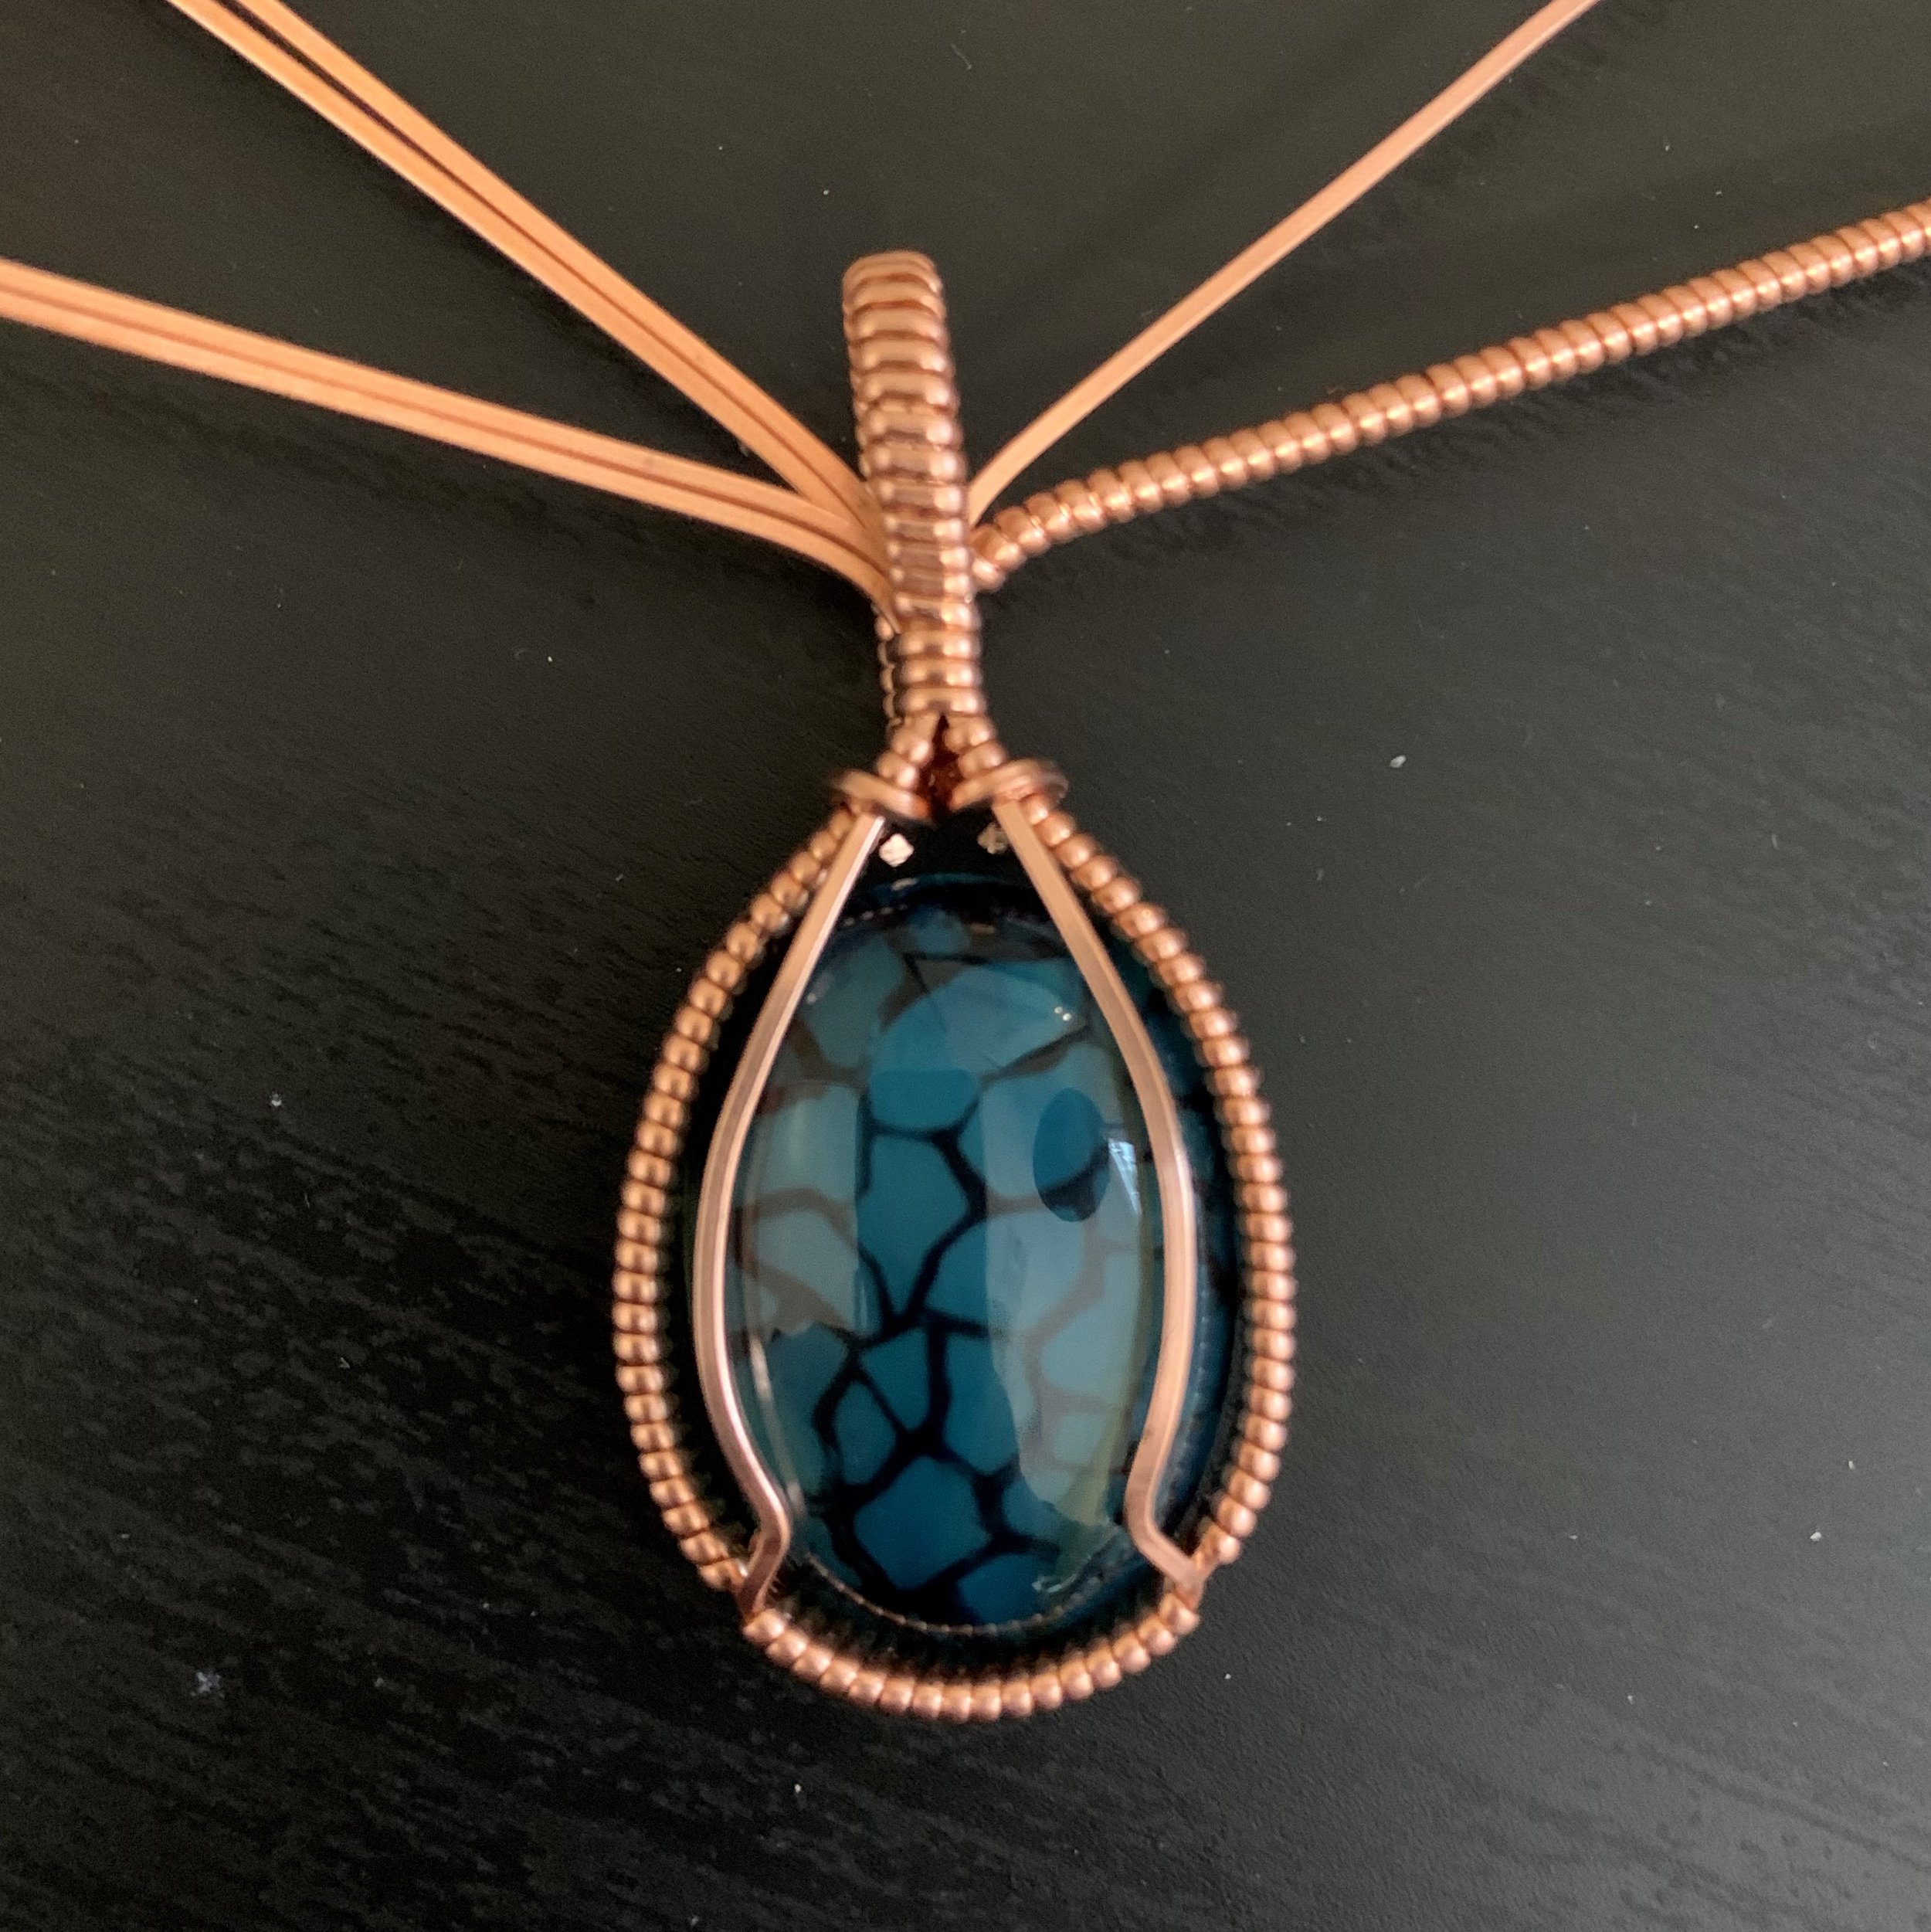
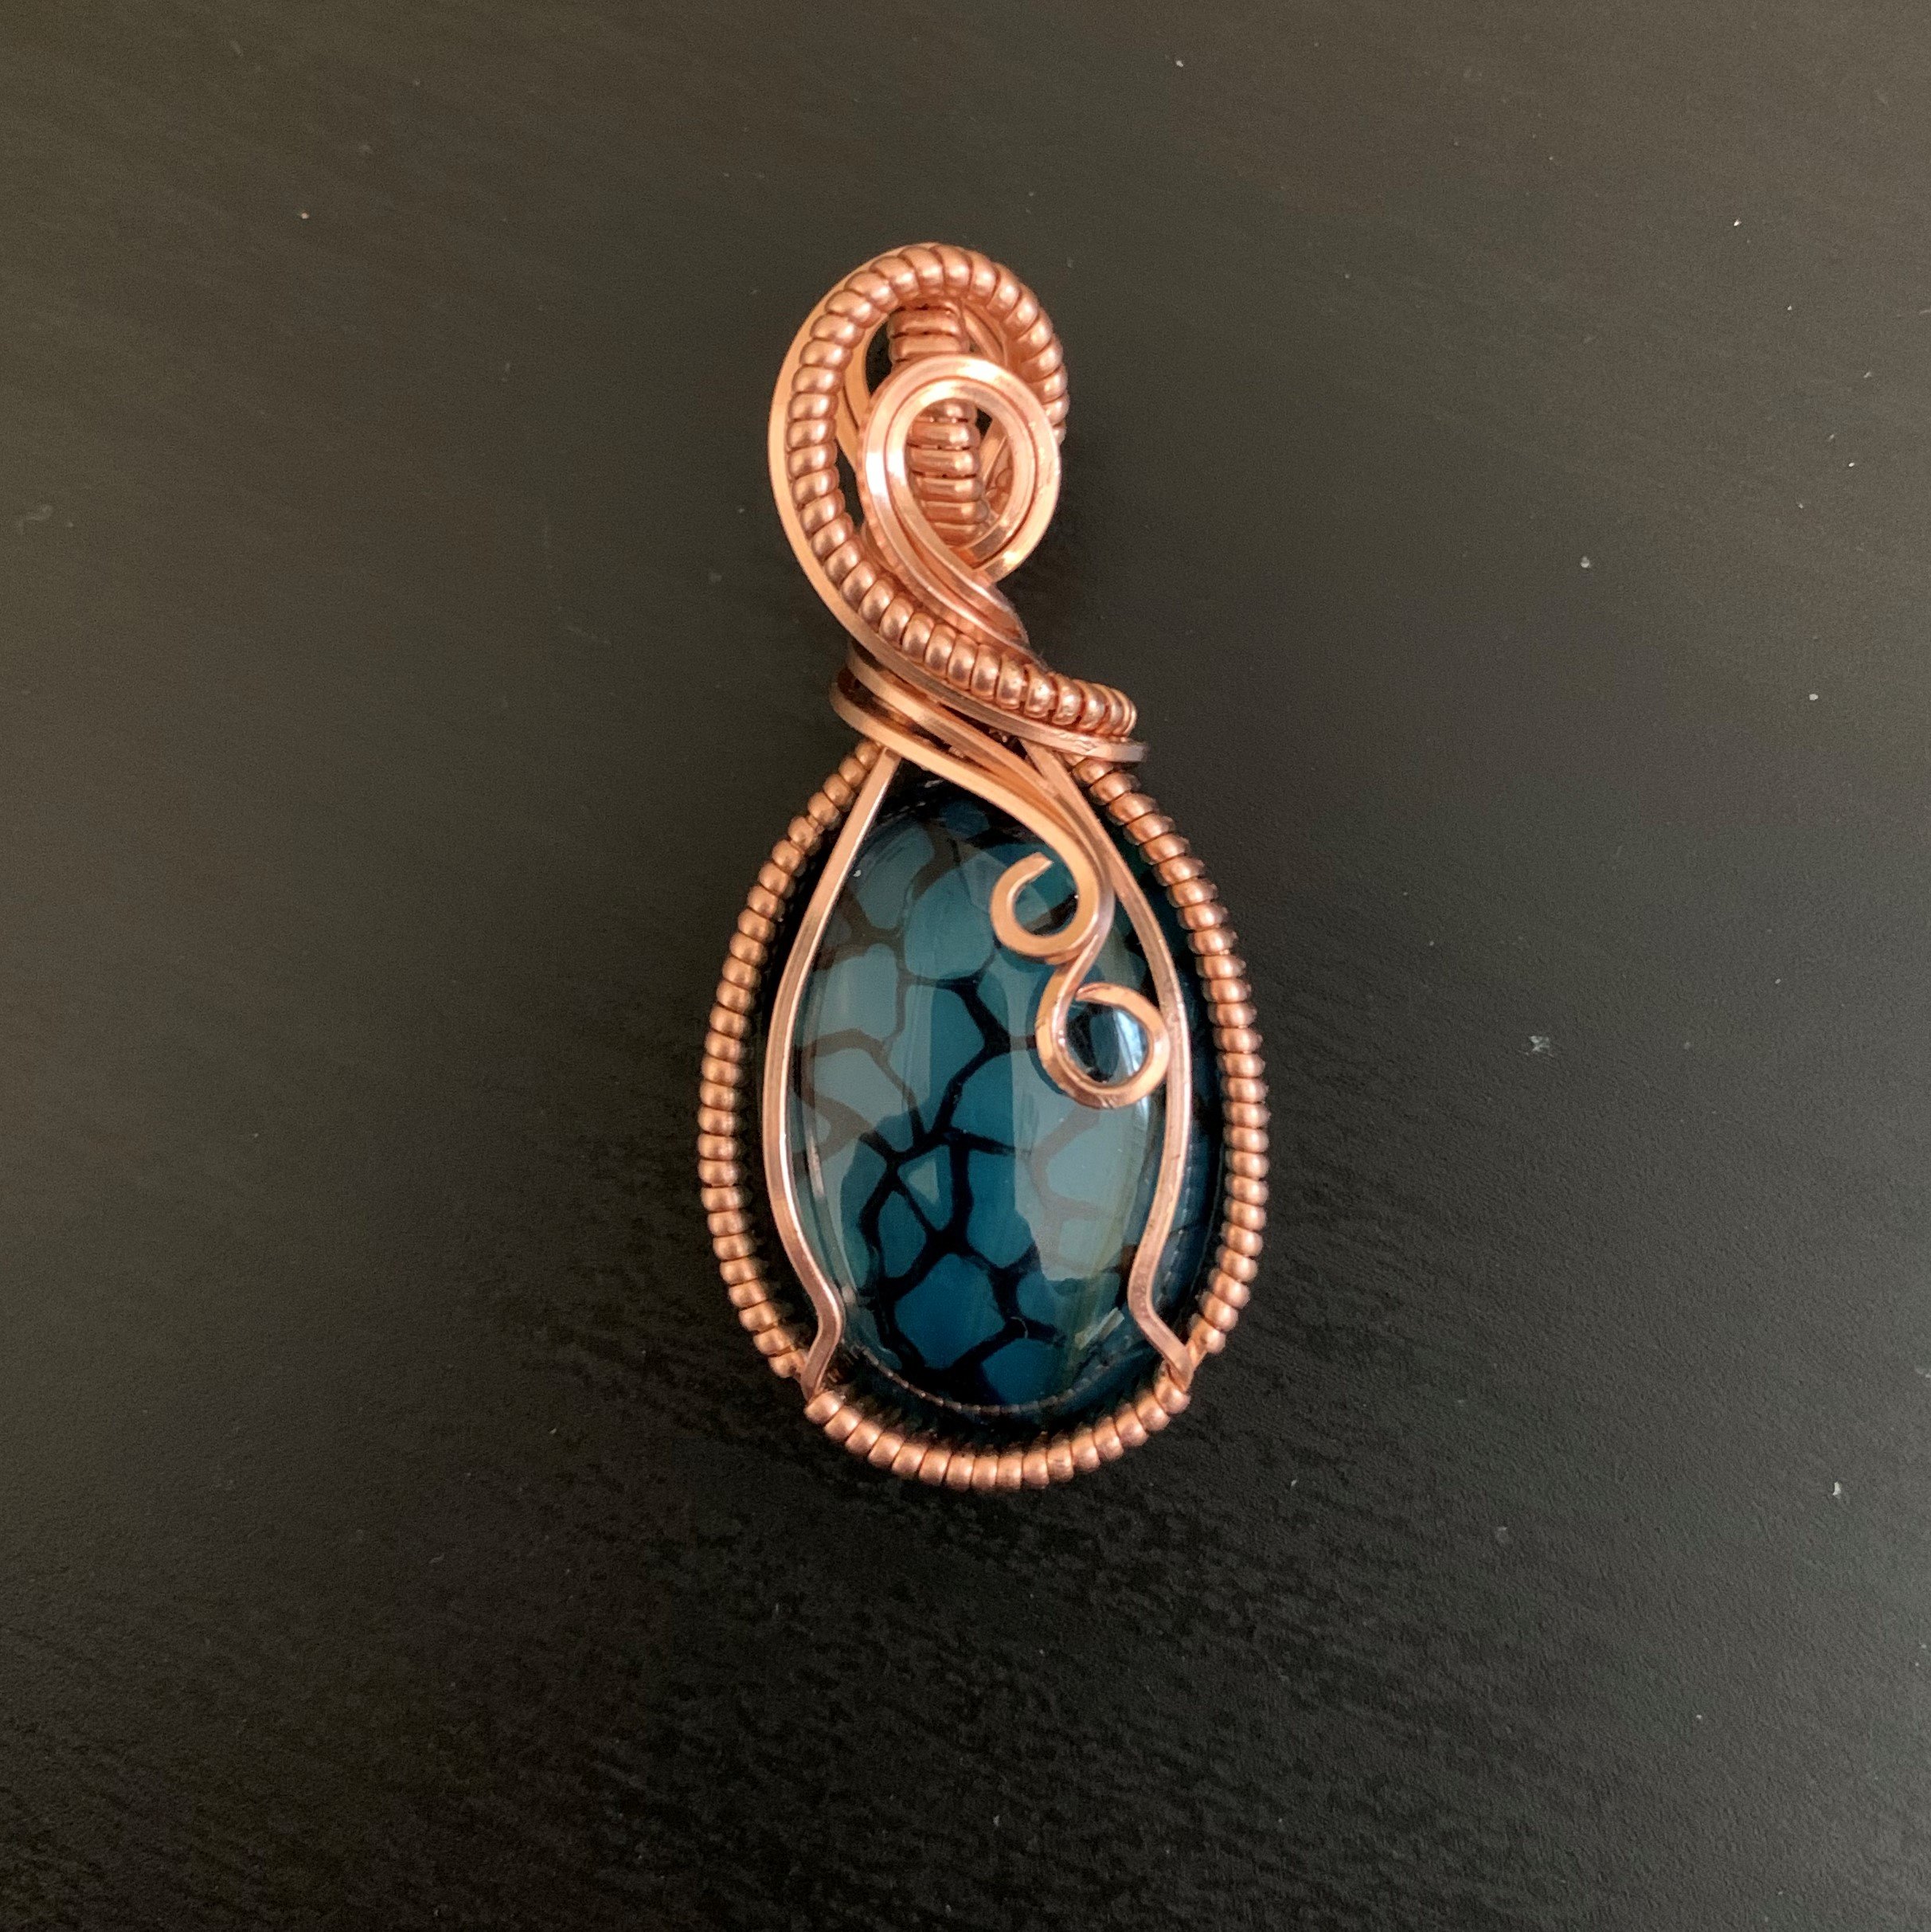
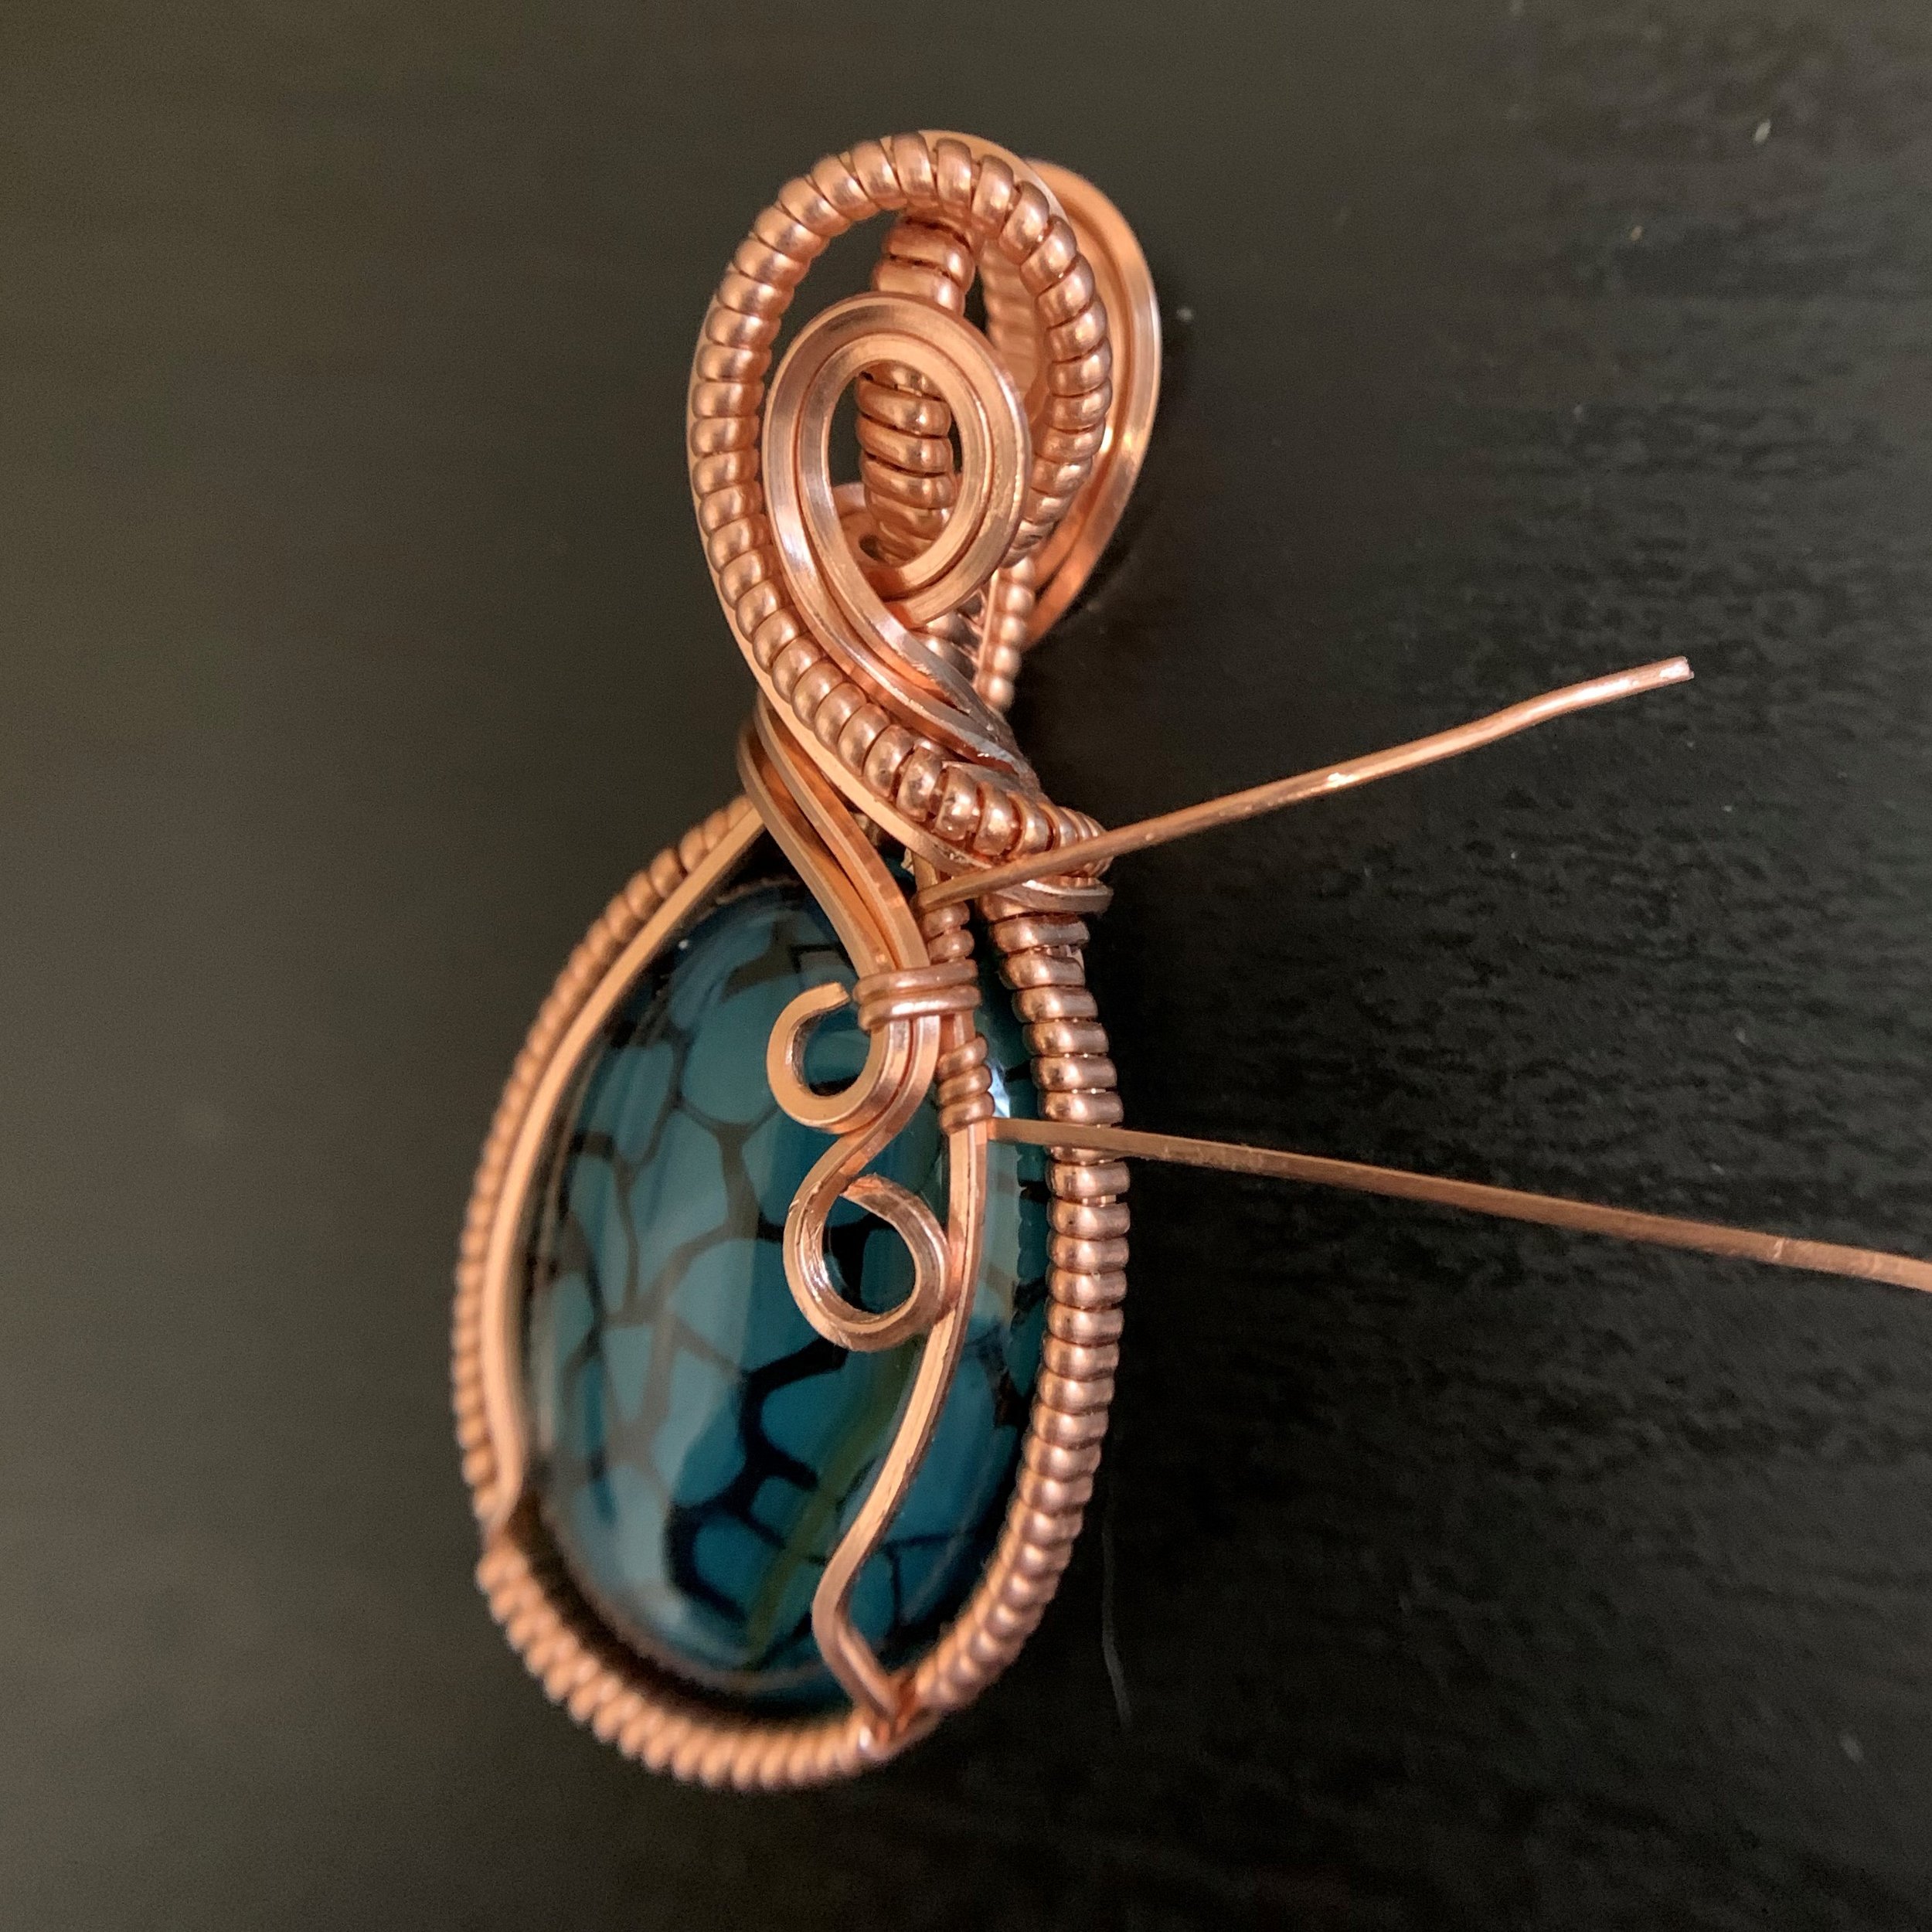
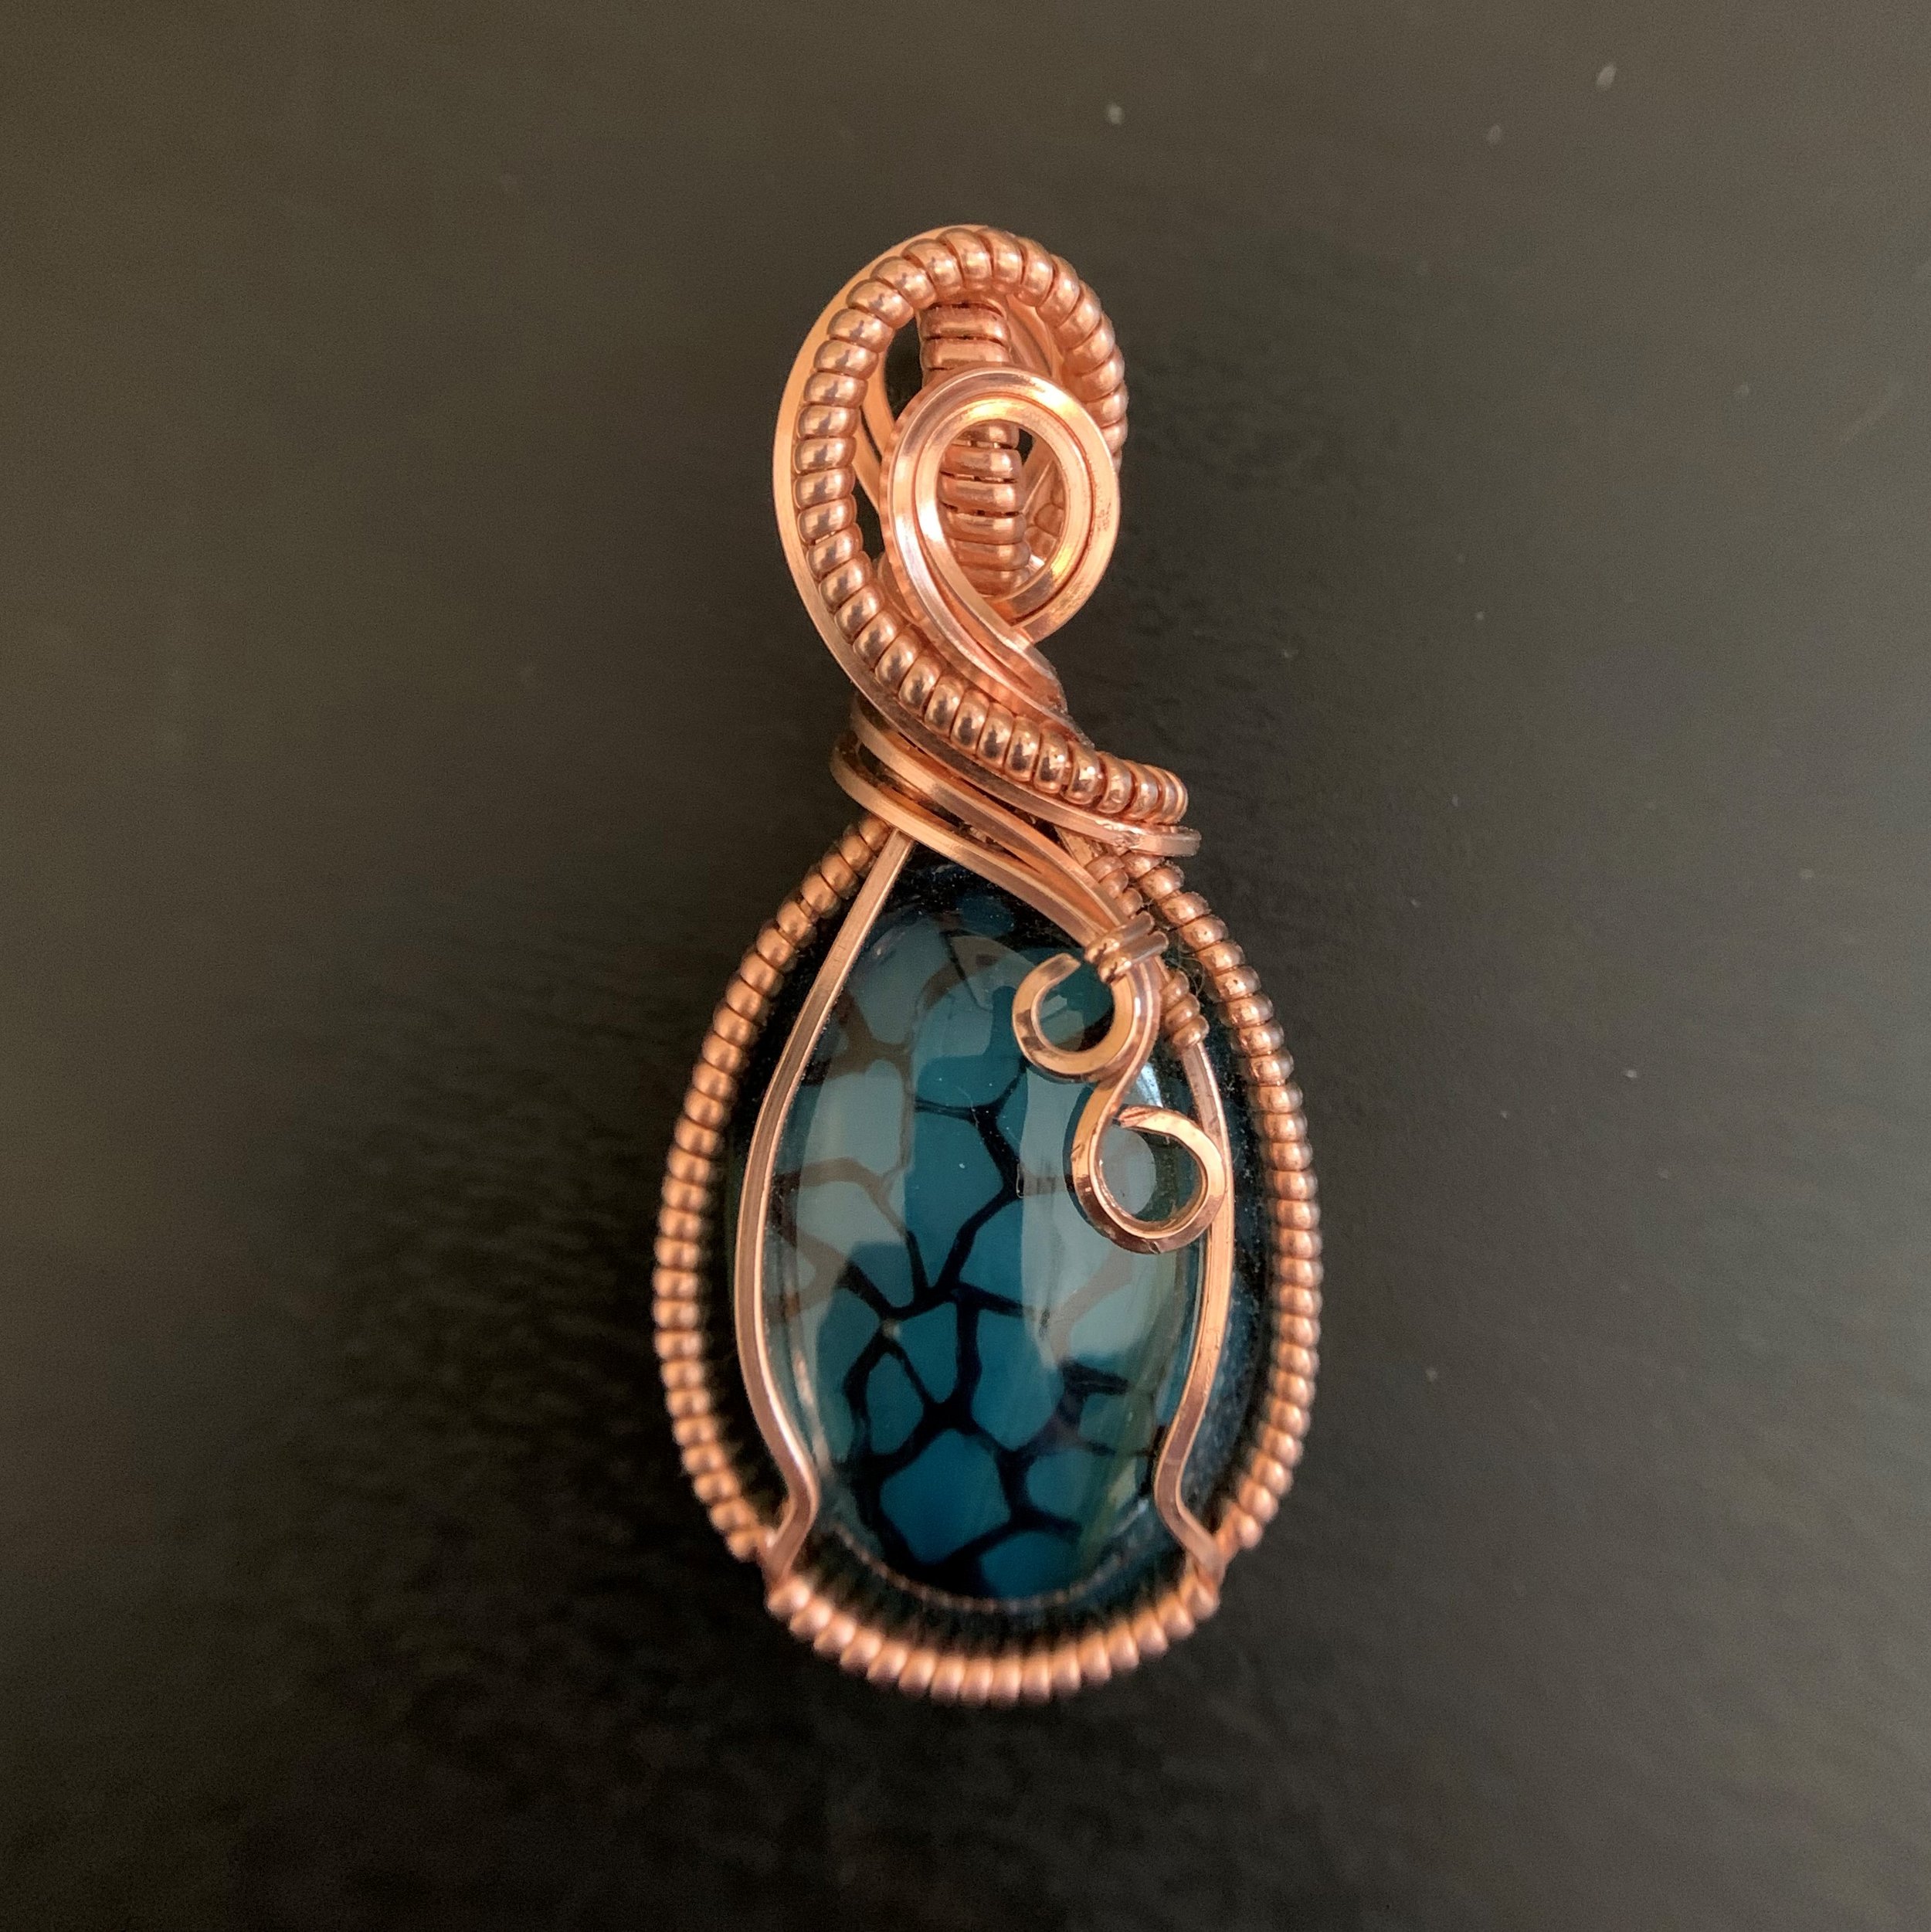
Classic Wire Wrapped Pendant
Wire wrapped cabochons are the bread and butter of many wire wrappers. Whether you are a beginner looking for a project to get started or you’ve been wrapping for a while and want to see a new twist on a standard design, this tutorial is for you.
Tools & Materials
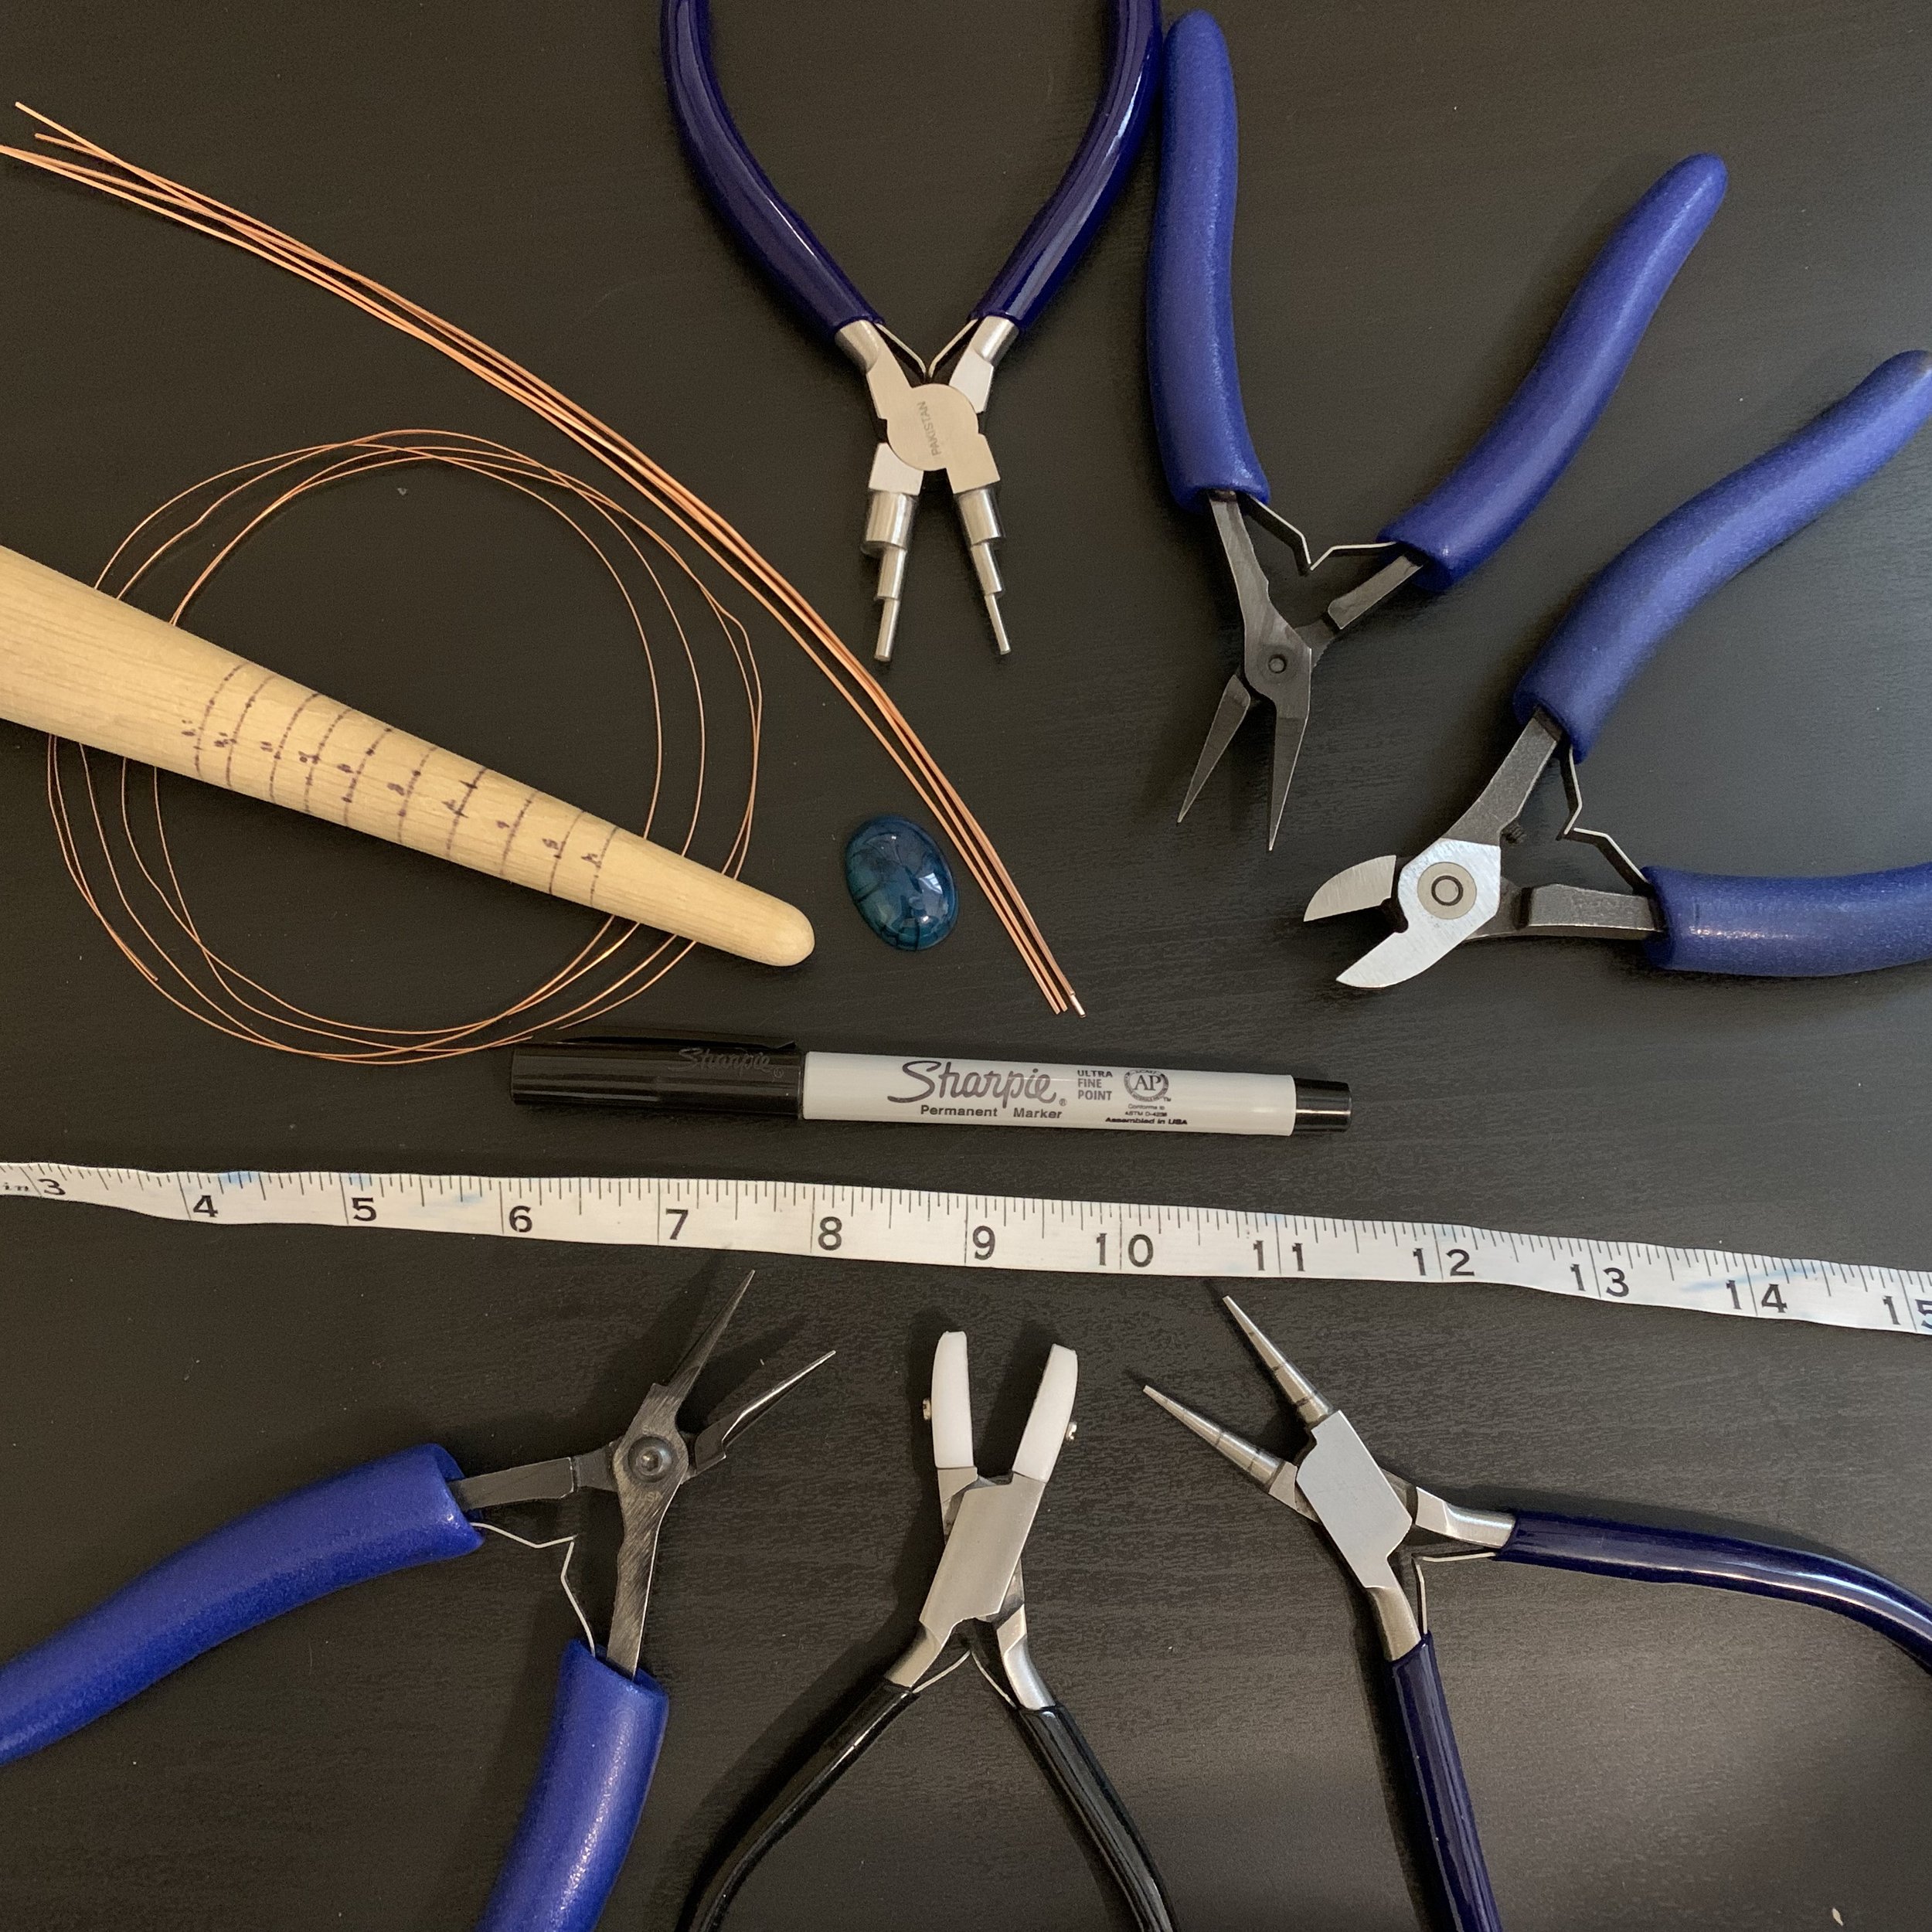
4 lengths 10” 20 gauge half hard square wire
1 length 44” 20 gauge dead soft half round wire
1 length 4” 22 gauge dead soft half round wire
1 cabochon, 18mm x 25mm
Pliers: Flat-nose pliers, bail-making pliers with 2mm and 3mm tips, and flush cutters.
Optional Pliers: Needle-nose pliers, round-nose pliers, and nylon-tipped pliers
Ring Mandrel
Measuring Tape & Sharpie
Video Demonstration
You may wish to start by watching a video of the entire process. Then you can follow the detailed steps and photos below.
Step One: Start the Wrap
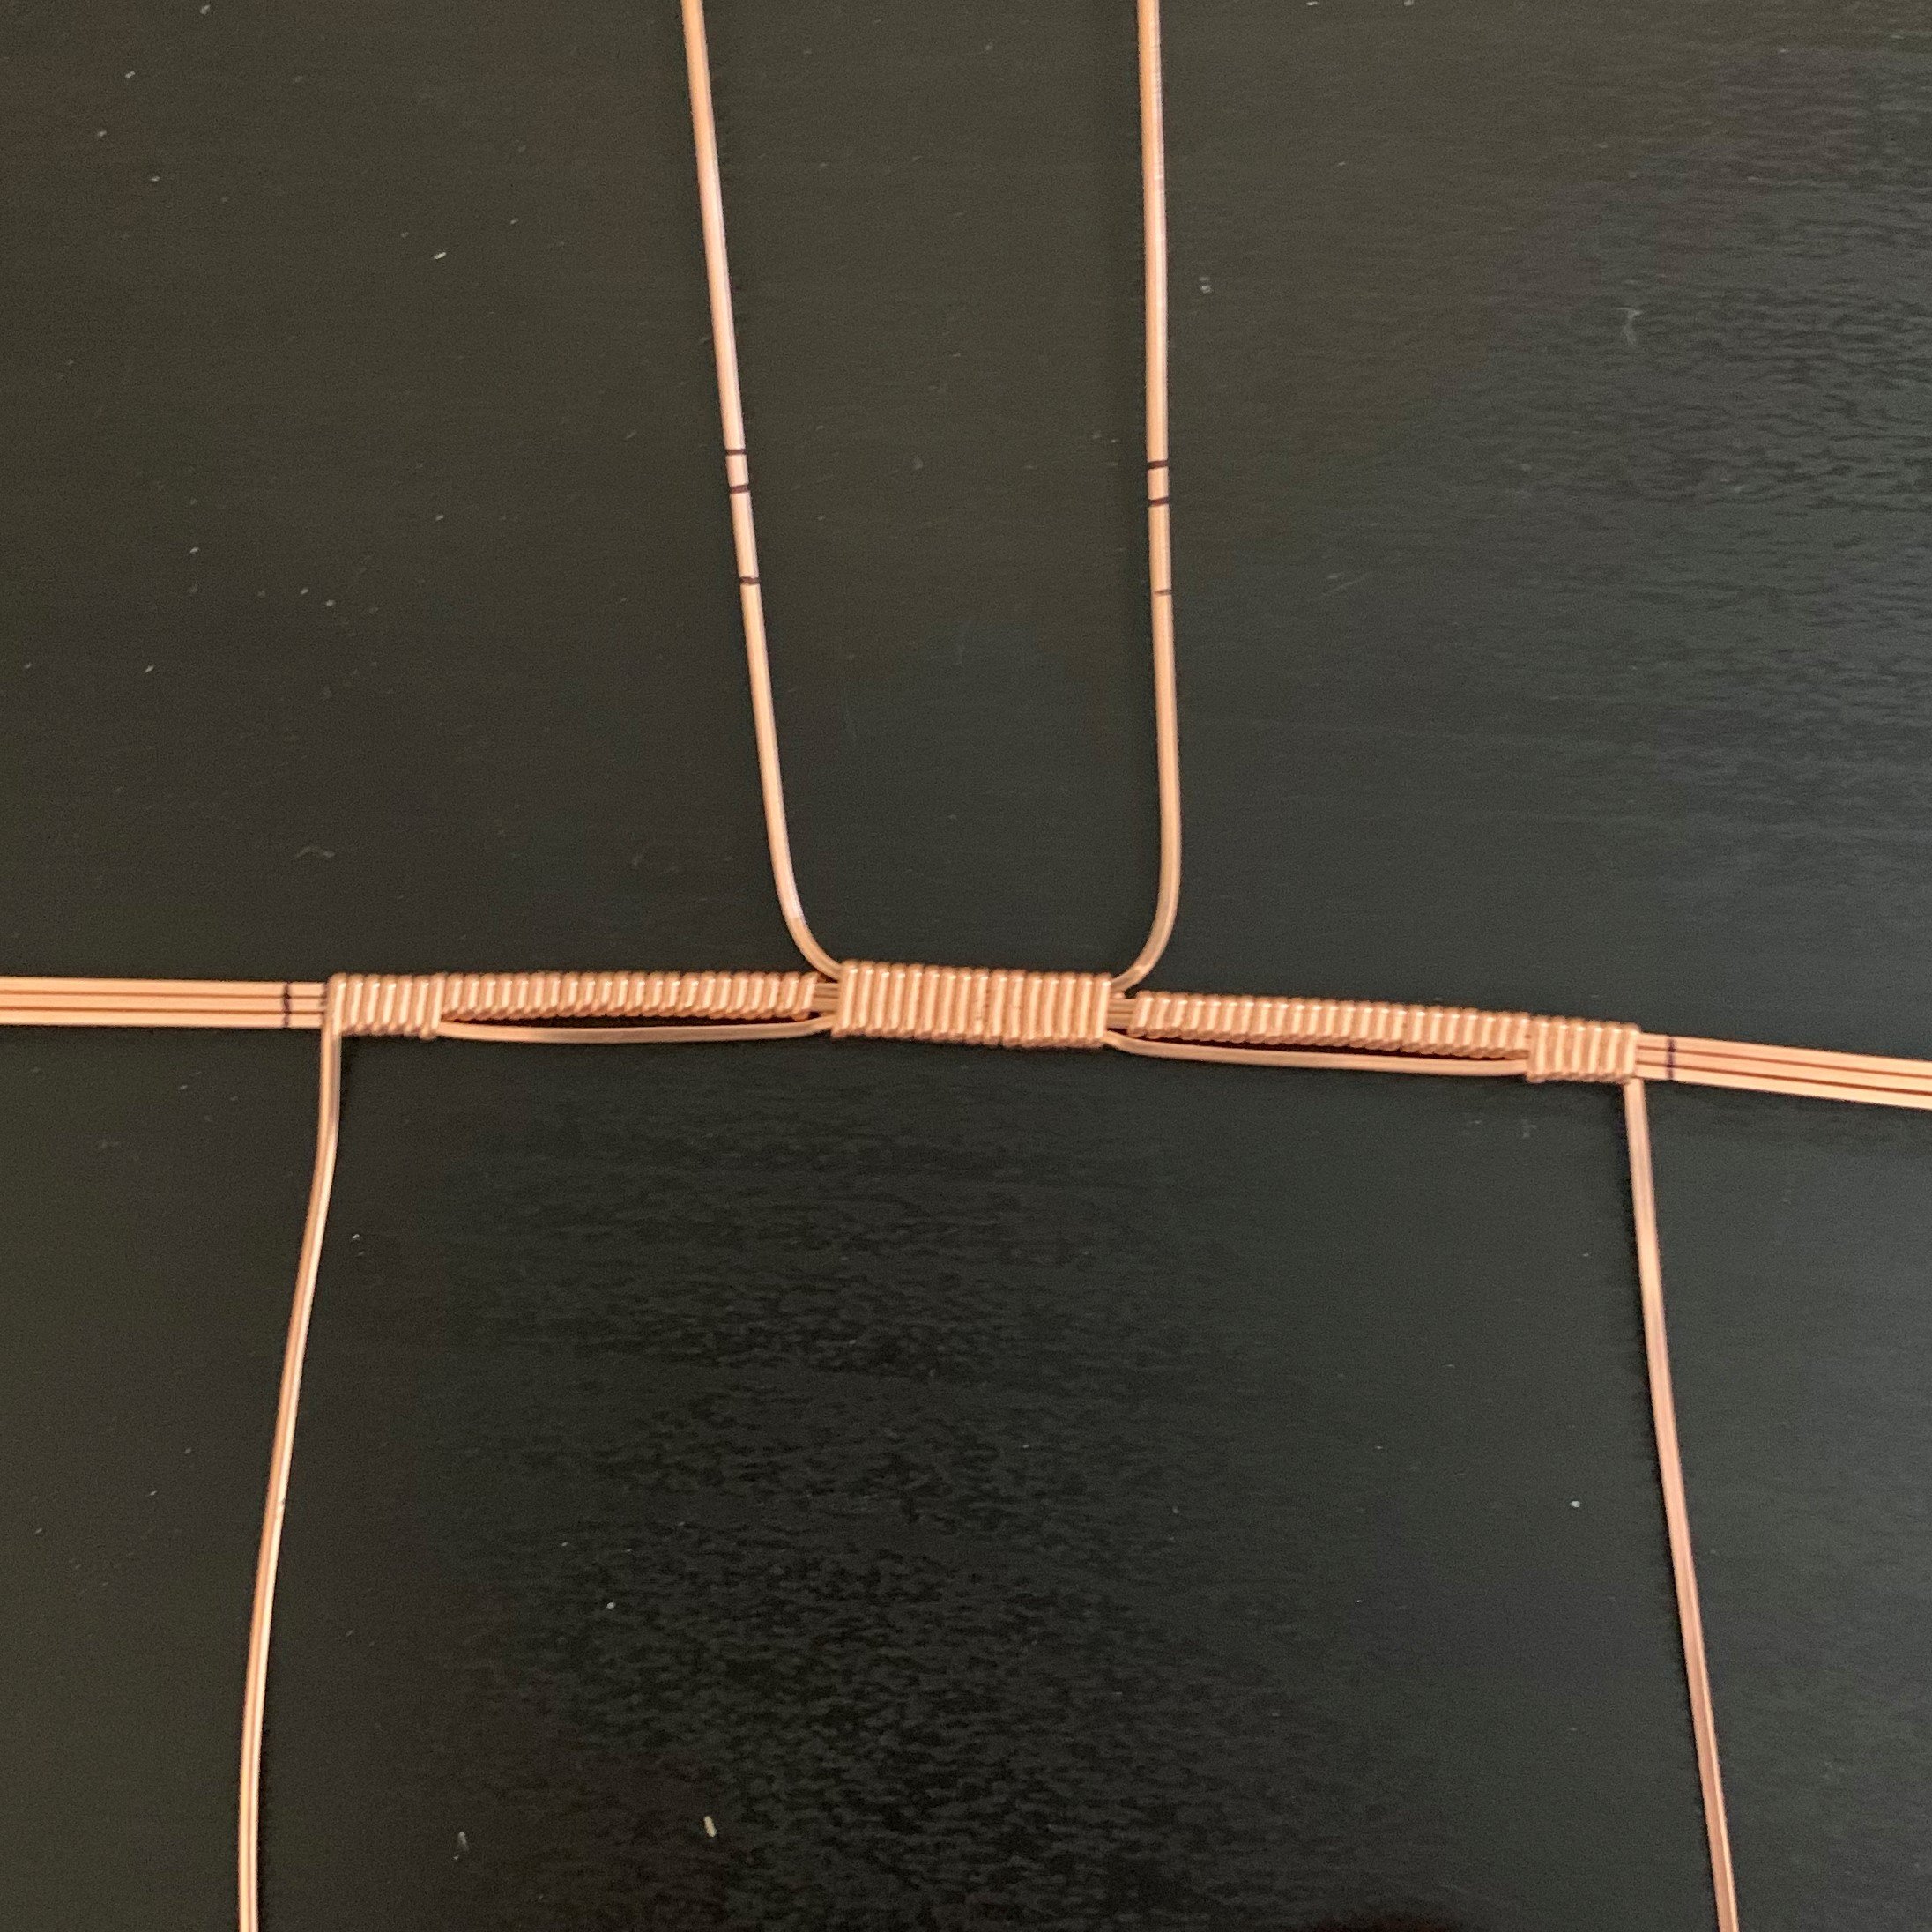
Bend the 20-gauge half-round wire in half, with the flat side facing inward and the rounded side outward. Place it around the middle of the four lengths of 20-gauge square wire.
Start wrapping a few times around the square wire, stopping to press down your wraps with flat-nose or nylon-tipped pliers every few wraps.
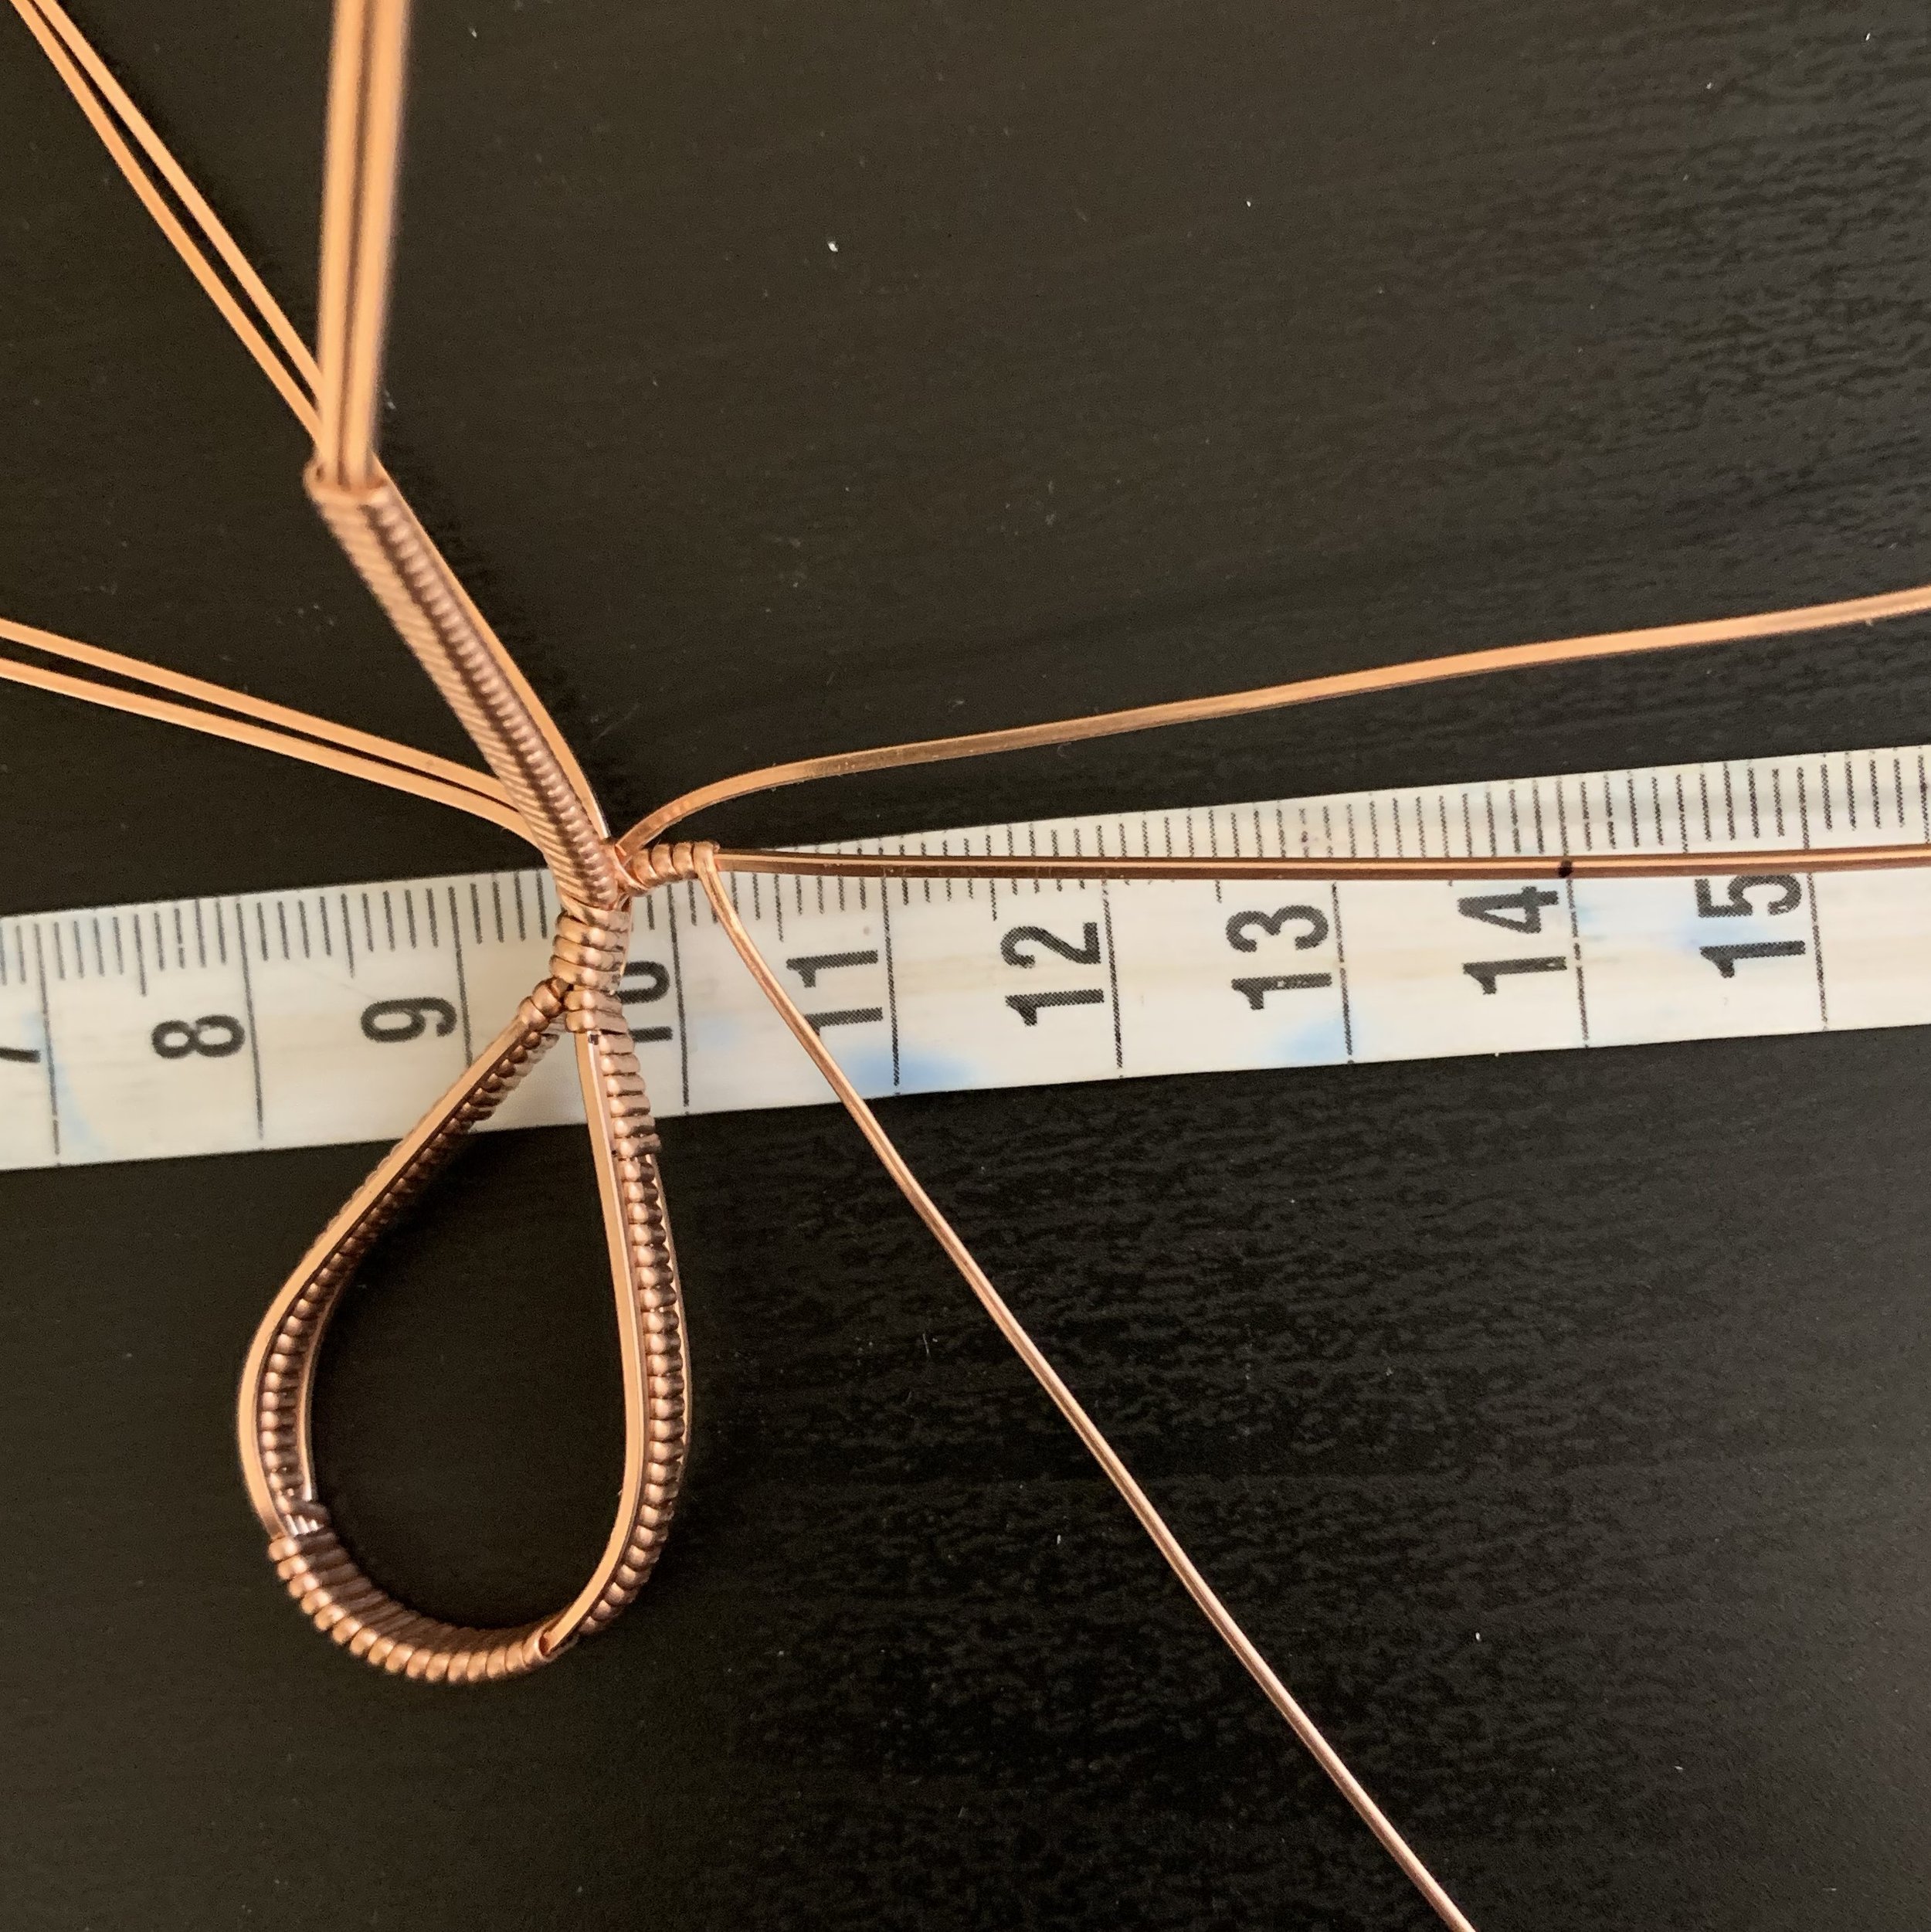
Measure and wrap a 14-15mm length. You will notice throughout steps one and two of this tutorial that anytime you finish wrapping a section of the base wire, you should end with the wrapping wires both facing “down.”
Measure and mark from each end of the center wrap: 23mm, 28mm, and 30mm. These marks will serve as guides for the remainder of your base wrapping.
Step Two: Finish the Base Wrap
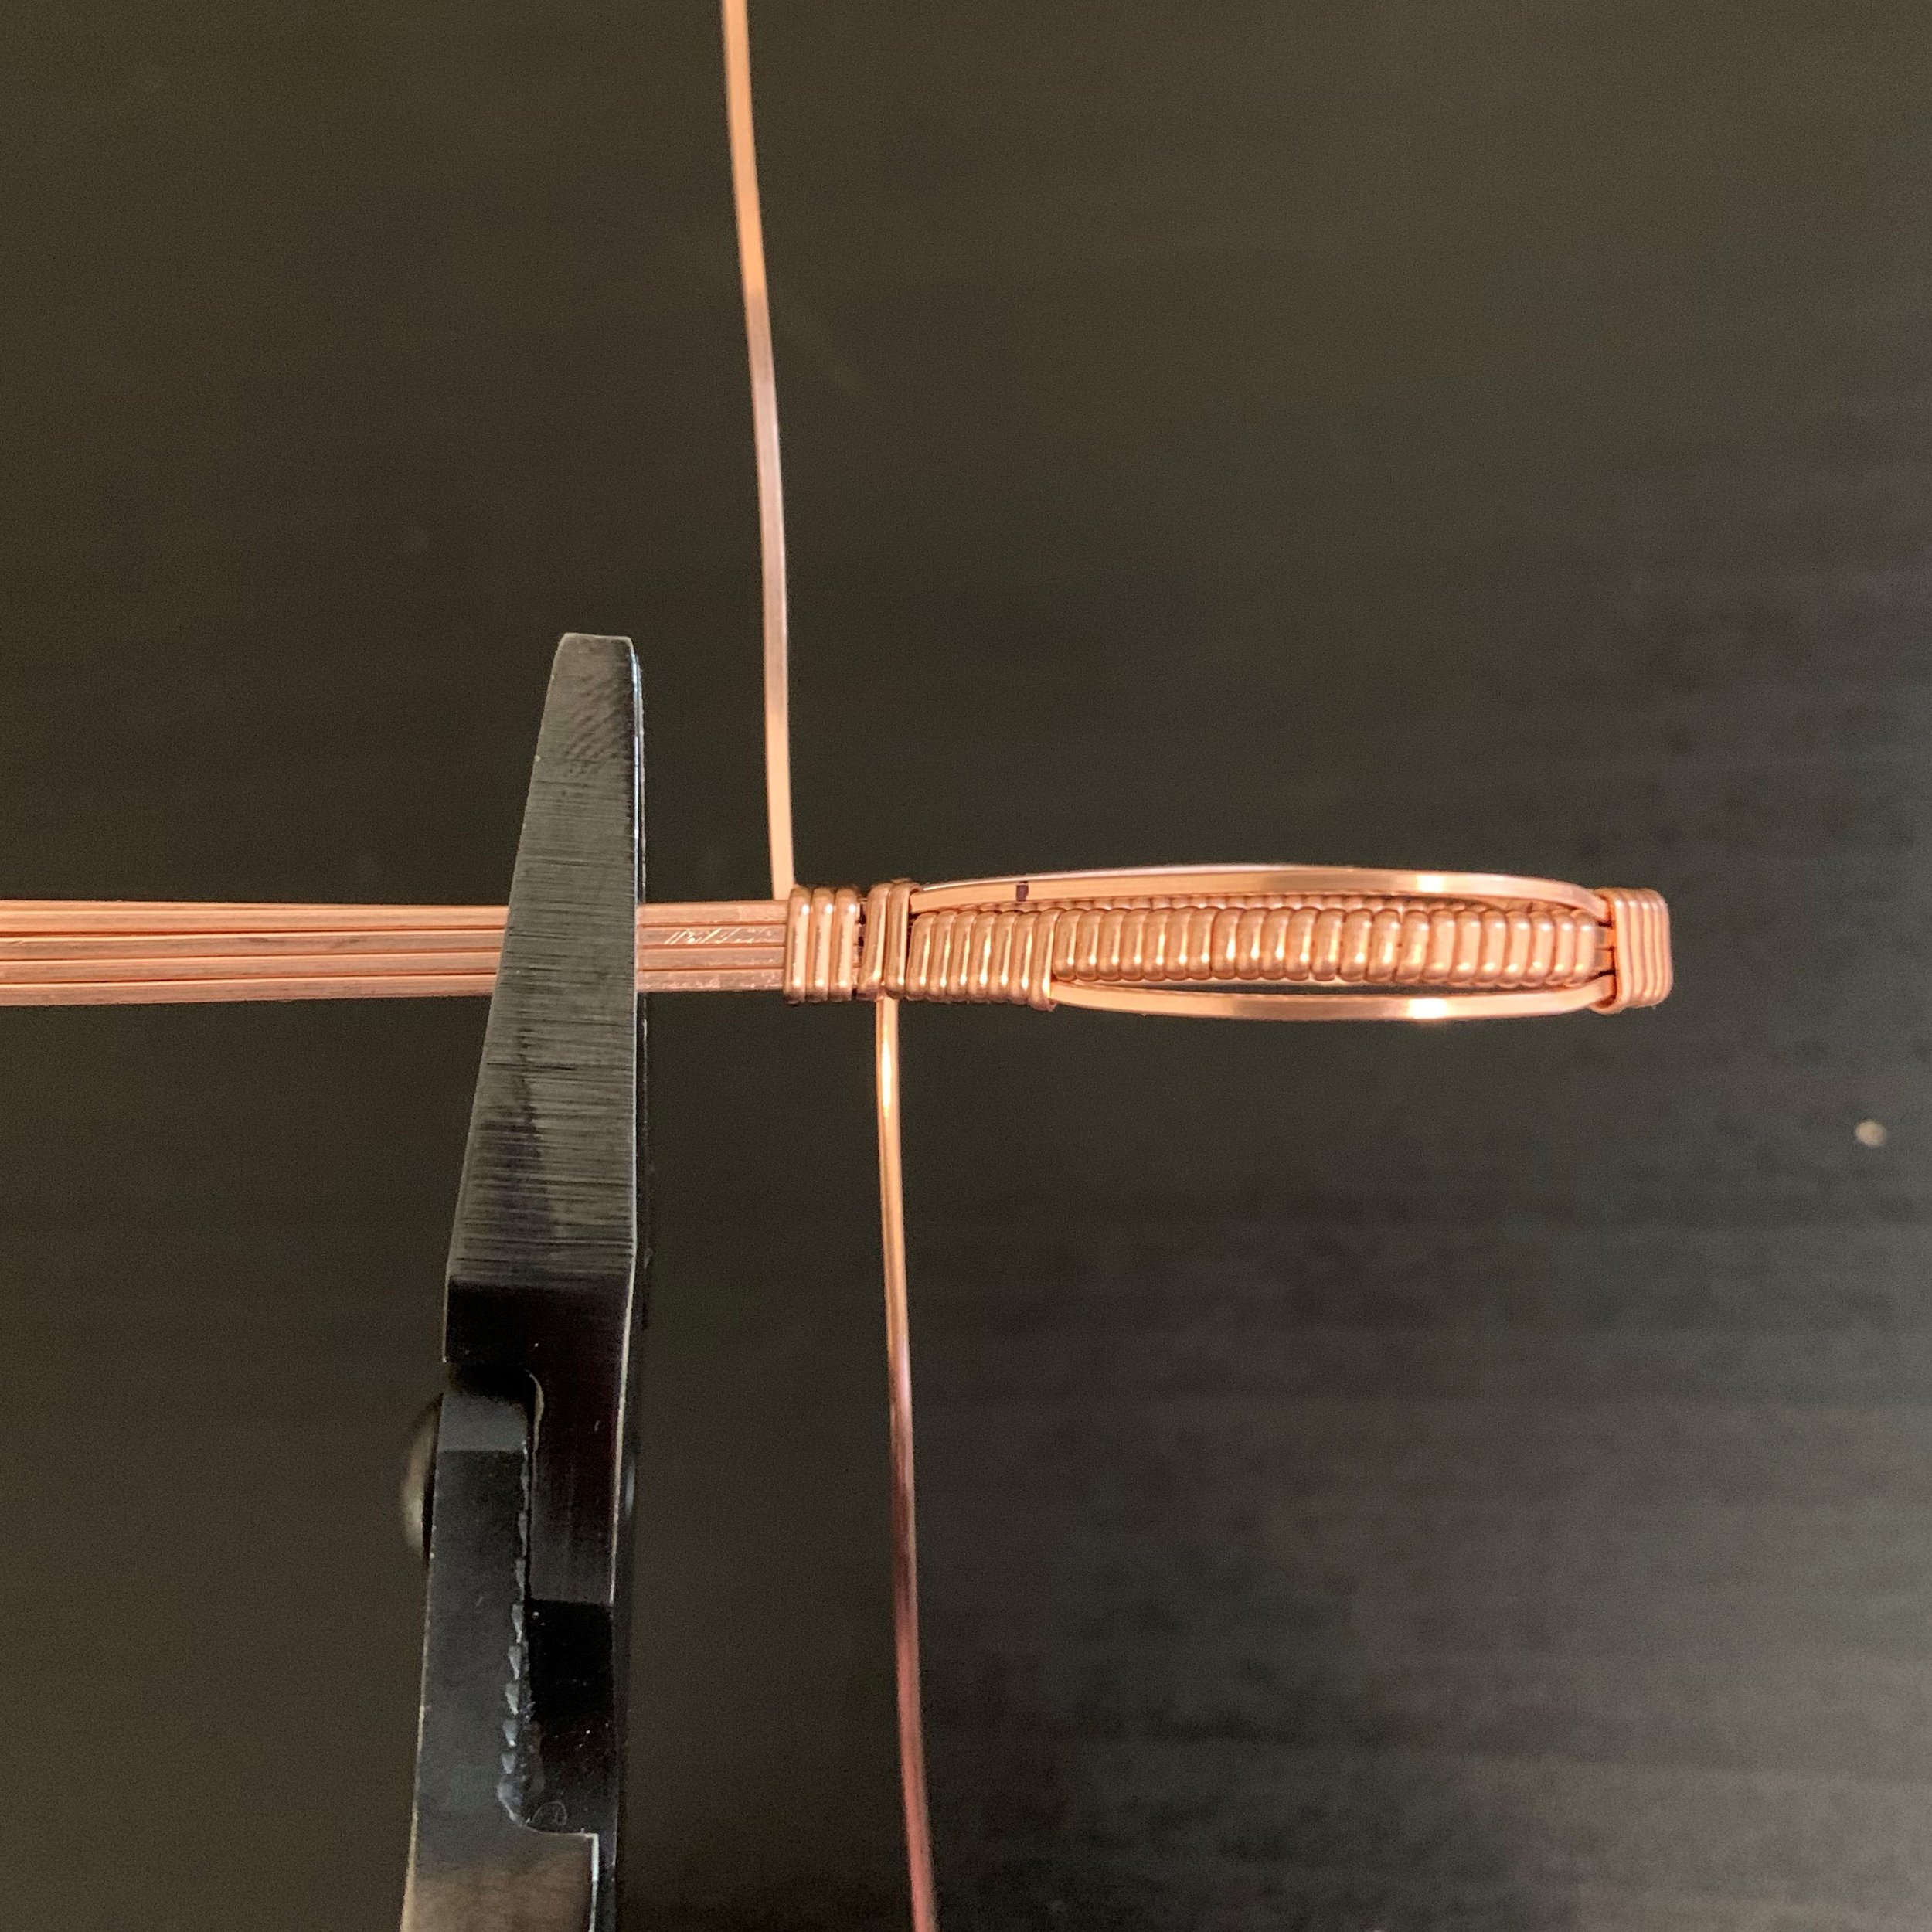
Pull the top and bottom base wires away from the center two wires at a 90-degree angle.
Continue the wrap around only the two middle base wires. Be careful to identify your front side and back side of the wrap. The front side should have clean, vertical wraps. The back side should have the diagonal wraps that are not as cleanly perpendicular to the base wires.
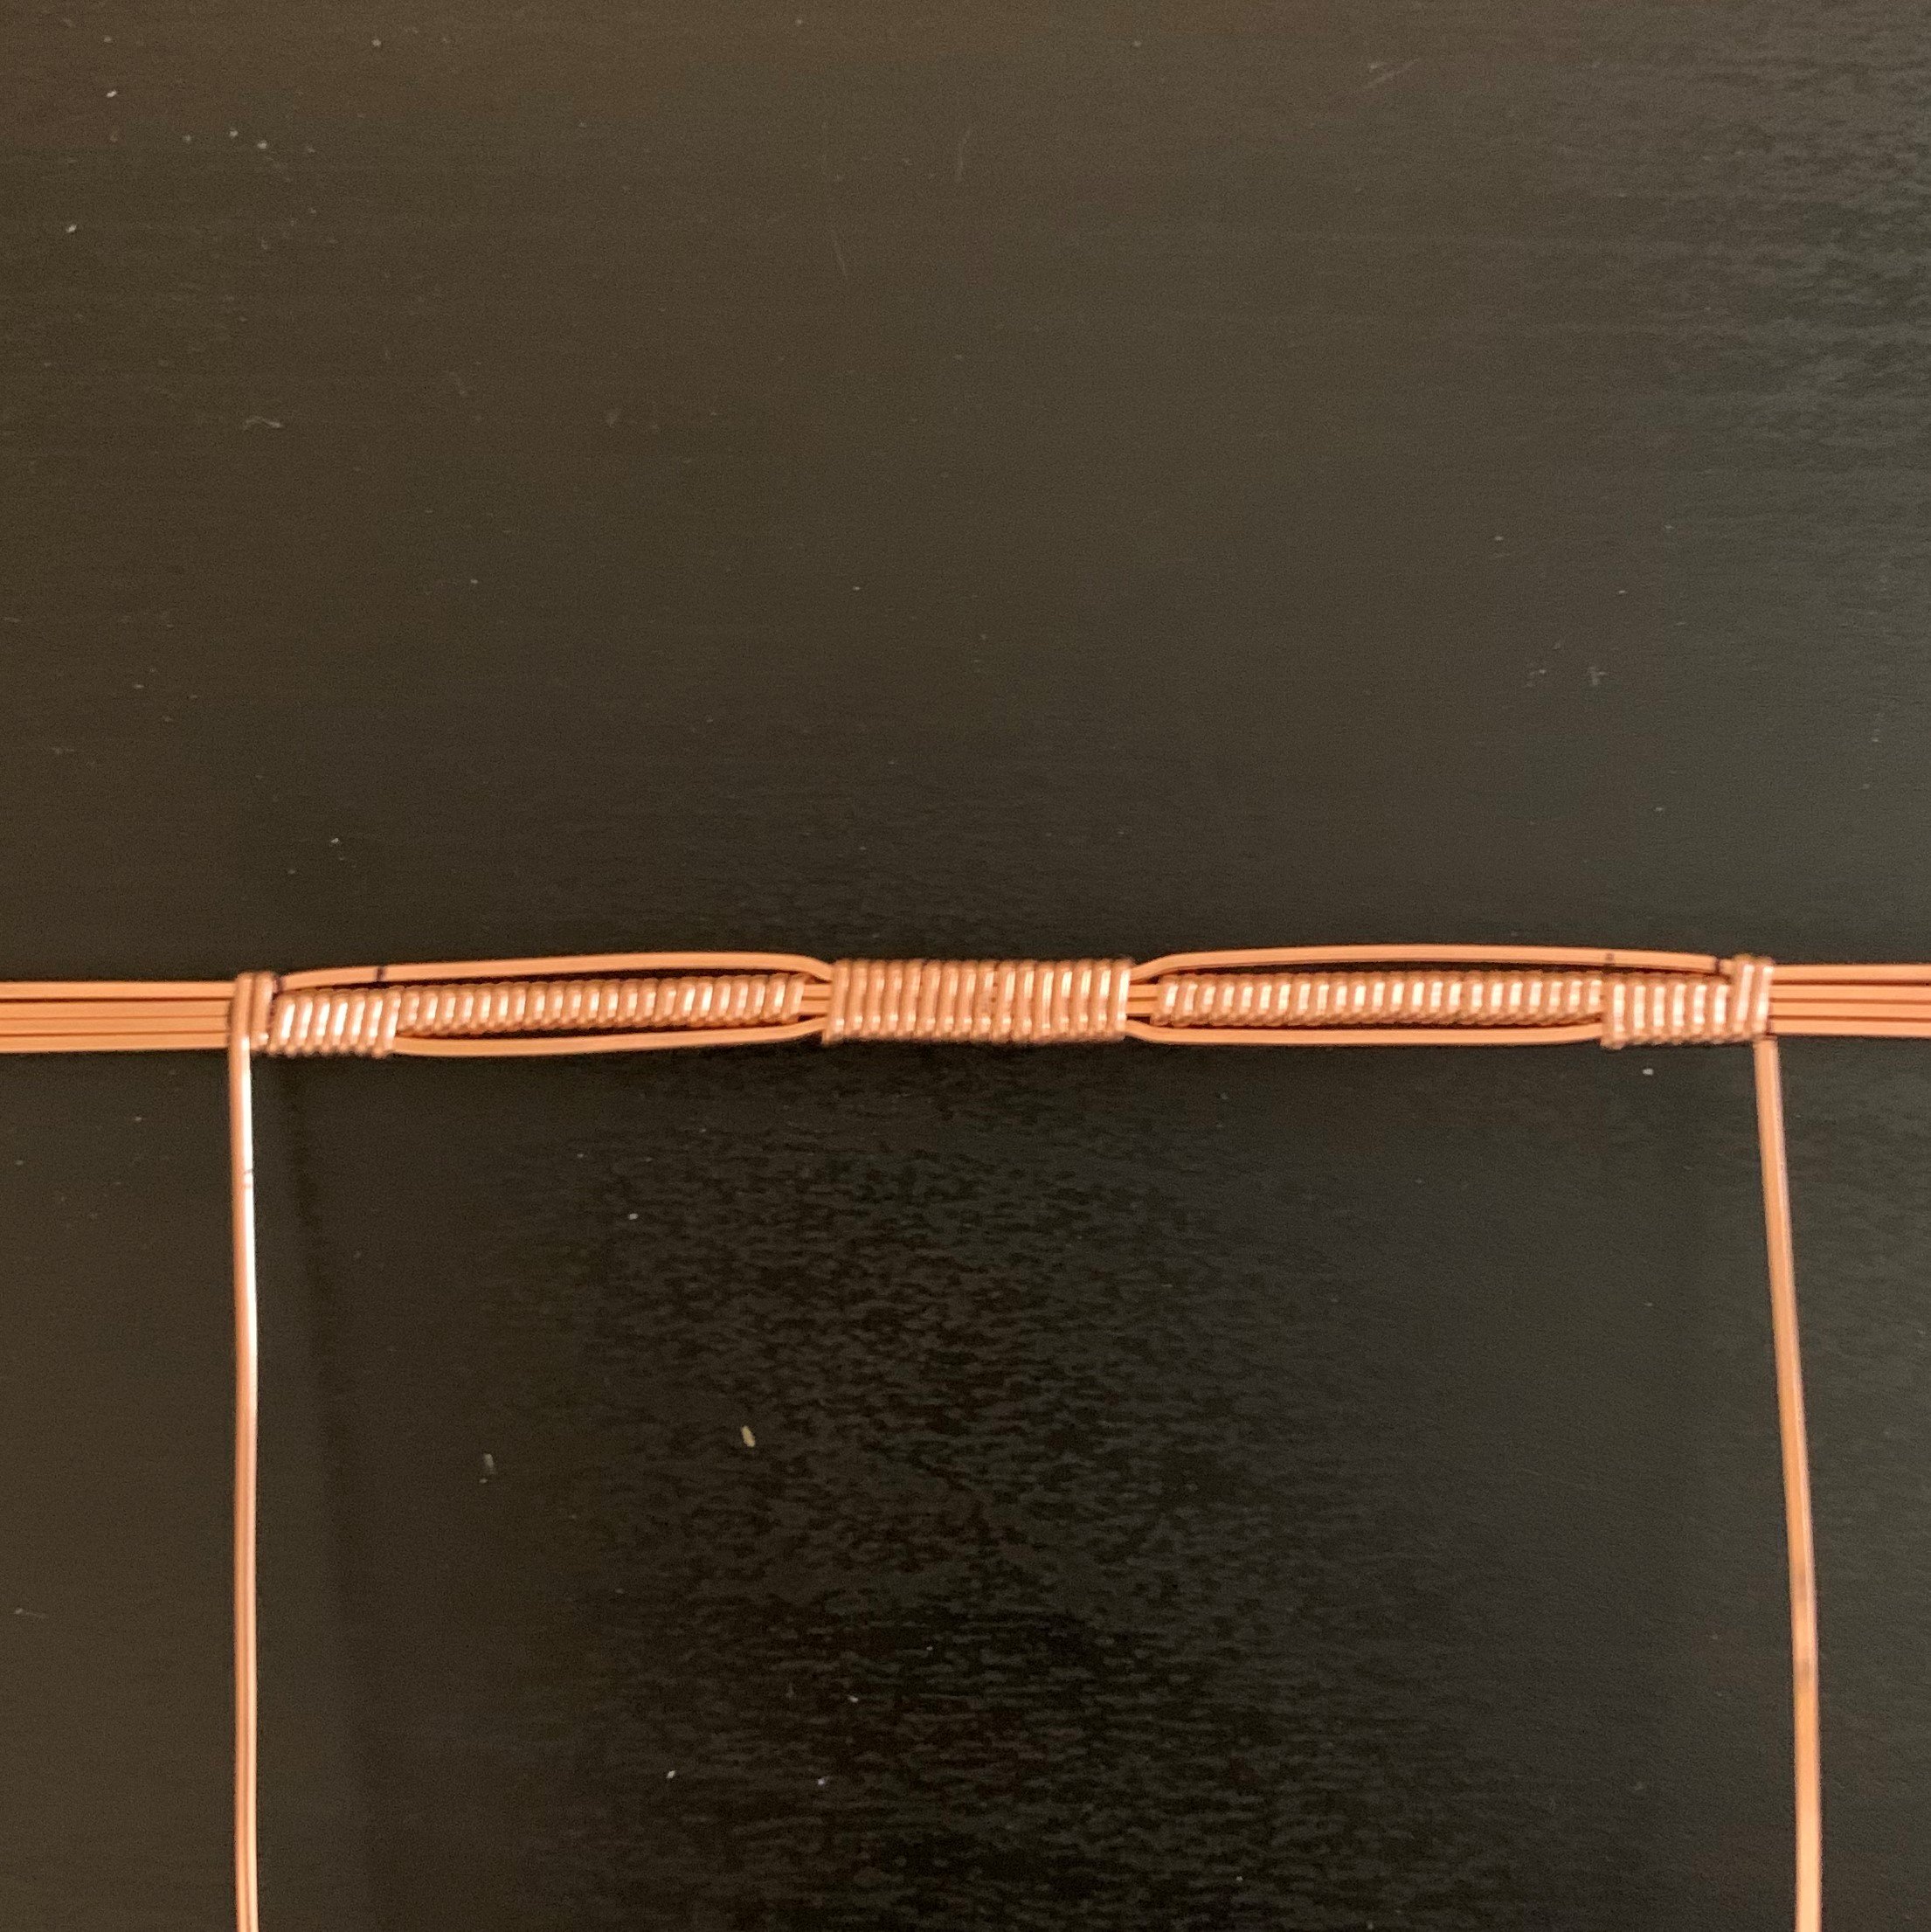
Continue the wrap out to the first mark, a length of 23mm. Pause every few wraps to tighten and flatten your wraps using your flat-nose pliers, or use nylon-tipped pliers if you have them. Nylon-tipped pliers are great for straightening wire and gently forming it without leaving tool marks.
Gently bring the bottom square base wire up parallel with the center two base wires again. You may use your flat-nose pliers to squeeze the base wires together gently.
Wrap all three base wires together, to a length of 5mm, which should be your next measured mark on the wires.
Repeat this process for the top base wire now, bringing it down parallel to the other base wires and integrating it into the wrap. Wrap at least 2x around, which should bring you to your final mark on the base wires, or up to 4x around if you want a little extra negative space between the top of the stone and the bottom of the bail. A little extra space can make it easier in the finishing steps of the piece later, so consider going 4x around if you are a beginner.
Step Three: Form the Setting
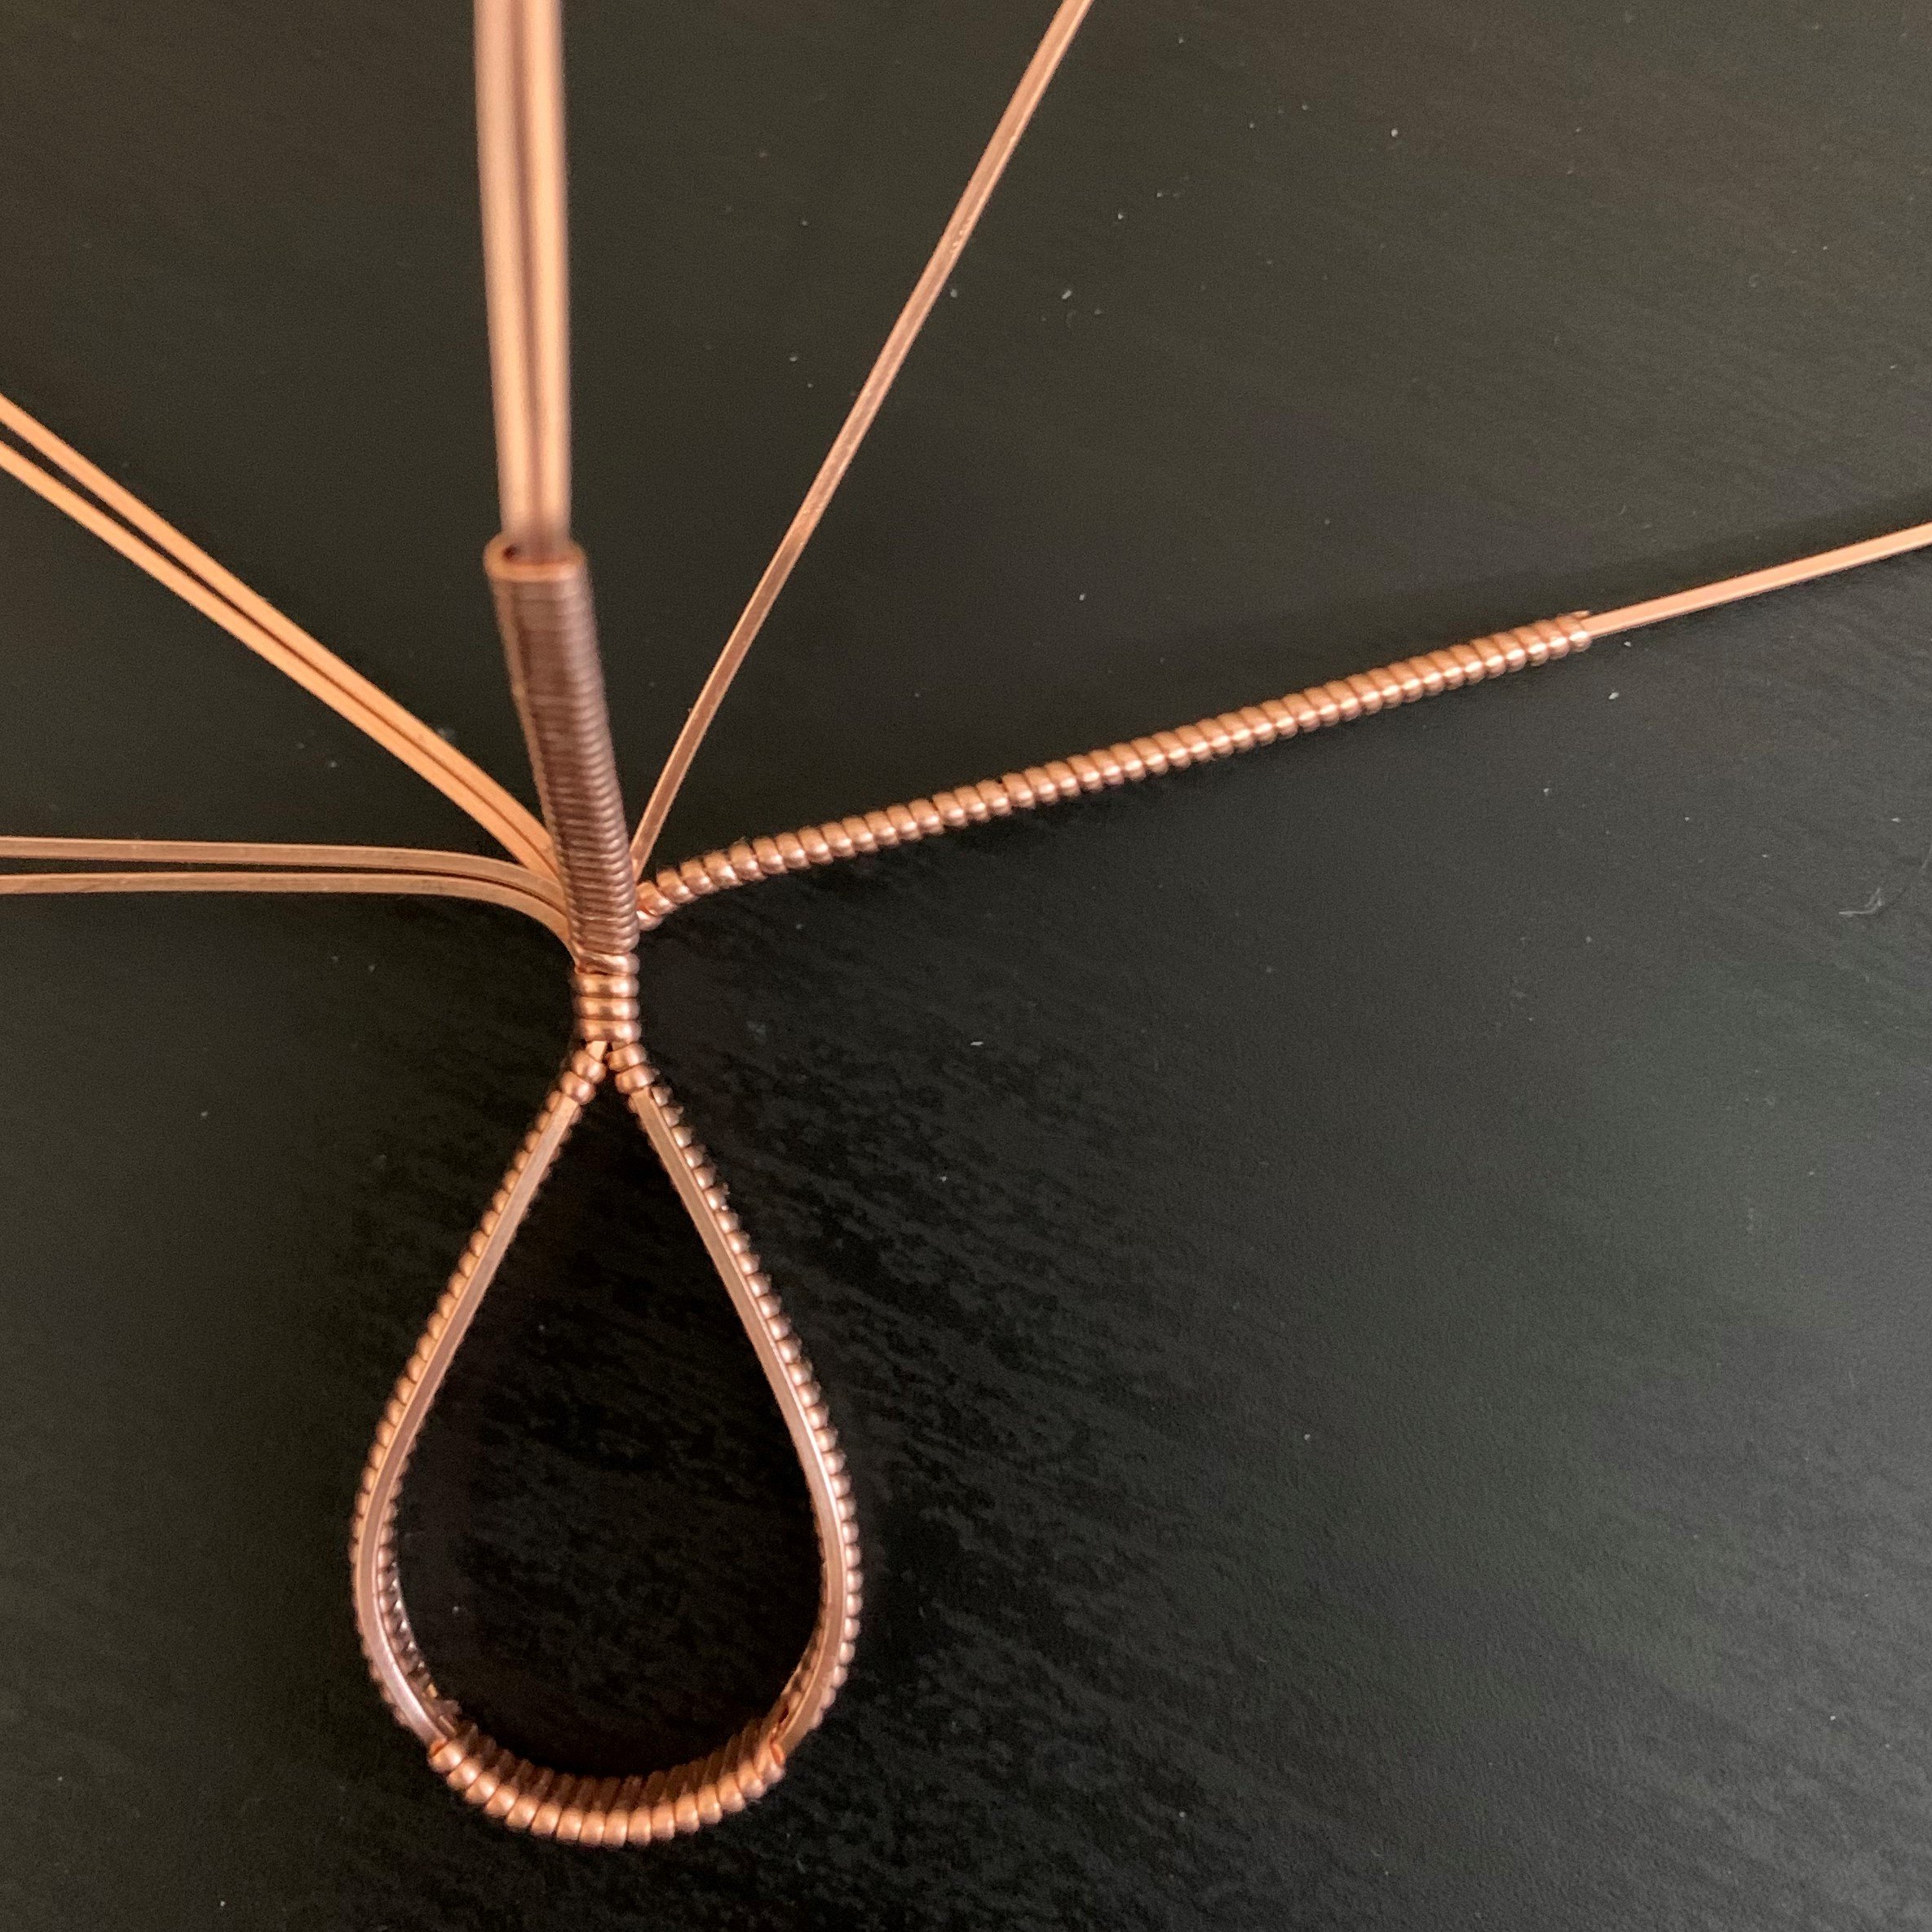
With your flat-nose pliers, place a bend in each side of the base wires, just past the end of your last wrap, upward toward the “outside” or “front” of the wrap. The outside is the side with clean, vertical wraps, not the diagonal wraps.
Use a ring mandrel to form the stone setting around ring size 7-8. This will get your shape close enough that you can later adjust the setting using the stone itself.
Pinch the ends of the wire together with your flat-nose pliers. This should feel quite natural because of the bends you placed before forming the setting.
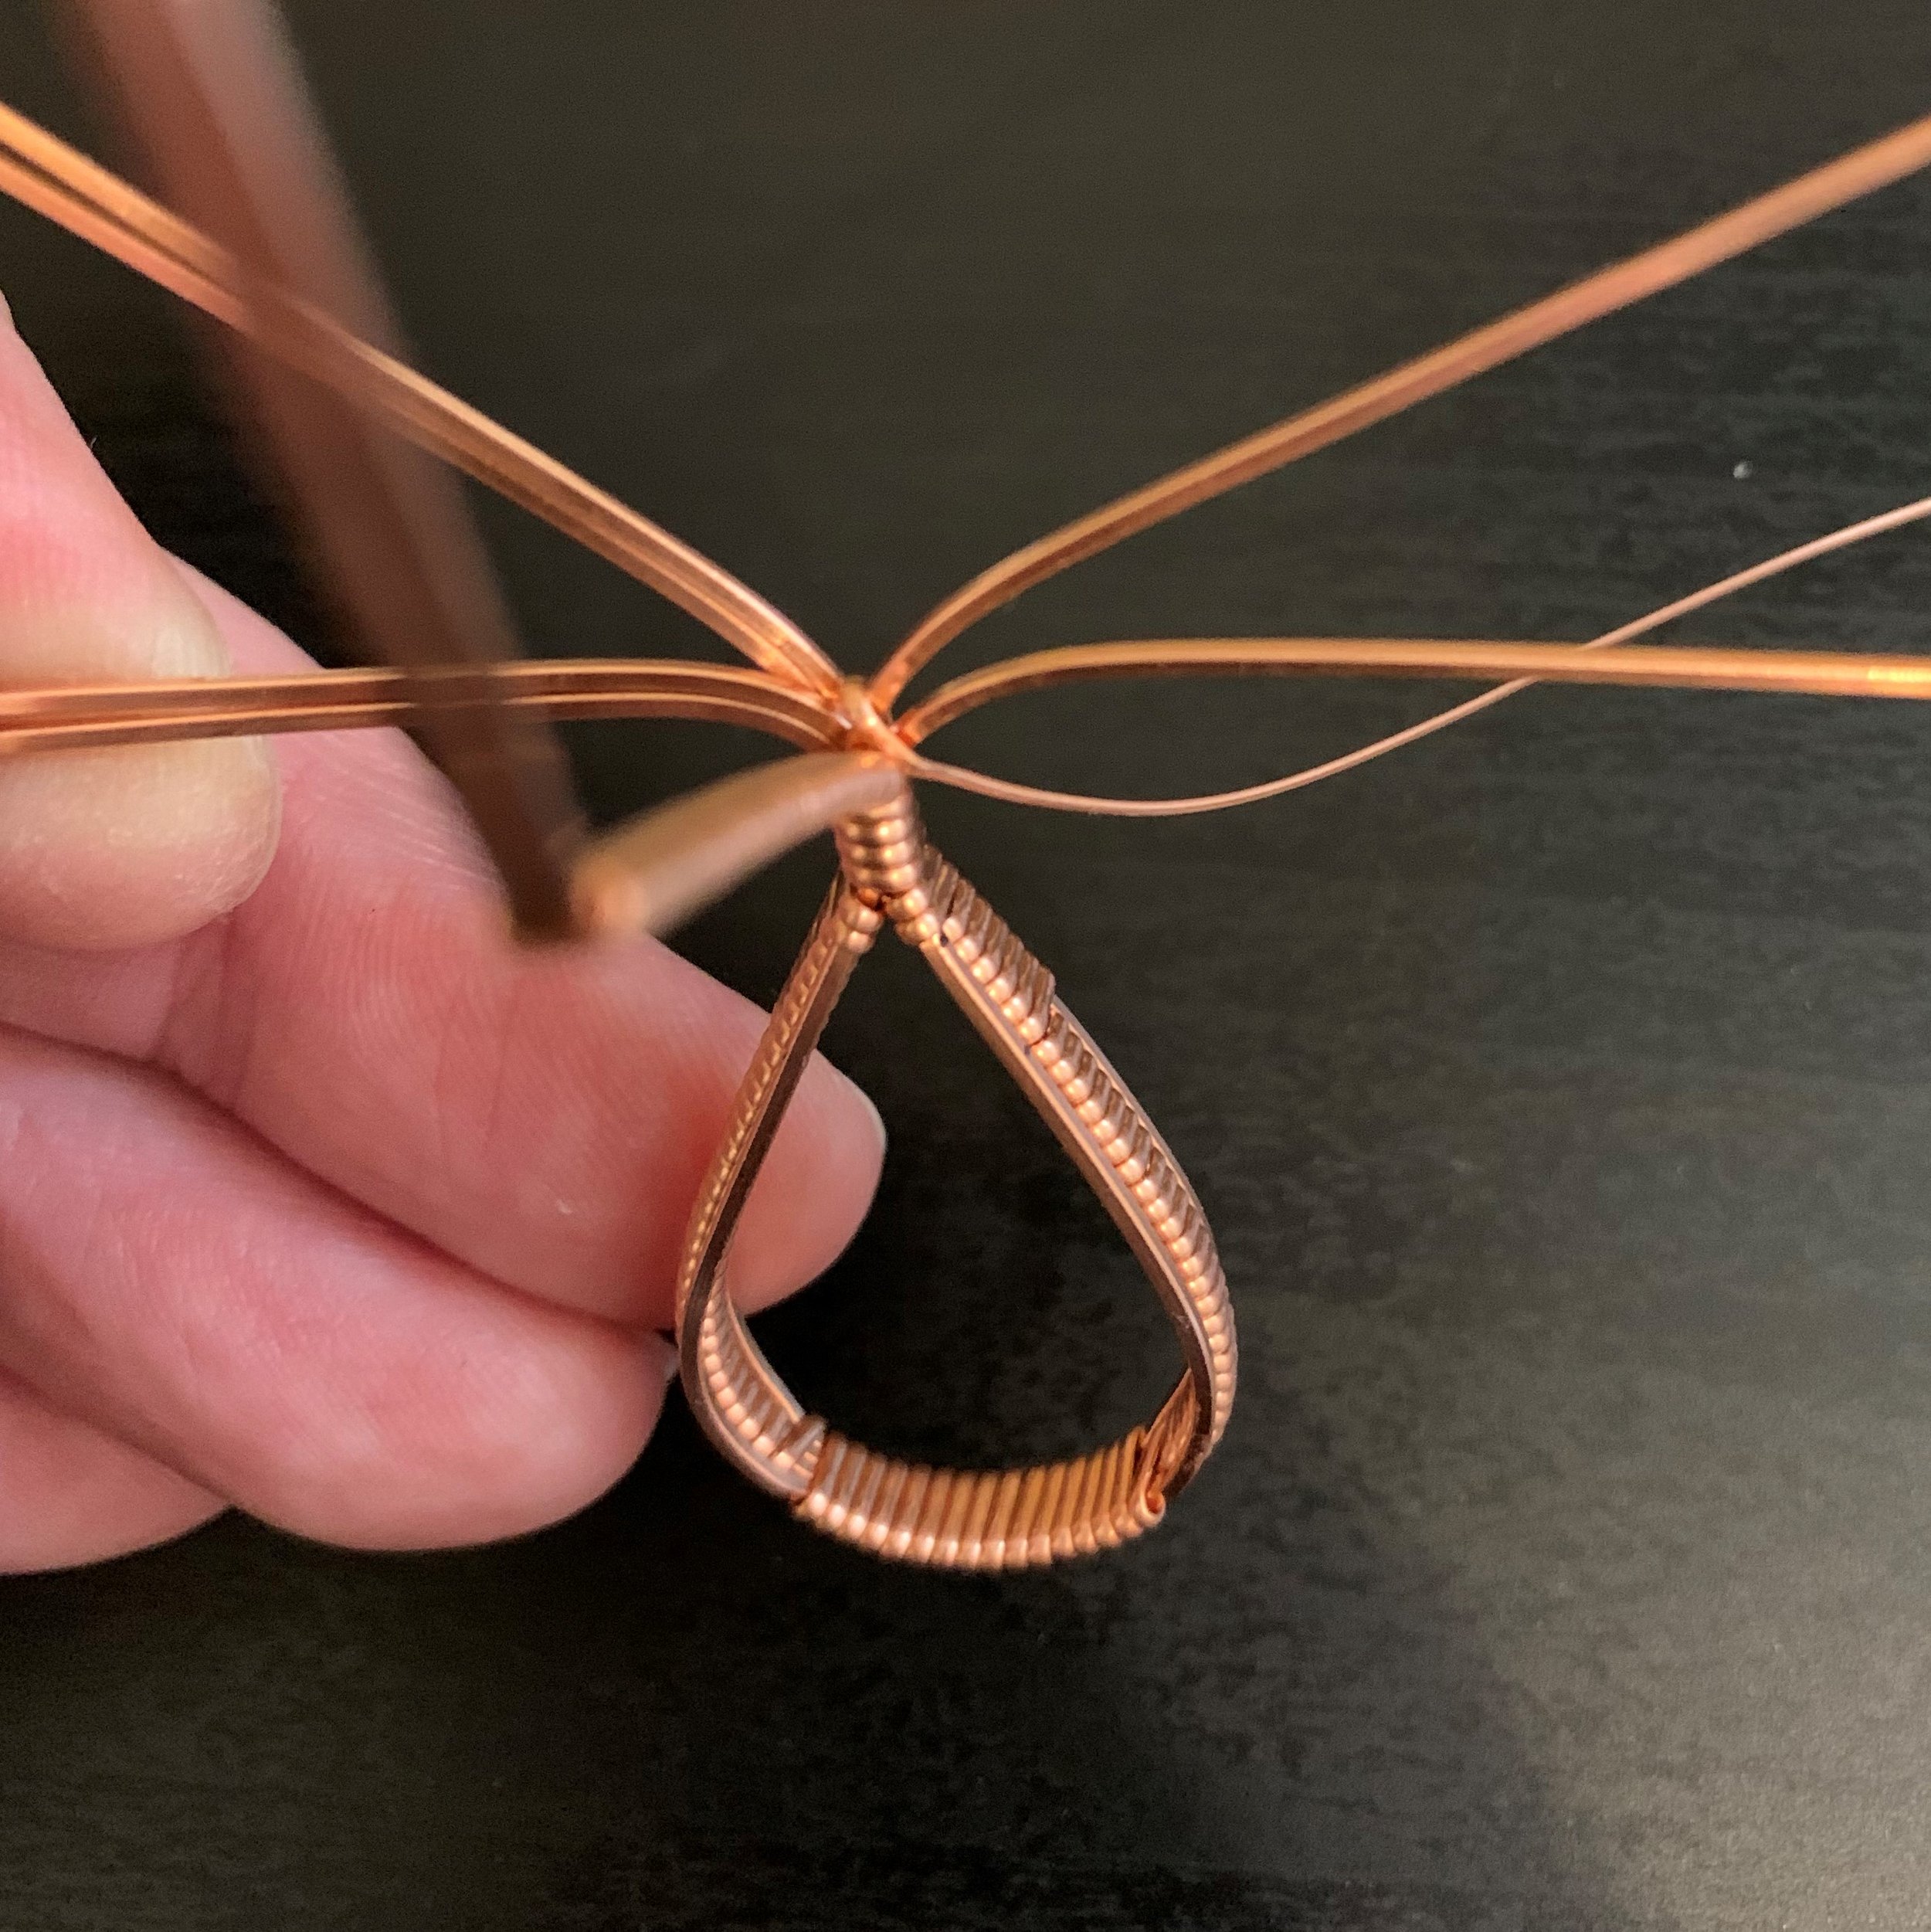
You will notice that both ends of the half-round wrapping wire are close together. One should be on the outside of the base wires, and one is between the two sets of base wires. Using the half-round wire that is on the outside of the base wires, continue its natural path around all eight base wires three times, ending with the wrapping wire facing up toward the front of the setting.
Your wrapping wires are now facing opposite directions. Take note of which side is the front of the setting and which side is the back.
Step Four: Complete the Wrapping Wire
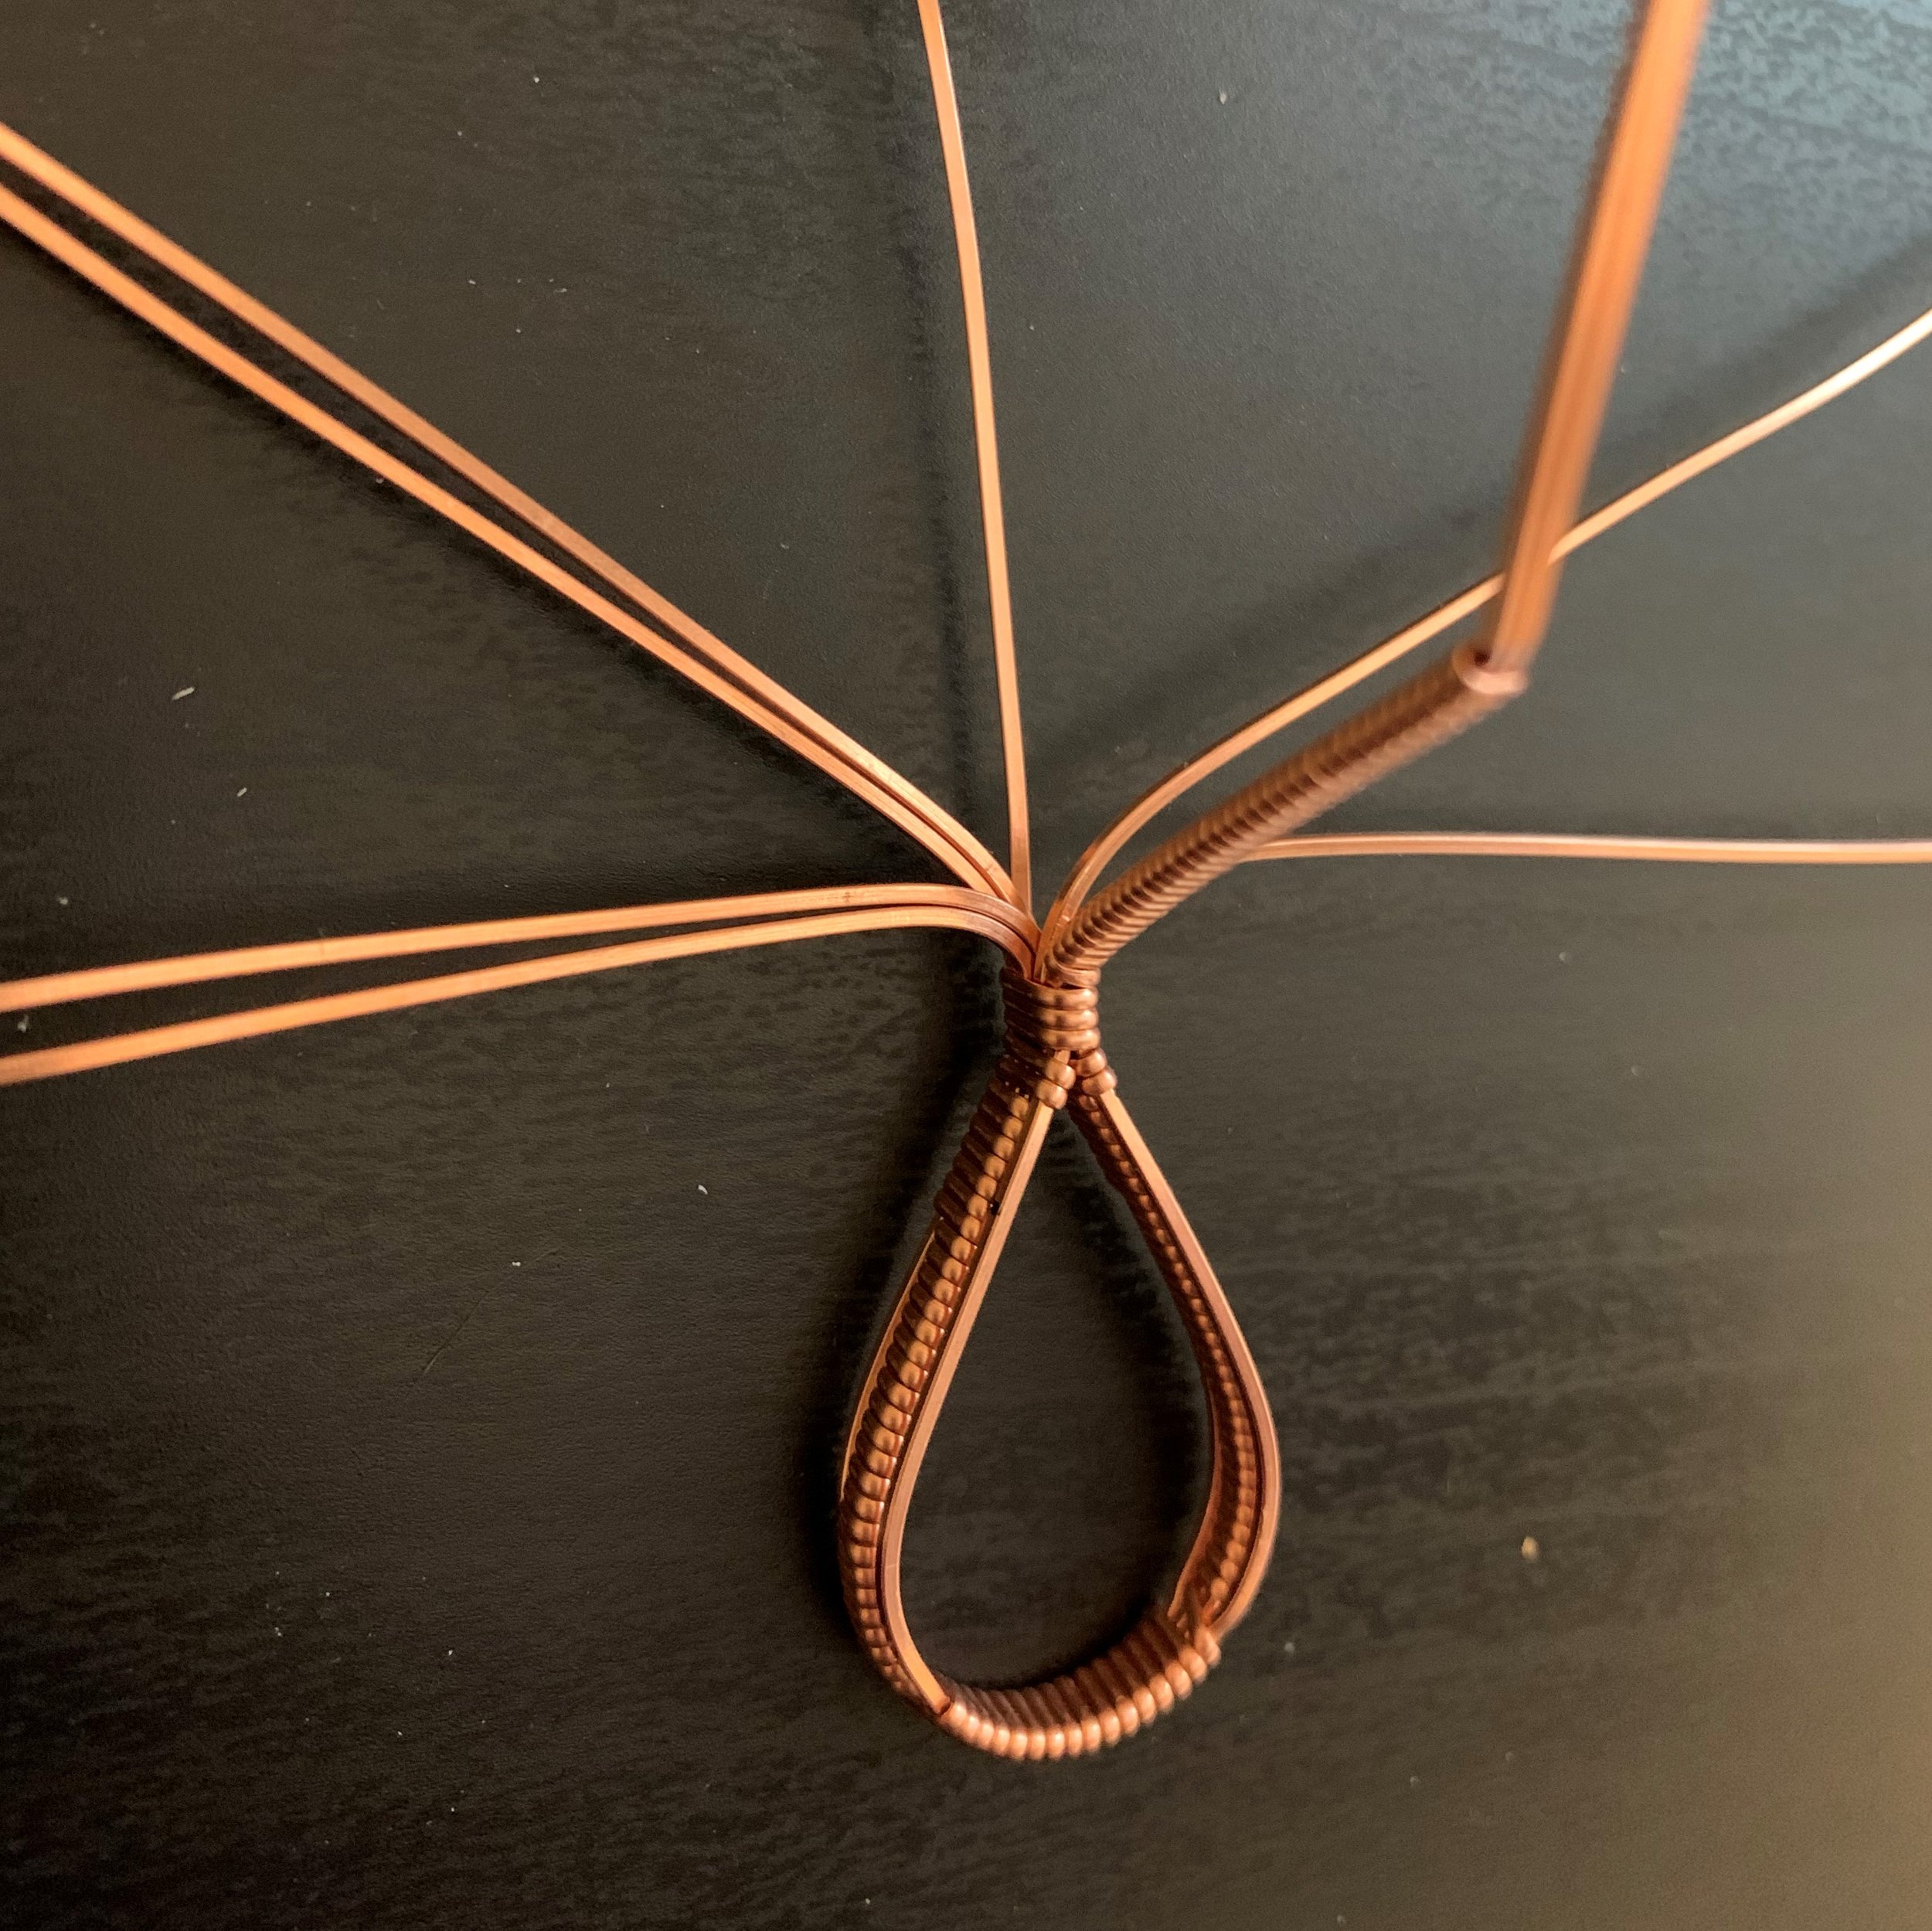
The wire you just used to wrap around all eight base wires three times is now facing the front of the setting. It will be used to wrap the bail of the finished piece. Separate the bail from the rest of the base wires by bending forward the front two base wires.
Continuing the natural direction of the wrapping wire, wrap several times around just these two front wires. Pause to tighten and flatten your wraps periodically as usual.
Measure and mark a 3cm length. This is how far you will wrap the bail. Trim the bail approximately 2cm past the end of your wrap.
Finish wrapping the half-round wire around the bail wires. Use your flush cutters to trim the wrapping wire on what will be the inside of the finished bail, which is currently facing upward.
Place a bend in the bail wires, just past the last wrap, pointing upward. This bend can be anywhere from 45 degrees to 90 degrees; accuracy is not critical here.
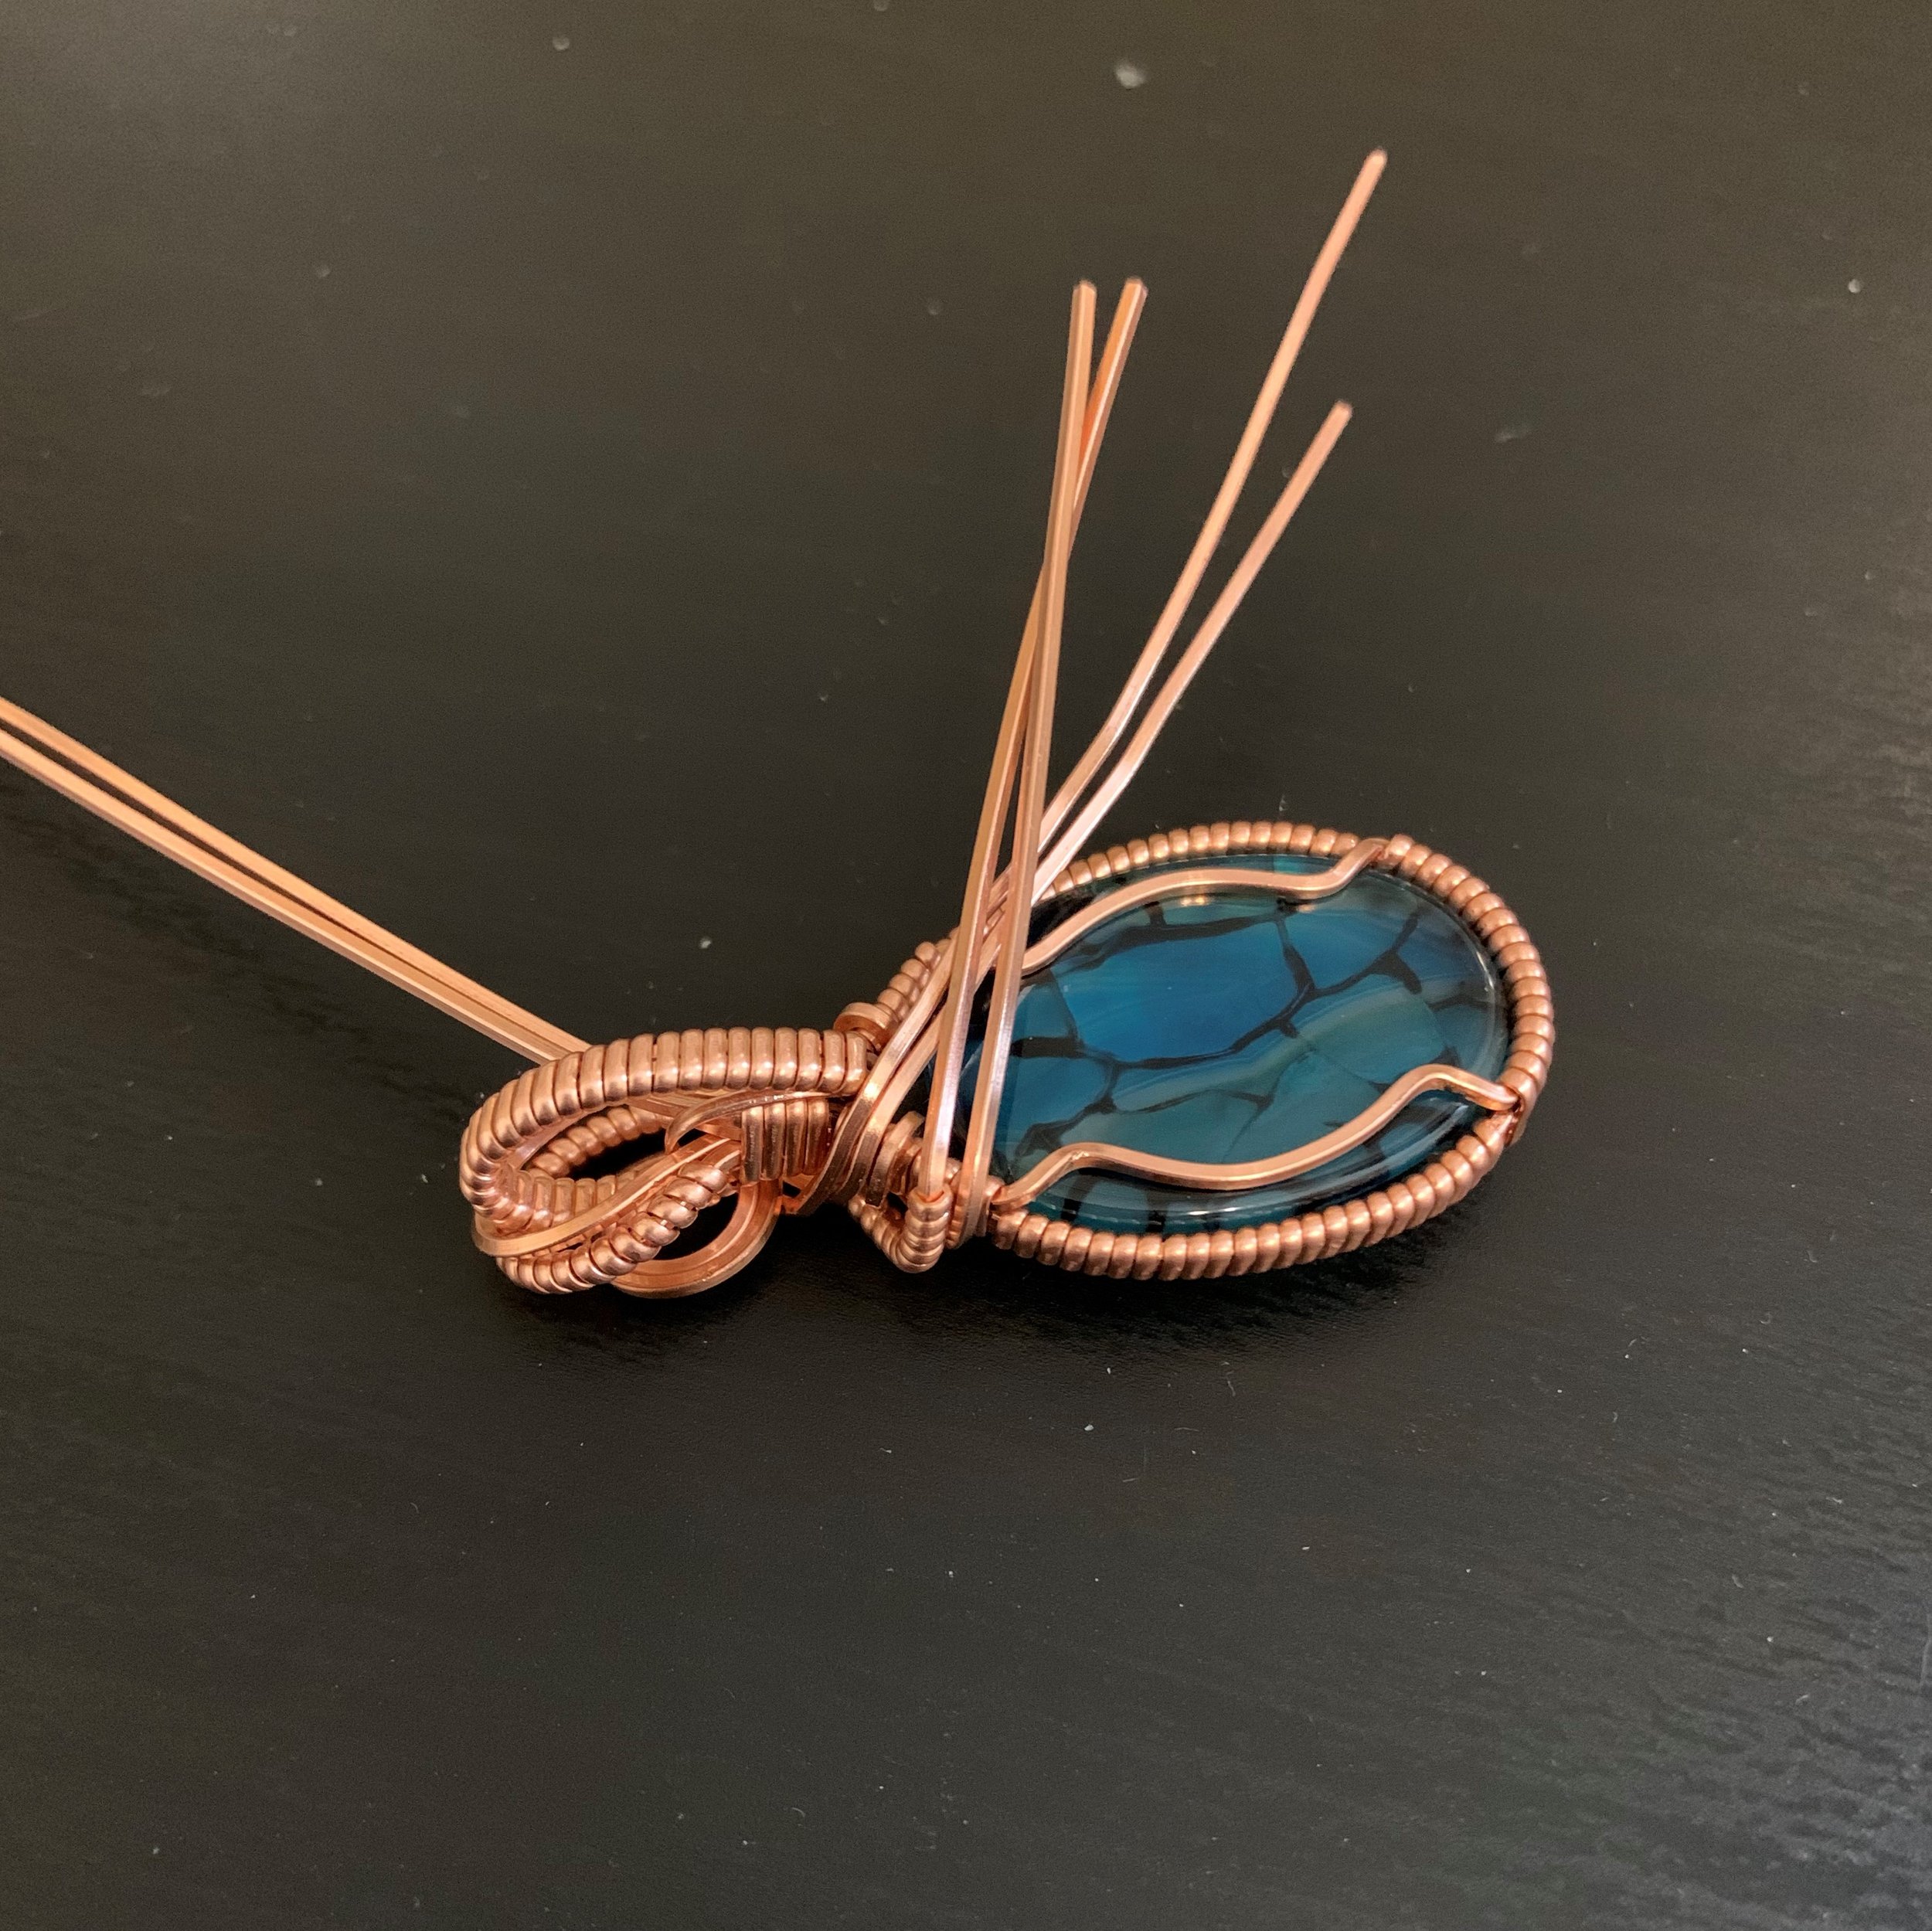
Next we will place and finish the other wrapping wire, which is still sticking out from the back of the setting. First, separate the base wires by bending pairs to each side. The first pair goes right, and both back pairs go left.
The base wire pair that went right should be separated from each other a bit, as only one of these will be wrapped with the half-round wire, and you will want some space to work.
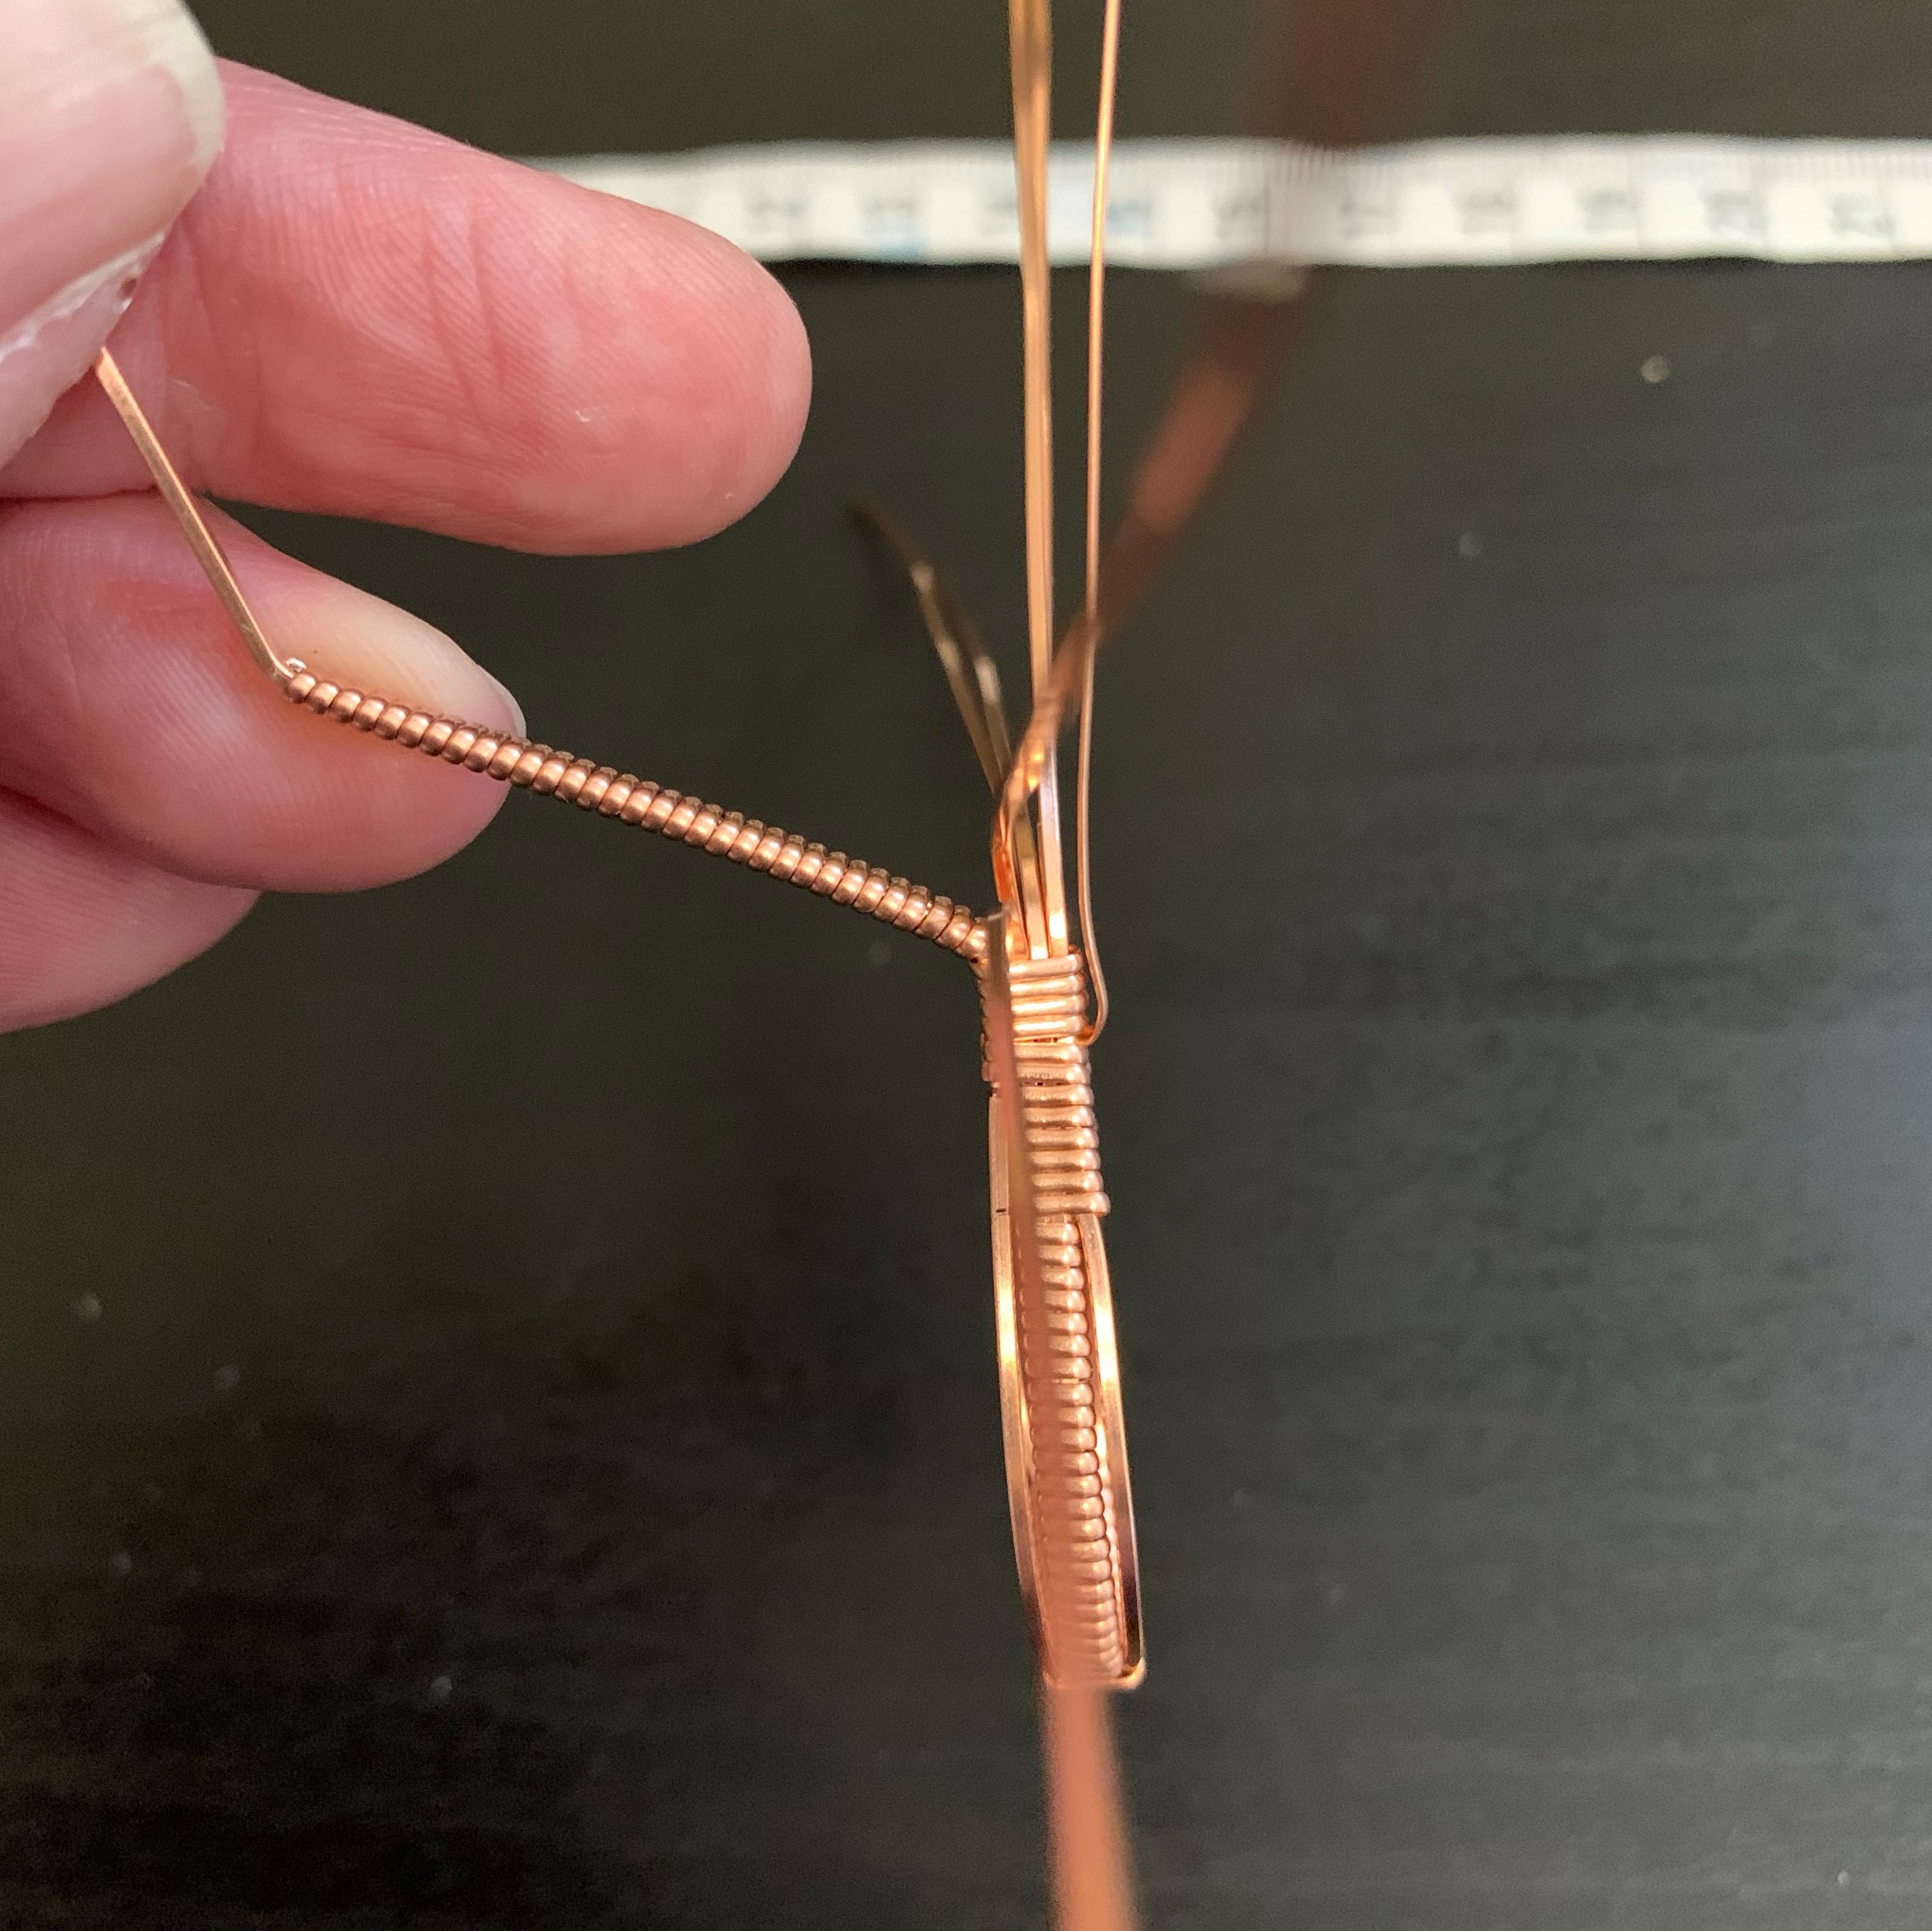
Bend the half-round wrapping wire up the back of the setting, placing a small twist to ensure that the flat side faces in toward the piece and the rounded side faces outward.
Bring the wrapping wire between the separated base wires, then bring it down in front of the lower right-side base wire. The natural direction of the wrapping wire should allow you to start wrapping around that base wire with the flat side of the half-round wire facing inward and the rounded side outward.
Measure and mark a length of 4cm on the wrapped base wire. This is how far you will wrap it, then trim the wrapping wire and press down the end to ensure it’s secure.
Step Five: Set the Stone
One caveat about this step is that depending on your choice of stone and how you plan to finish the piece, you may want to set the stone last. You will still want to fit the stone and bend the front setting wires at this stage, but don’t set the stone and bend the back setting wires yet if you plan to antique or tumble the frame and have chosen a stone that will not tolerate those steps. In this case, I am using a glass cabochon and will not be tumbling, so I have elected to set the stone now and gain the benefits of completing the piece with the greater stability provided by a placed stone.
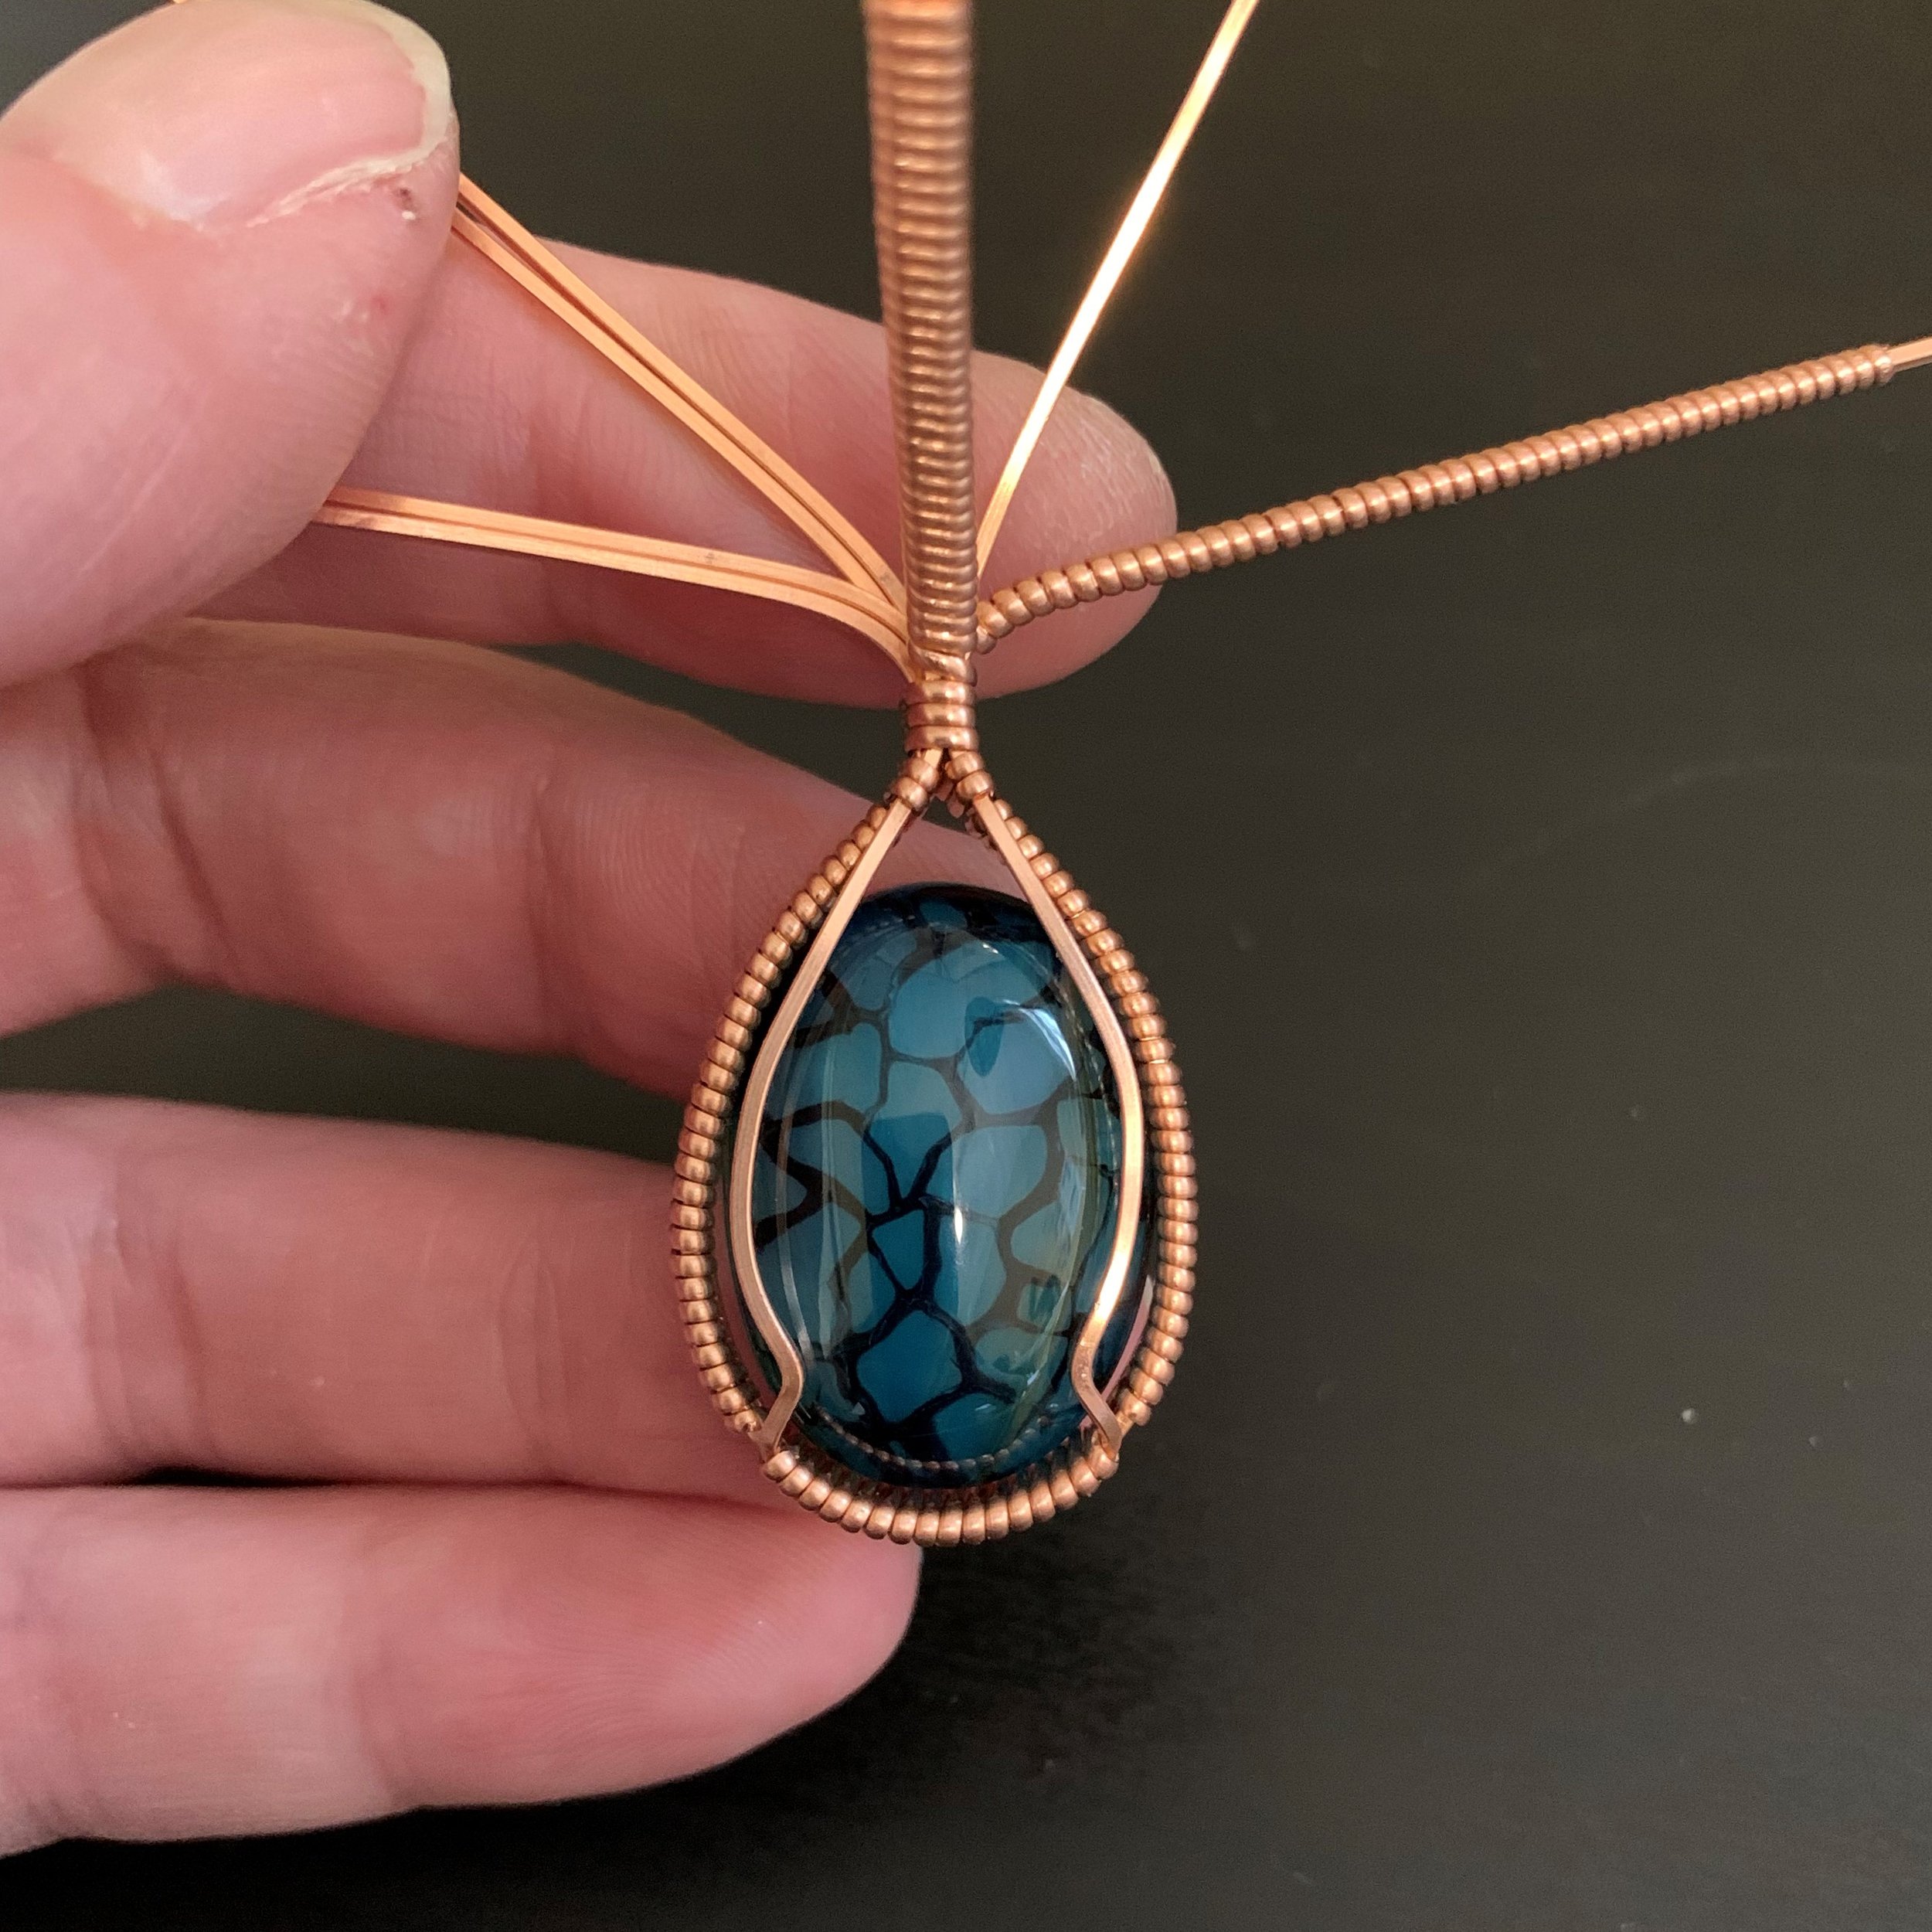
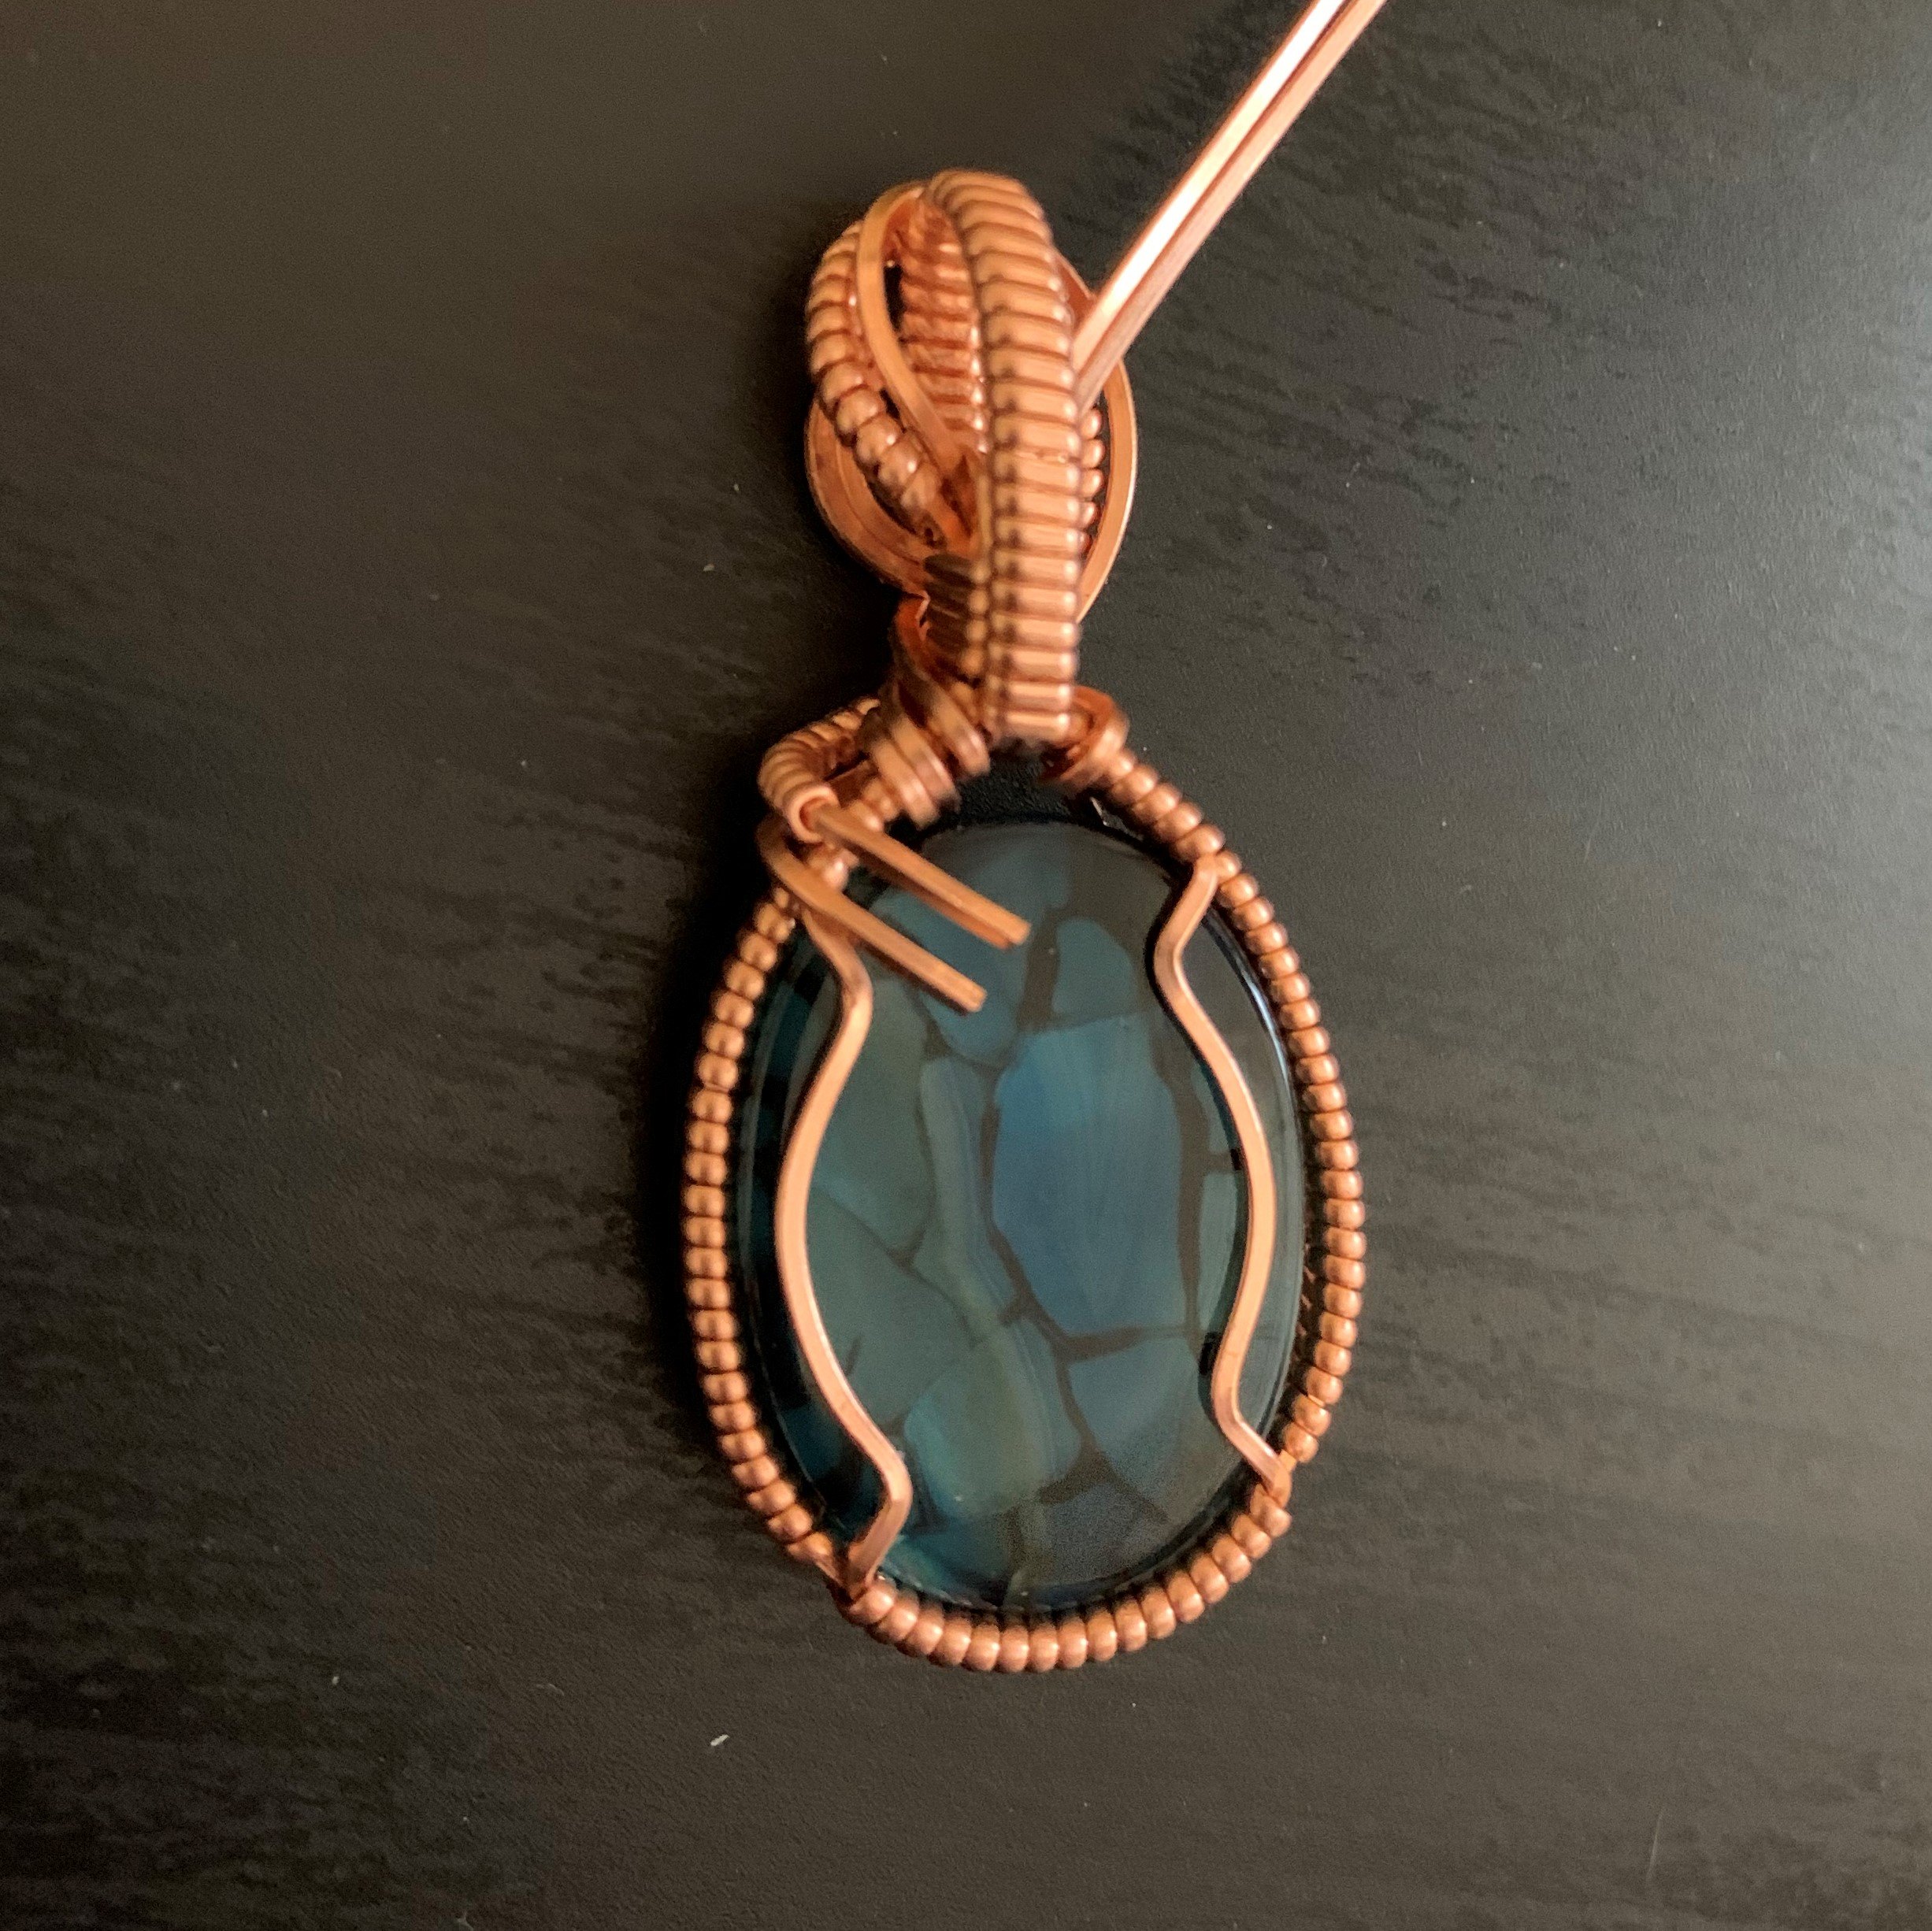
Fit the cabochon into the setting by pressing it into the back of the frame, with the rounded side of the stone to the front and flat side to the back. Use your fingers for this step.
Now that your frame is the appropriate shape for the cabochon, bend the front setting wires into place. Do this by grasping the bottom end of only the top base wire with your flat-nose pliers and rotating inward.
Press the cabochon in again from the back. This time there should be little danger of it popping out the front side.
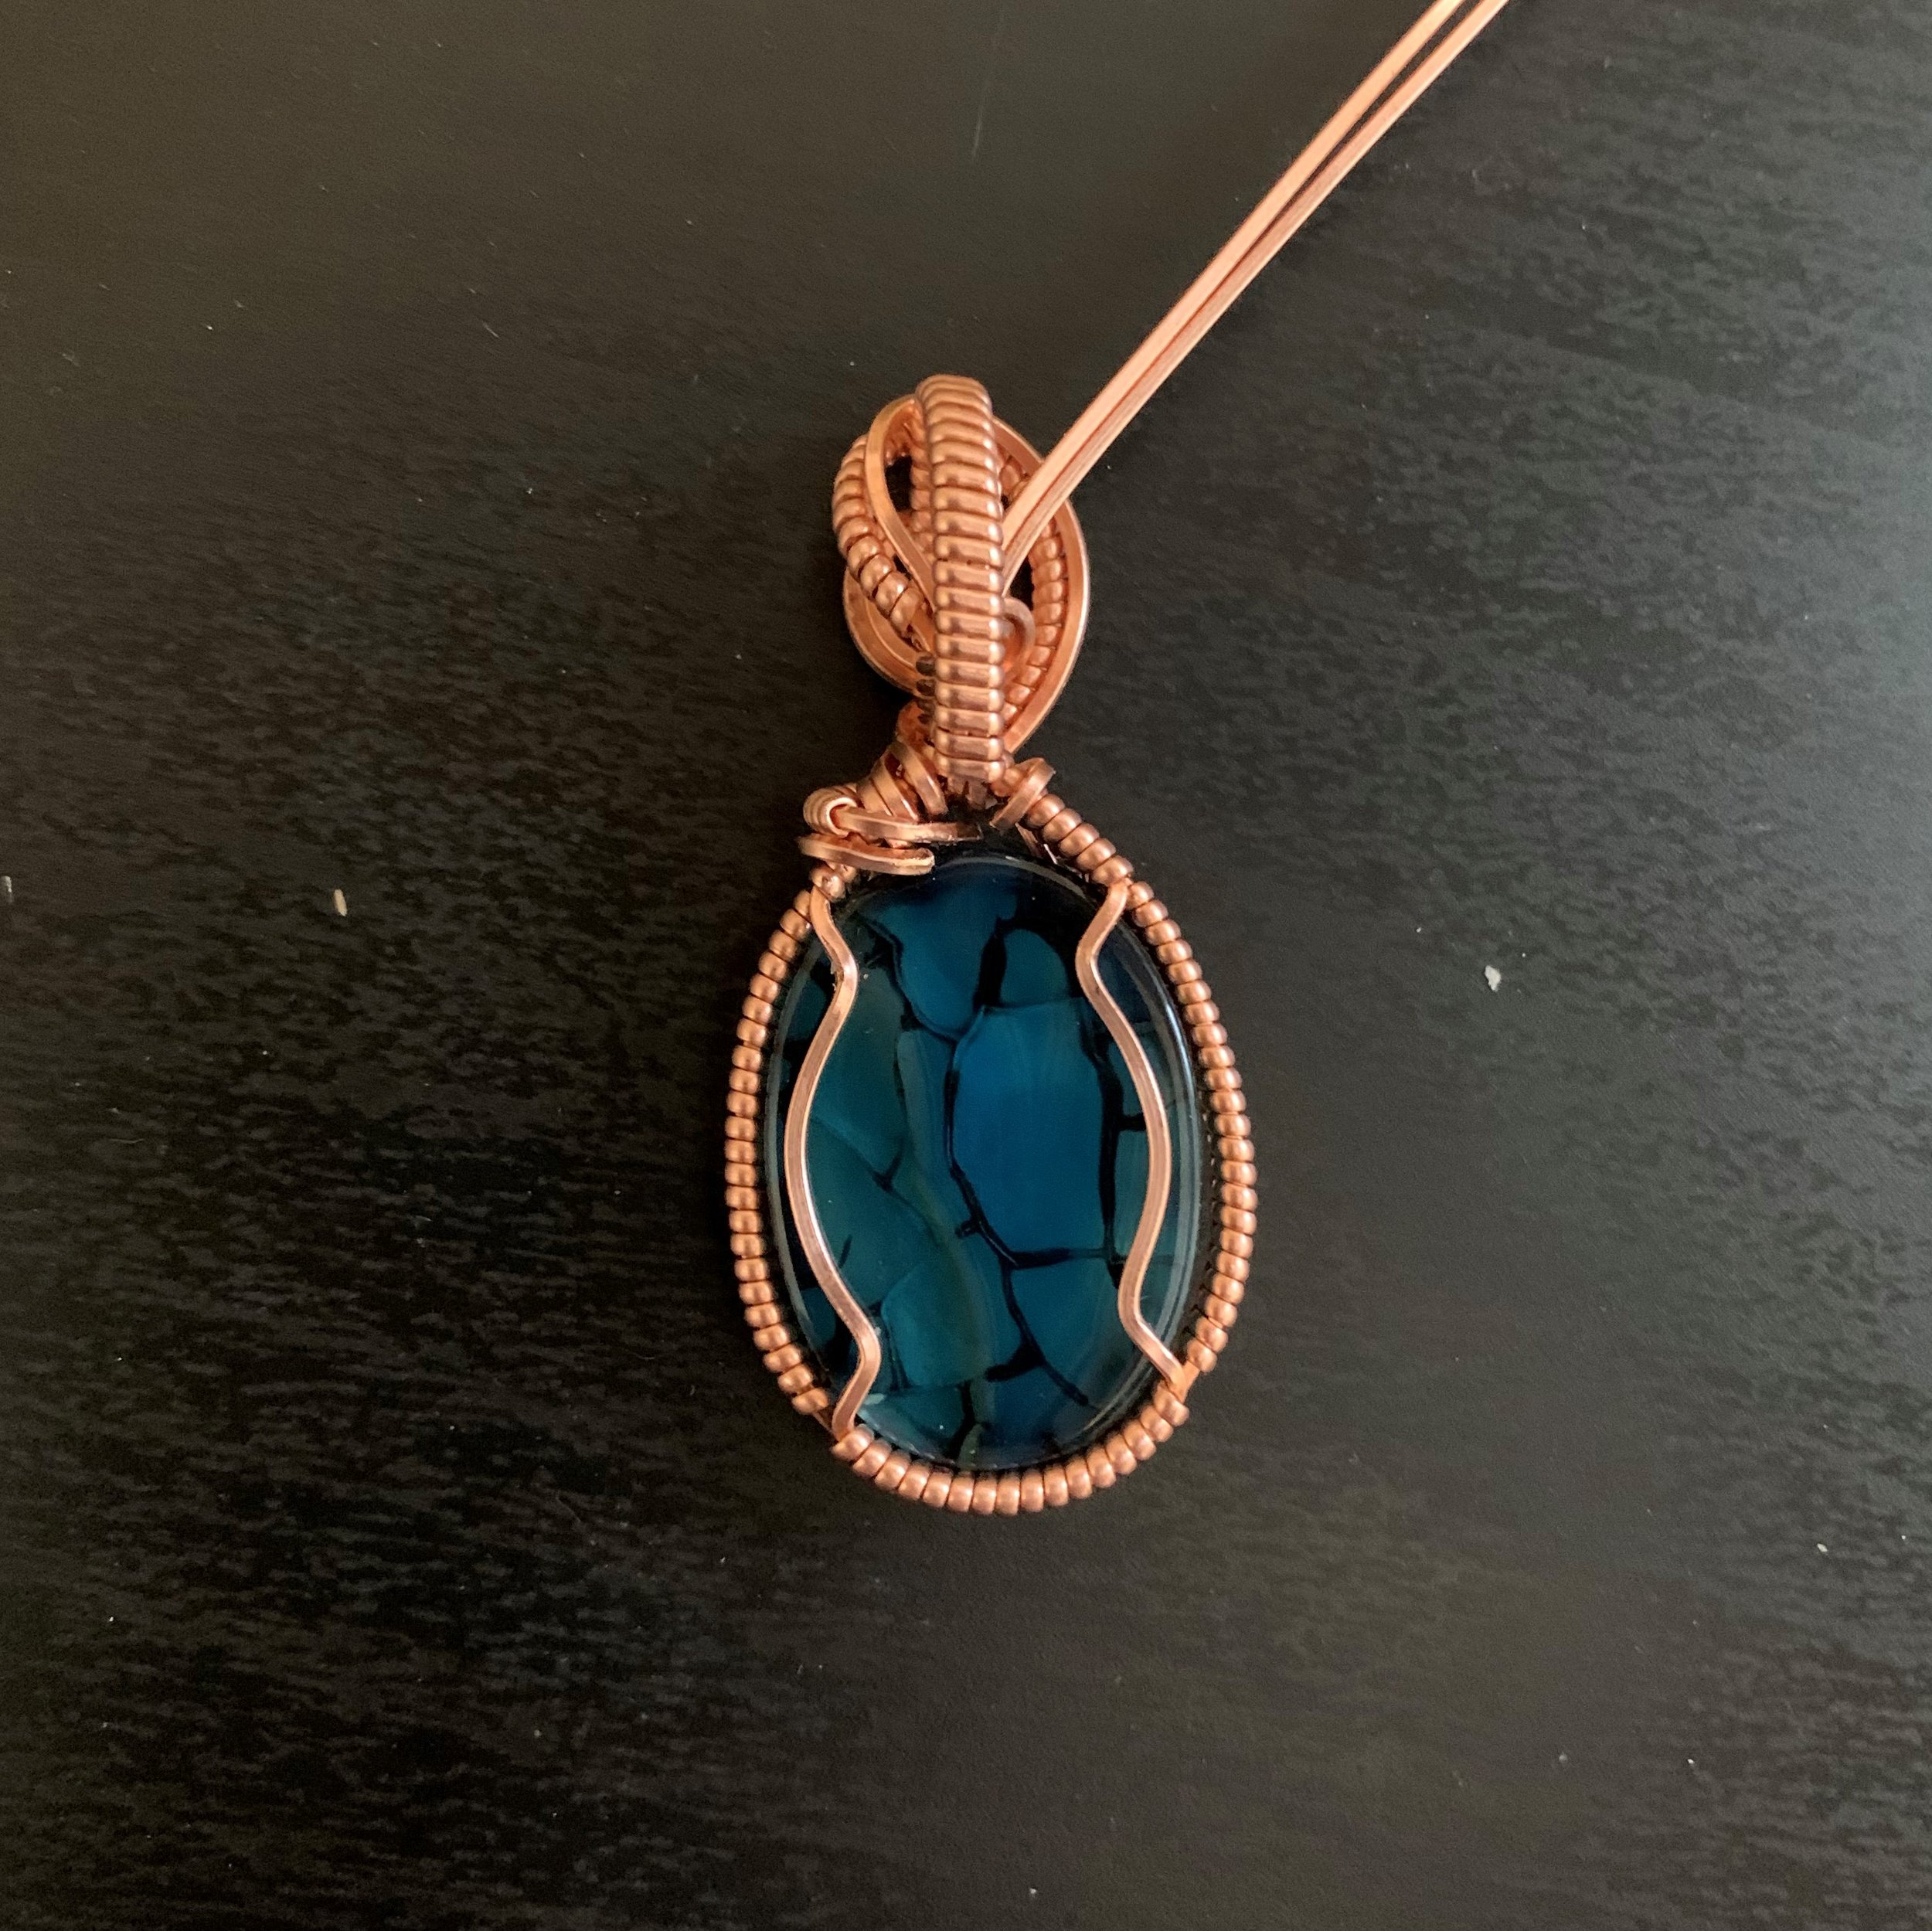
Use the same approach on the back side of the pendant, bending both the top and bottom ends of each setting wire on the back side of the piece. This creates a flat seat that the cabochon will rest on, and your stone is now secure from both front and back.
Step Six: Finish the Bail
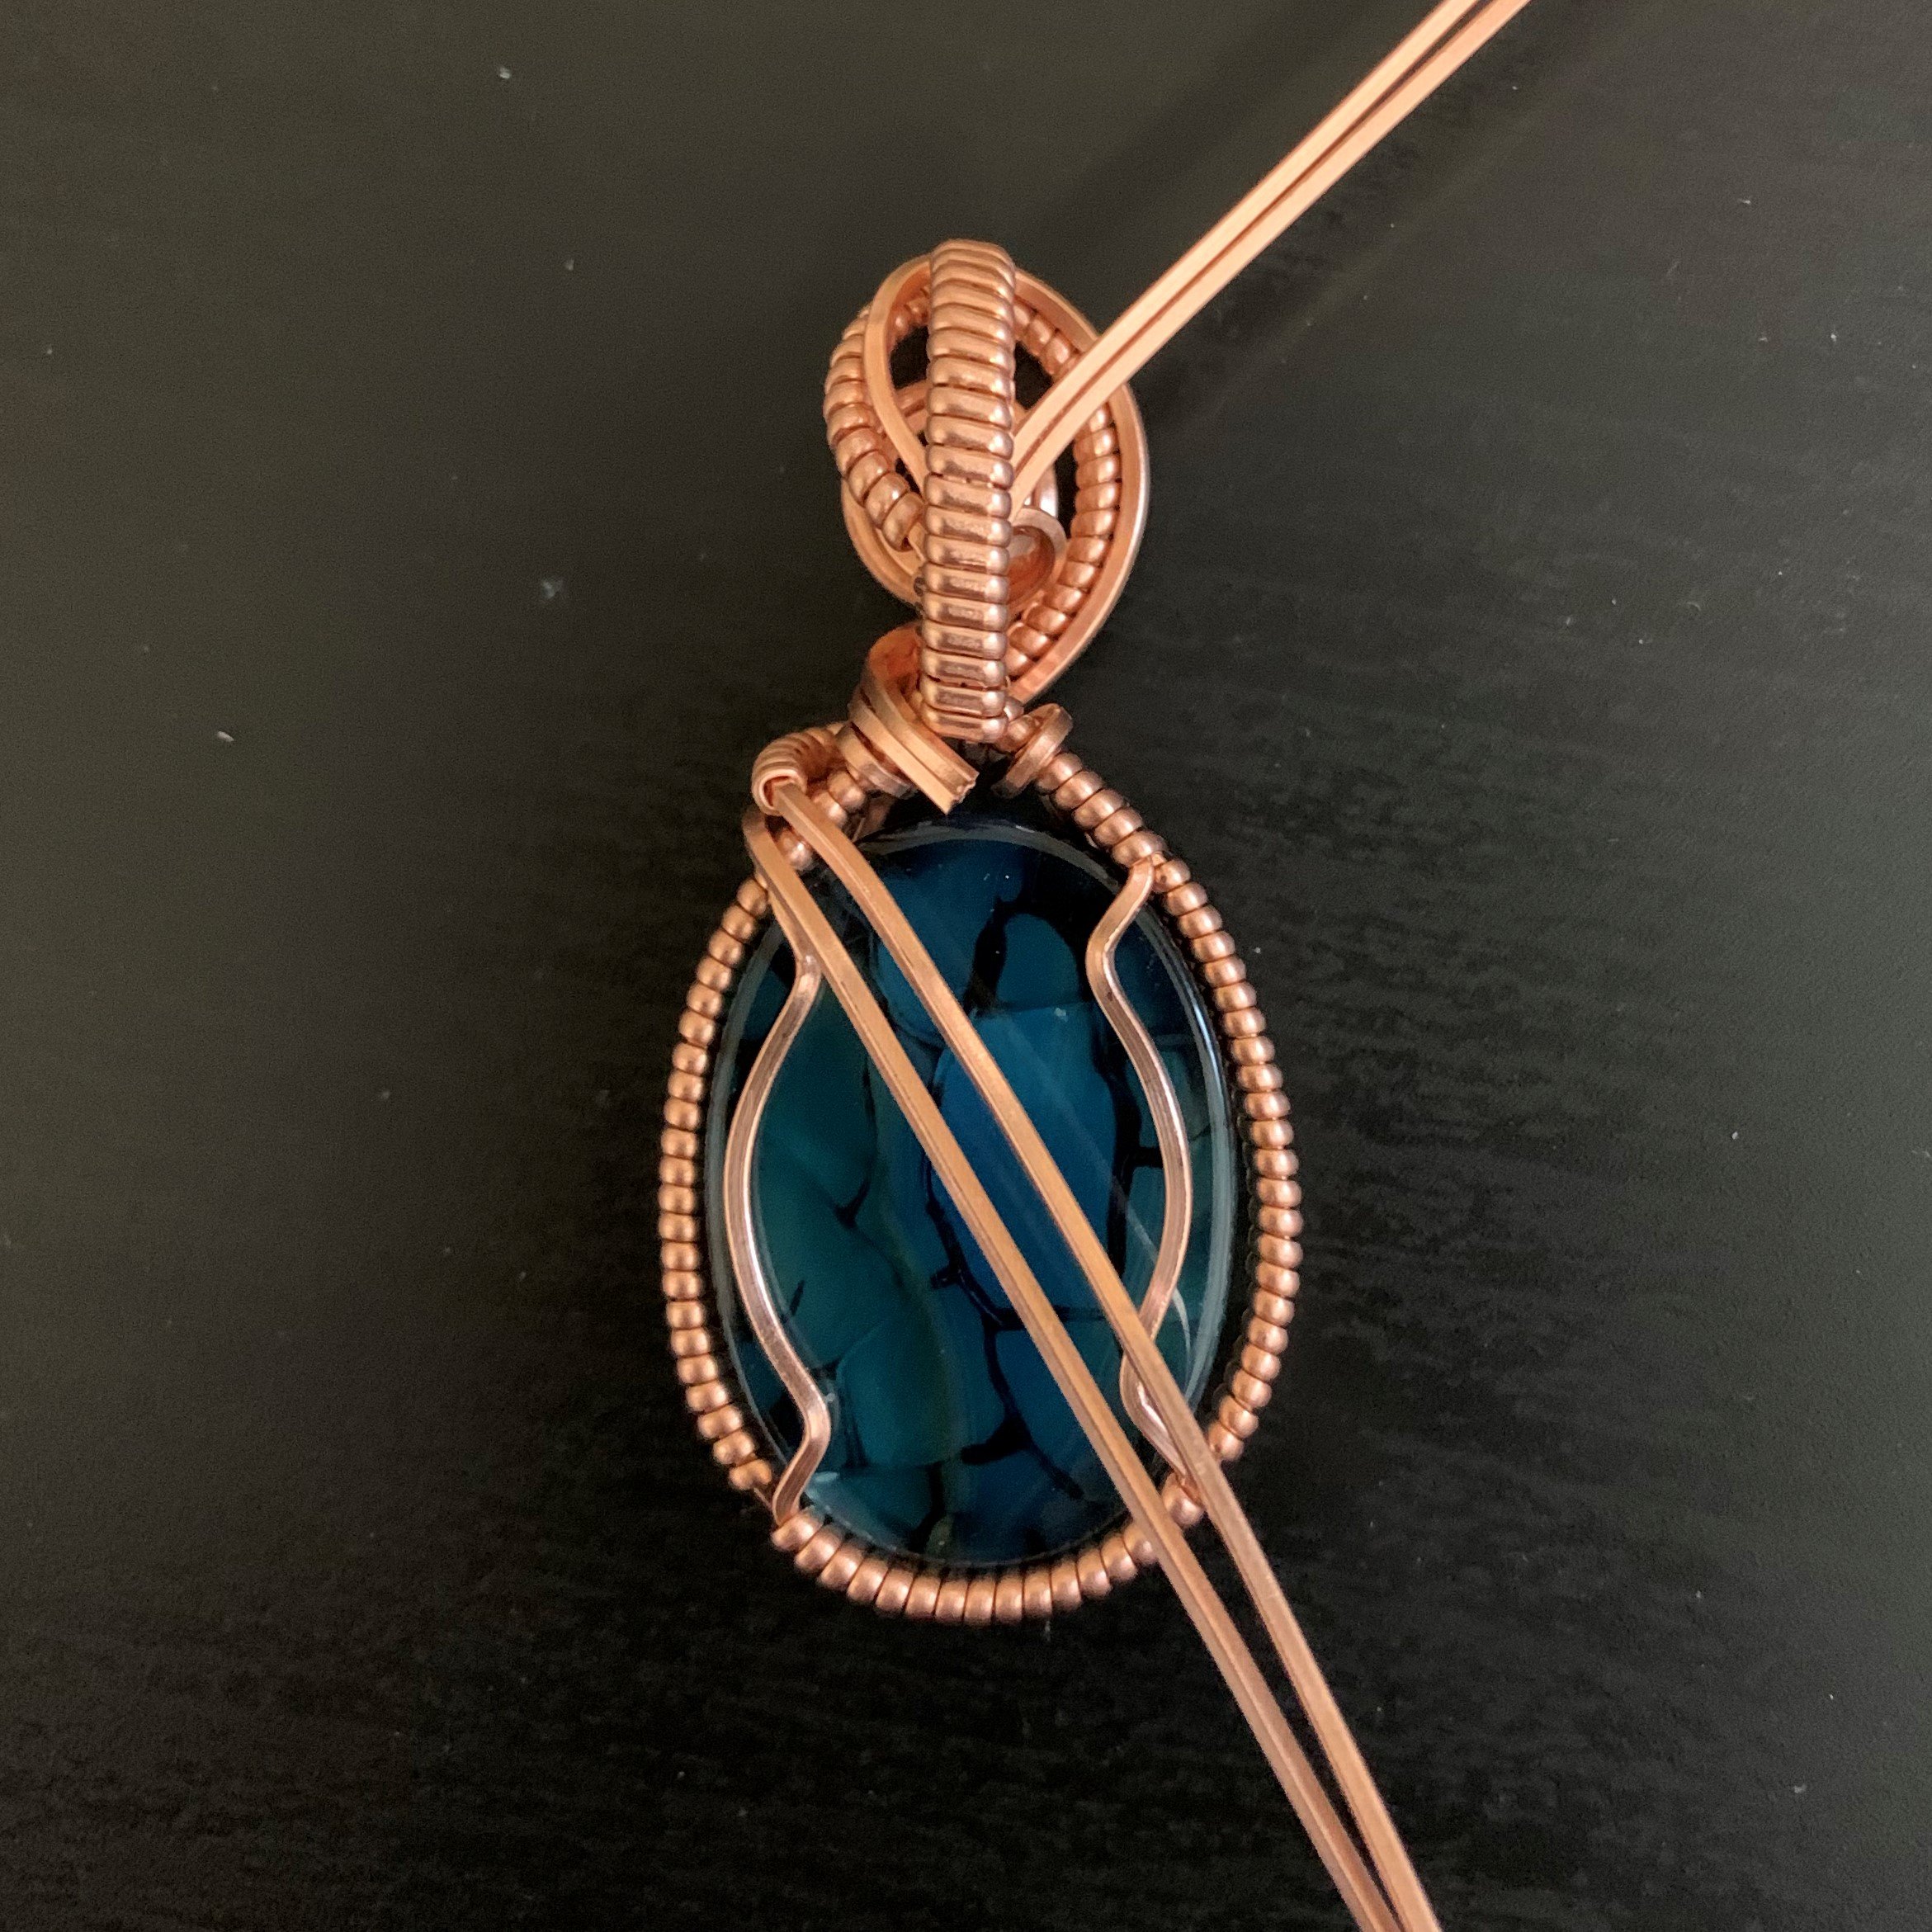
Using your fingers, gently form the bail into a curve that goes up and over top of the separated base wires. The bend that you previously placed in the bail wires should start to point toward the front of the piece, and you should easily be able to guide them through the empty space between the stone and the bail.
From the front of the pendant, pull the bail wires firmly so that the bail is snug against the piece, then separate the bail wires and bend each one outward and around the back of the pendant. Use your flat-nose pliers or needle-nose pliers to tighten and flatten, ensuring a close wrap.
Trim the ends of the bail wires short and tuck them into the space above the top of the stone. Whenever you are wire wrapping, ending a wrap with the wire pointing inward is critical to ensure there are no loose ends to snag clothing or scratch skin. Needle-nose pliers are perfect for getting into small spaces like this to secure wire ends.
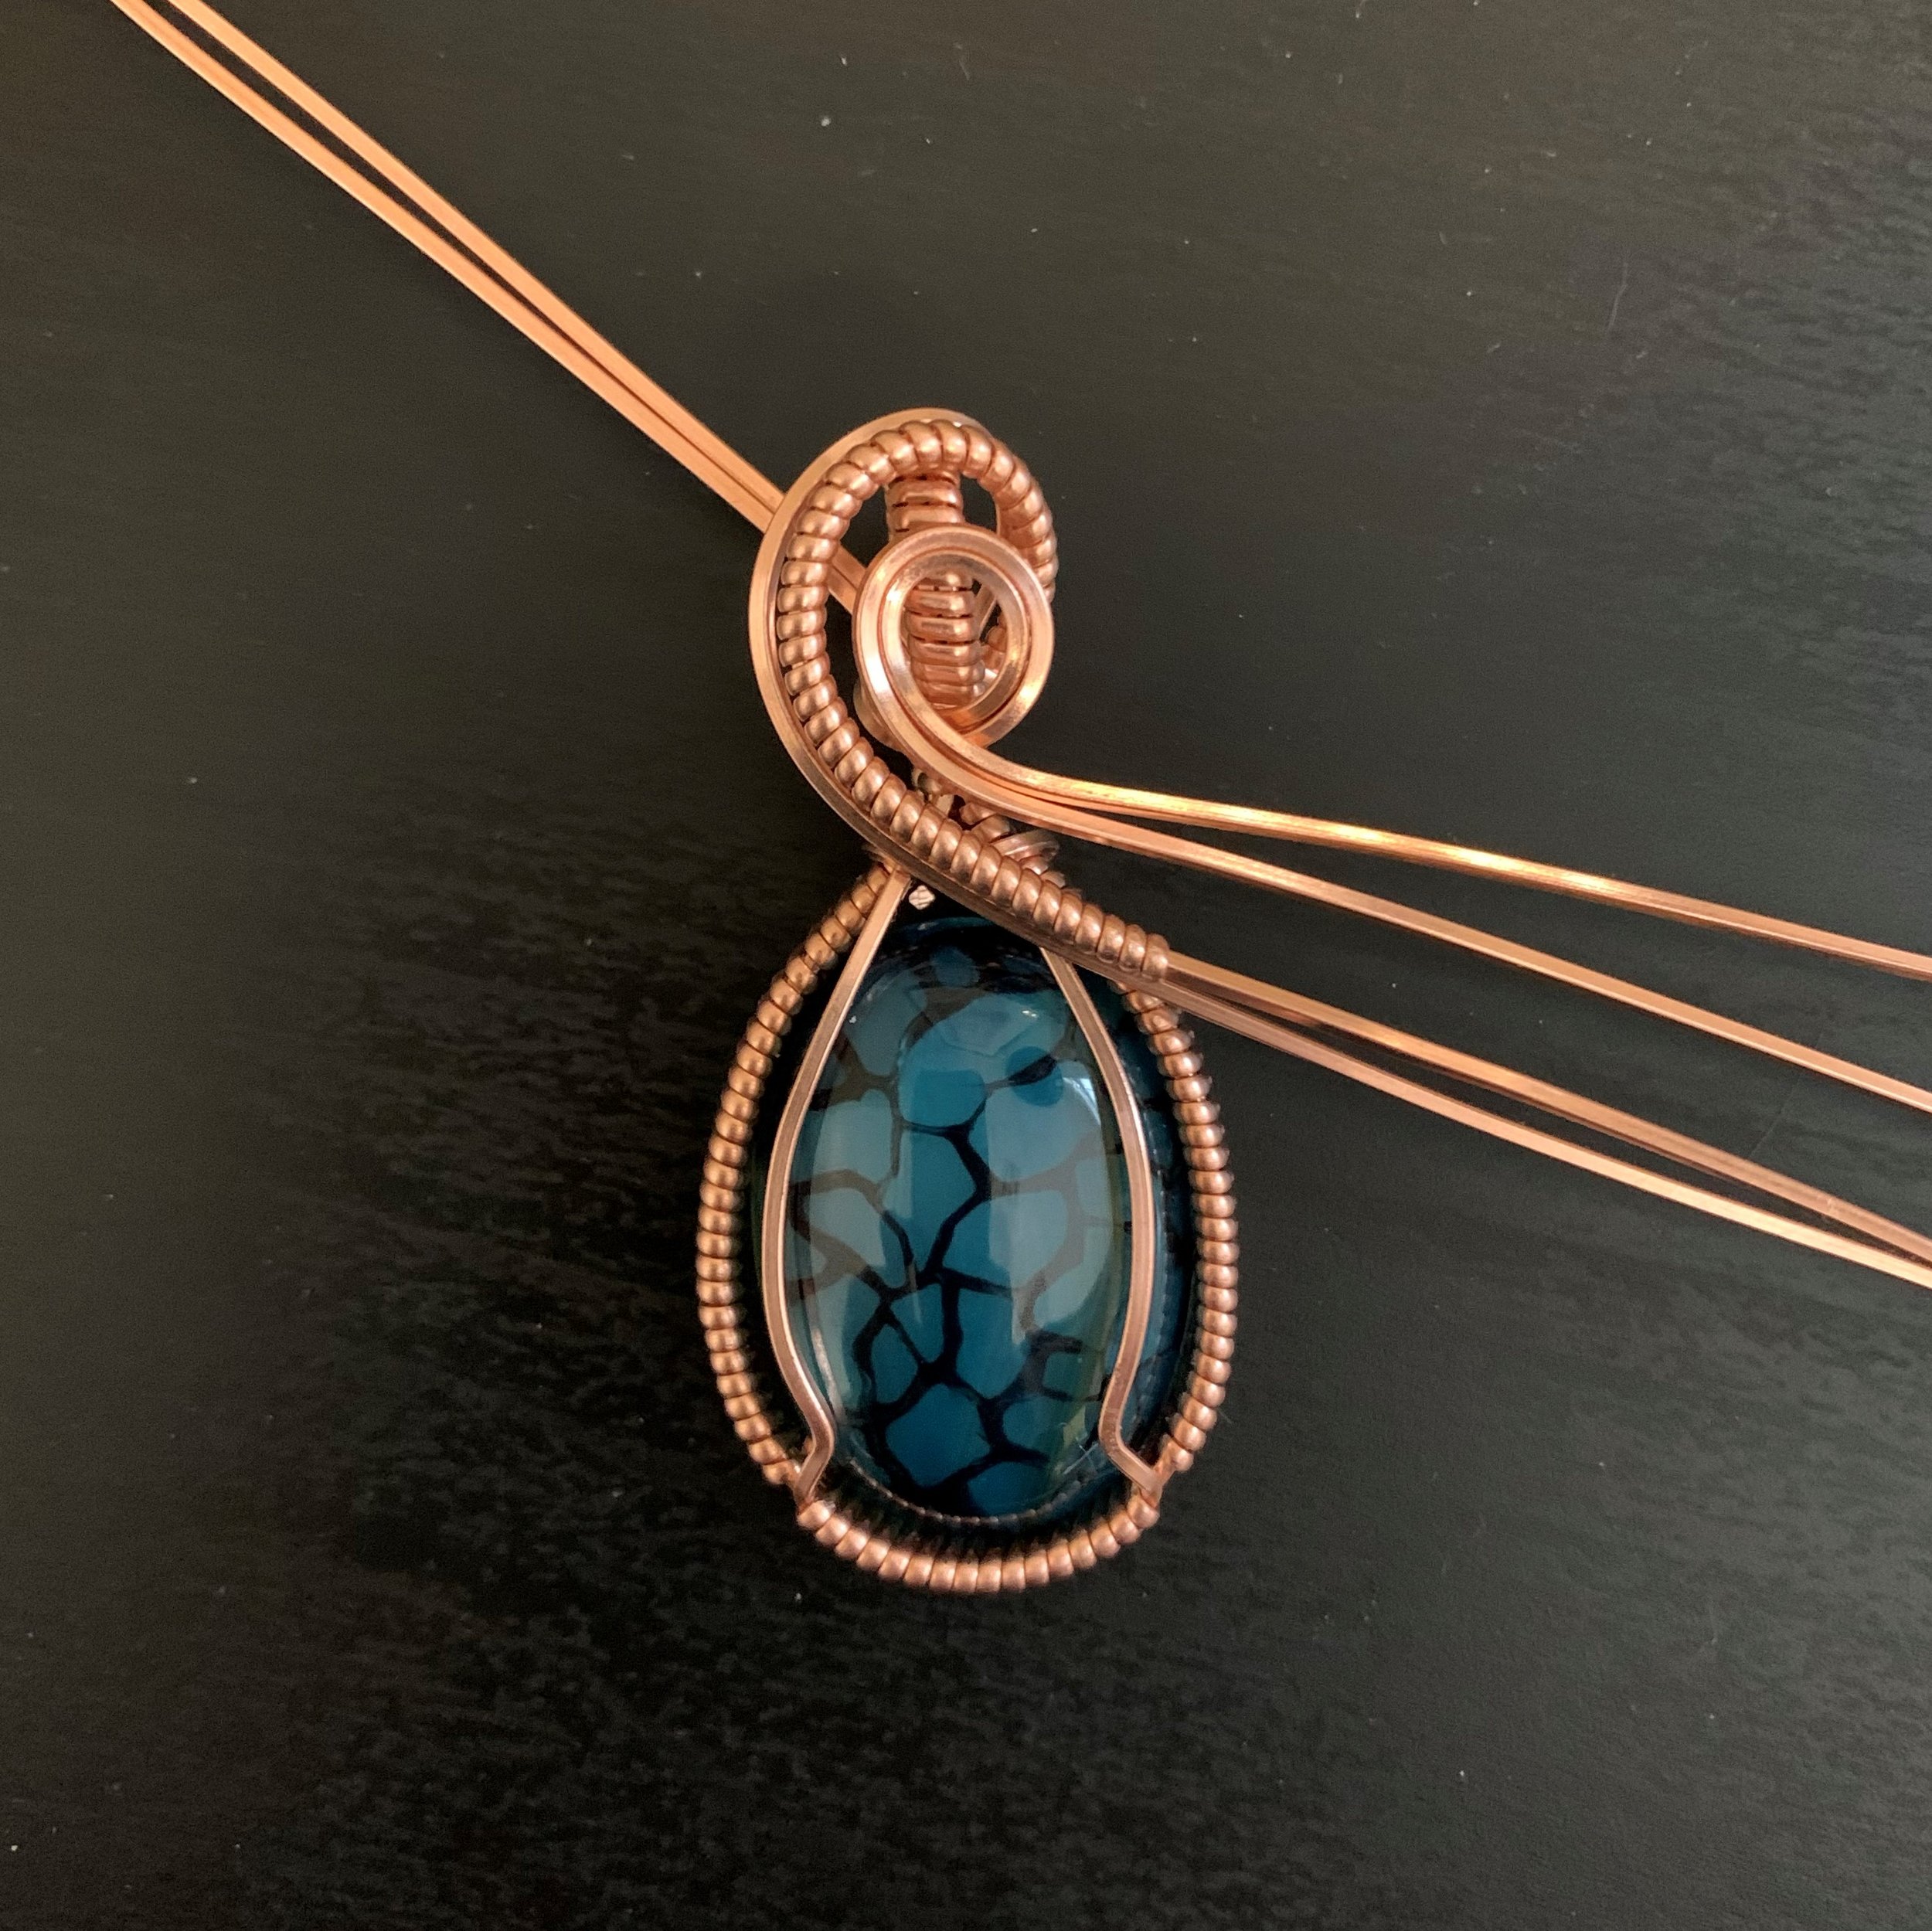
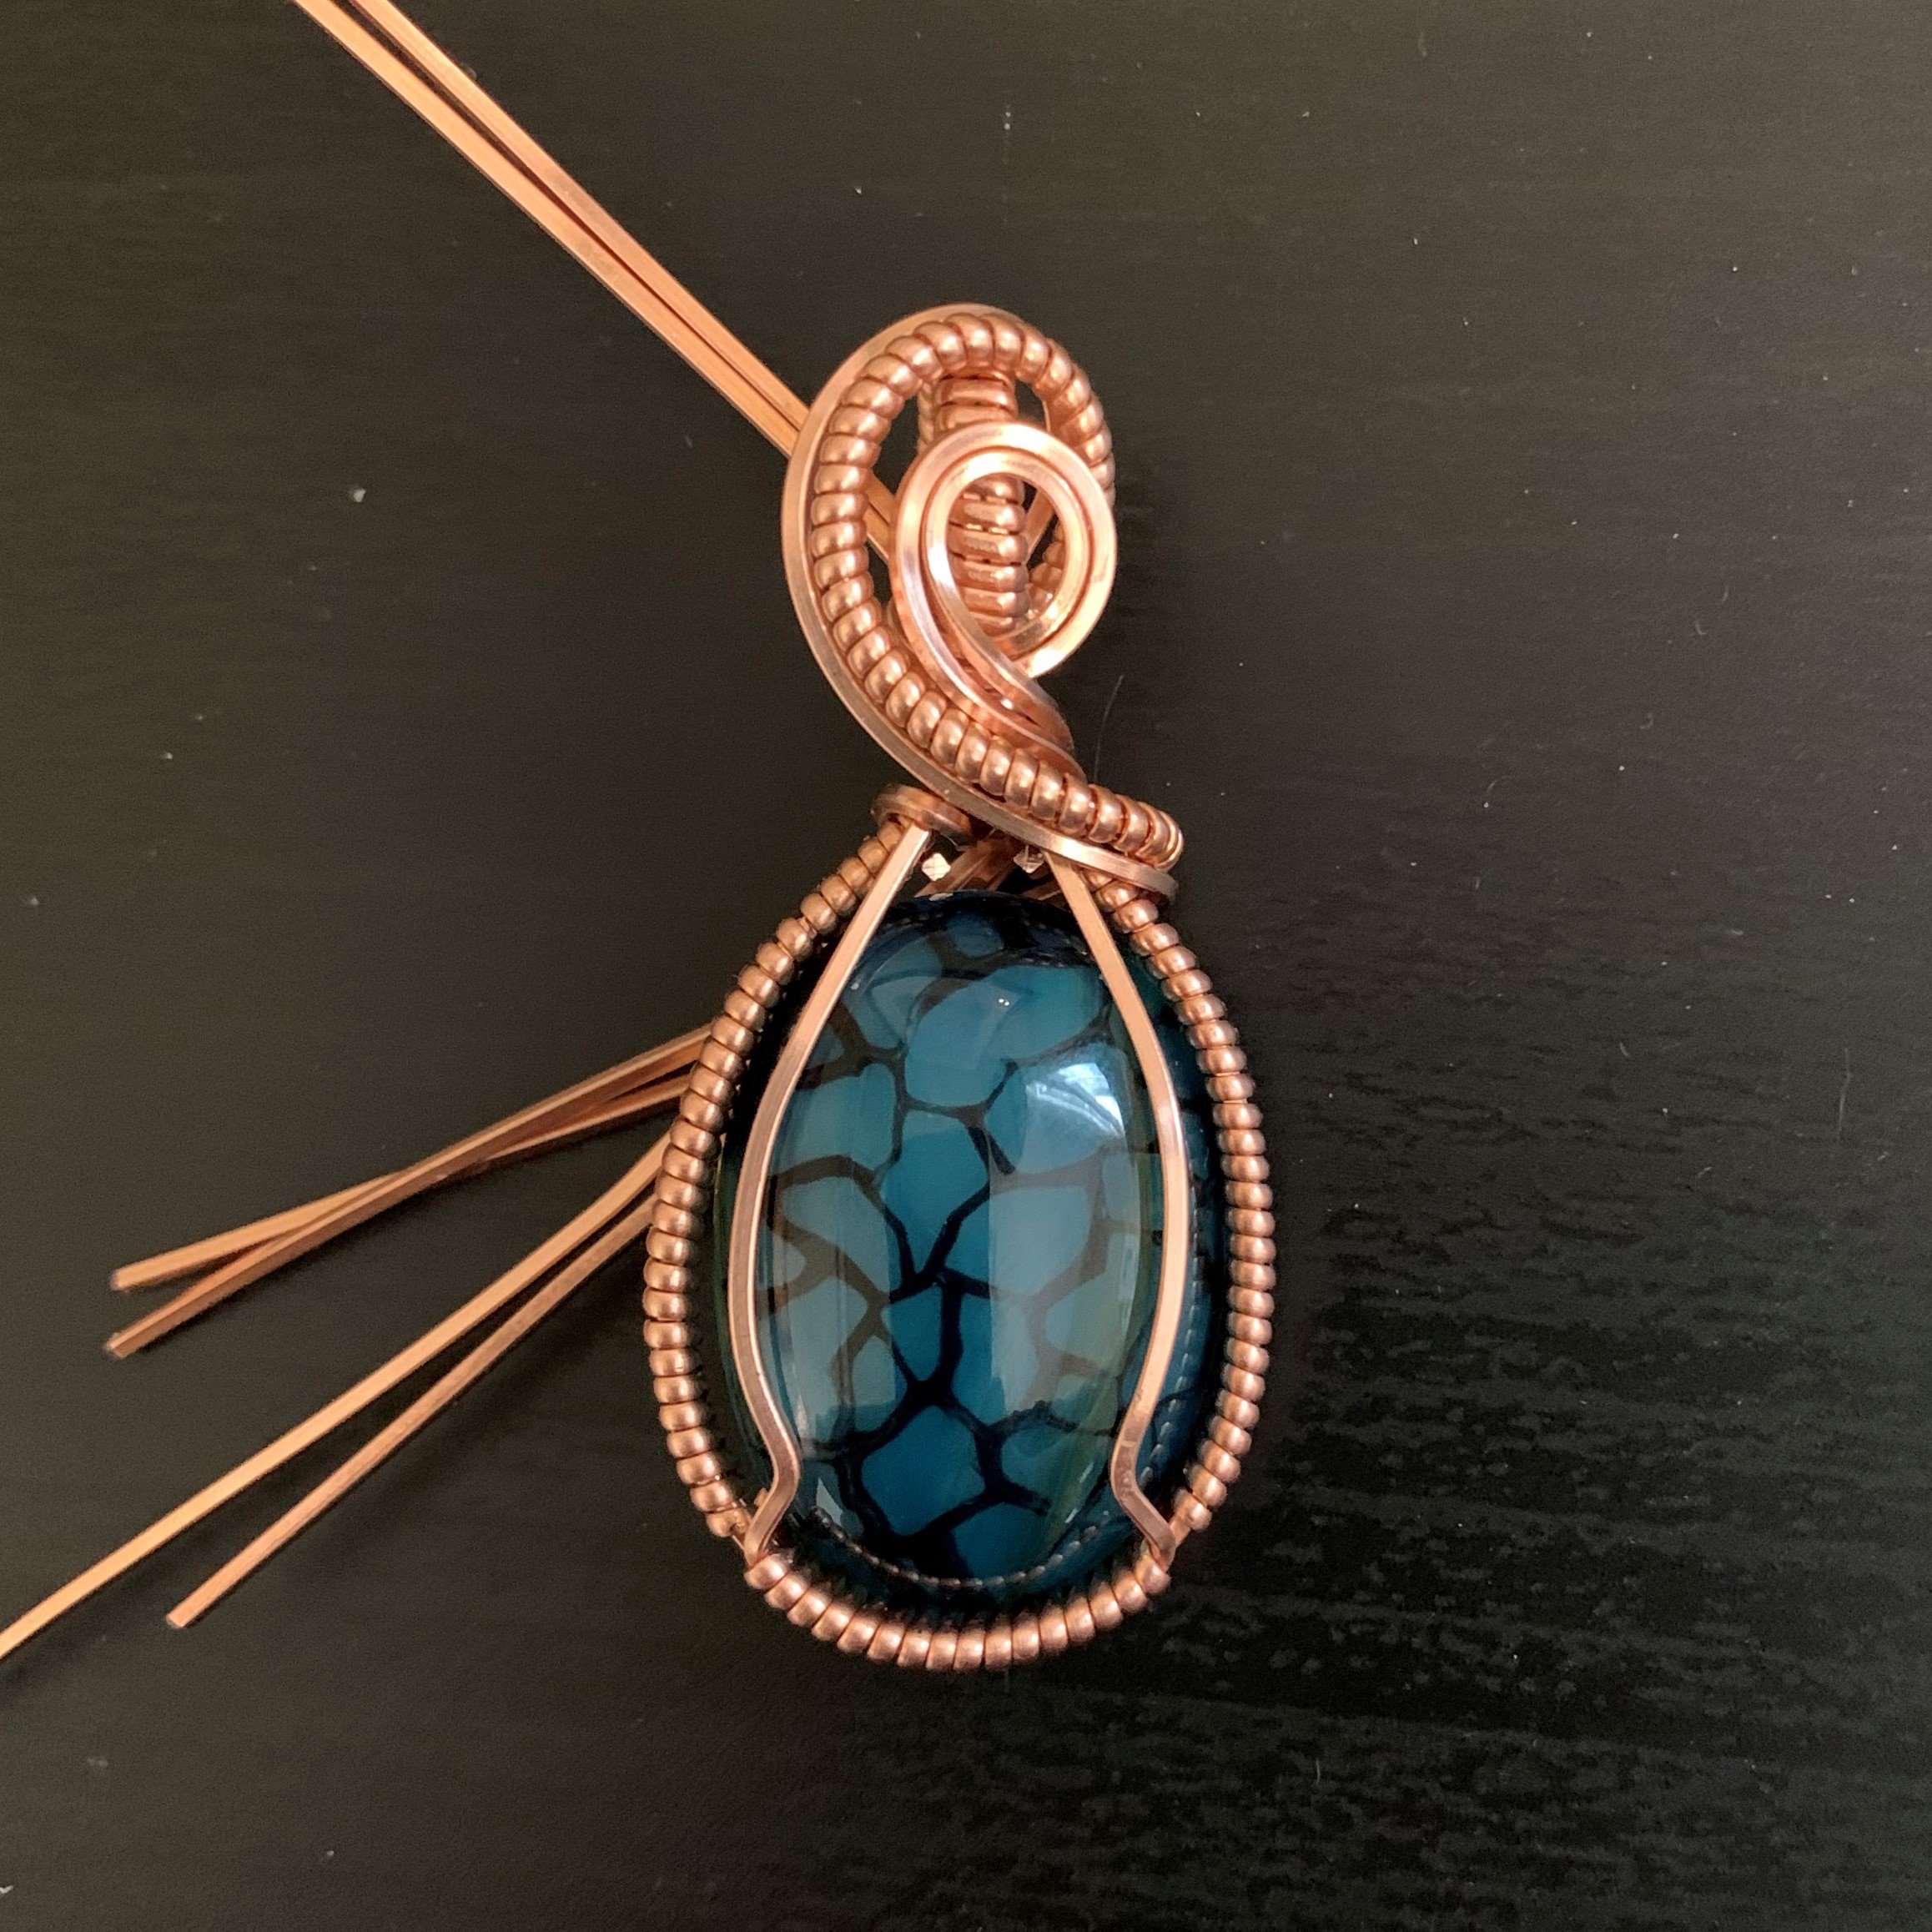
Step Seven: Place the Front Decorative Swirls
Placing swirls is an area where you can take a lot of artistic license. If you are a beginner, you may wish to continue following this tutorial closely, but if you’ve been wrapping for a while and want to try out some other swirl placements, now is the time. The possibilities are endless.
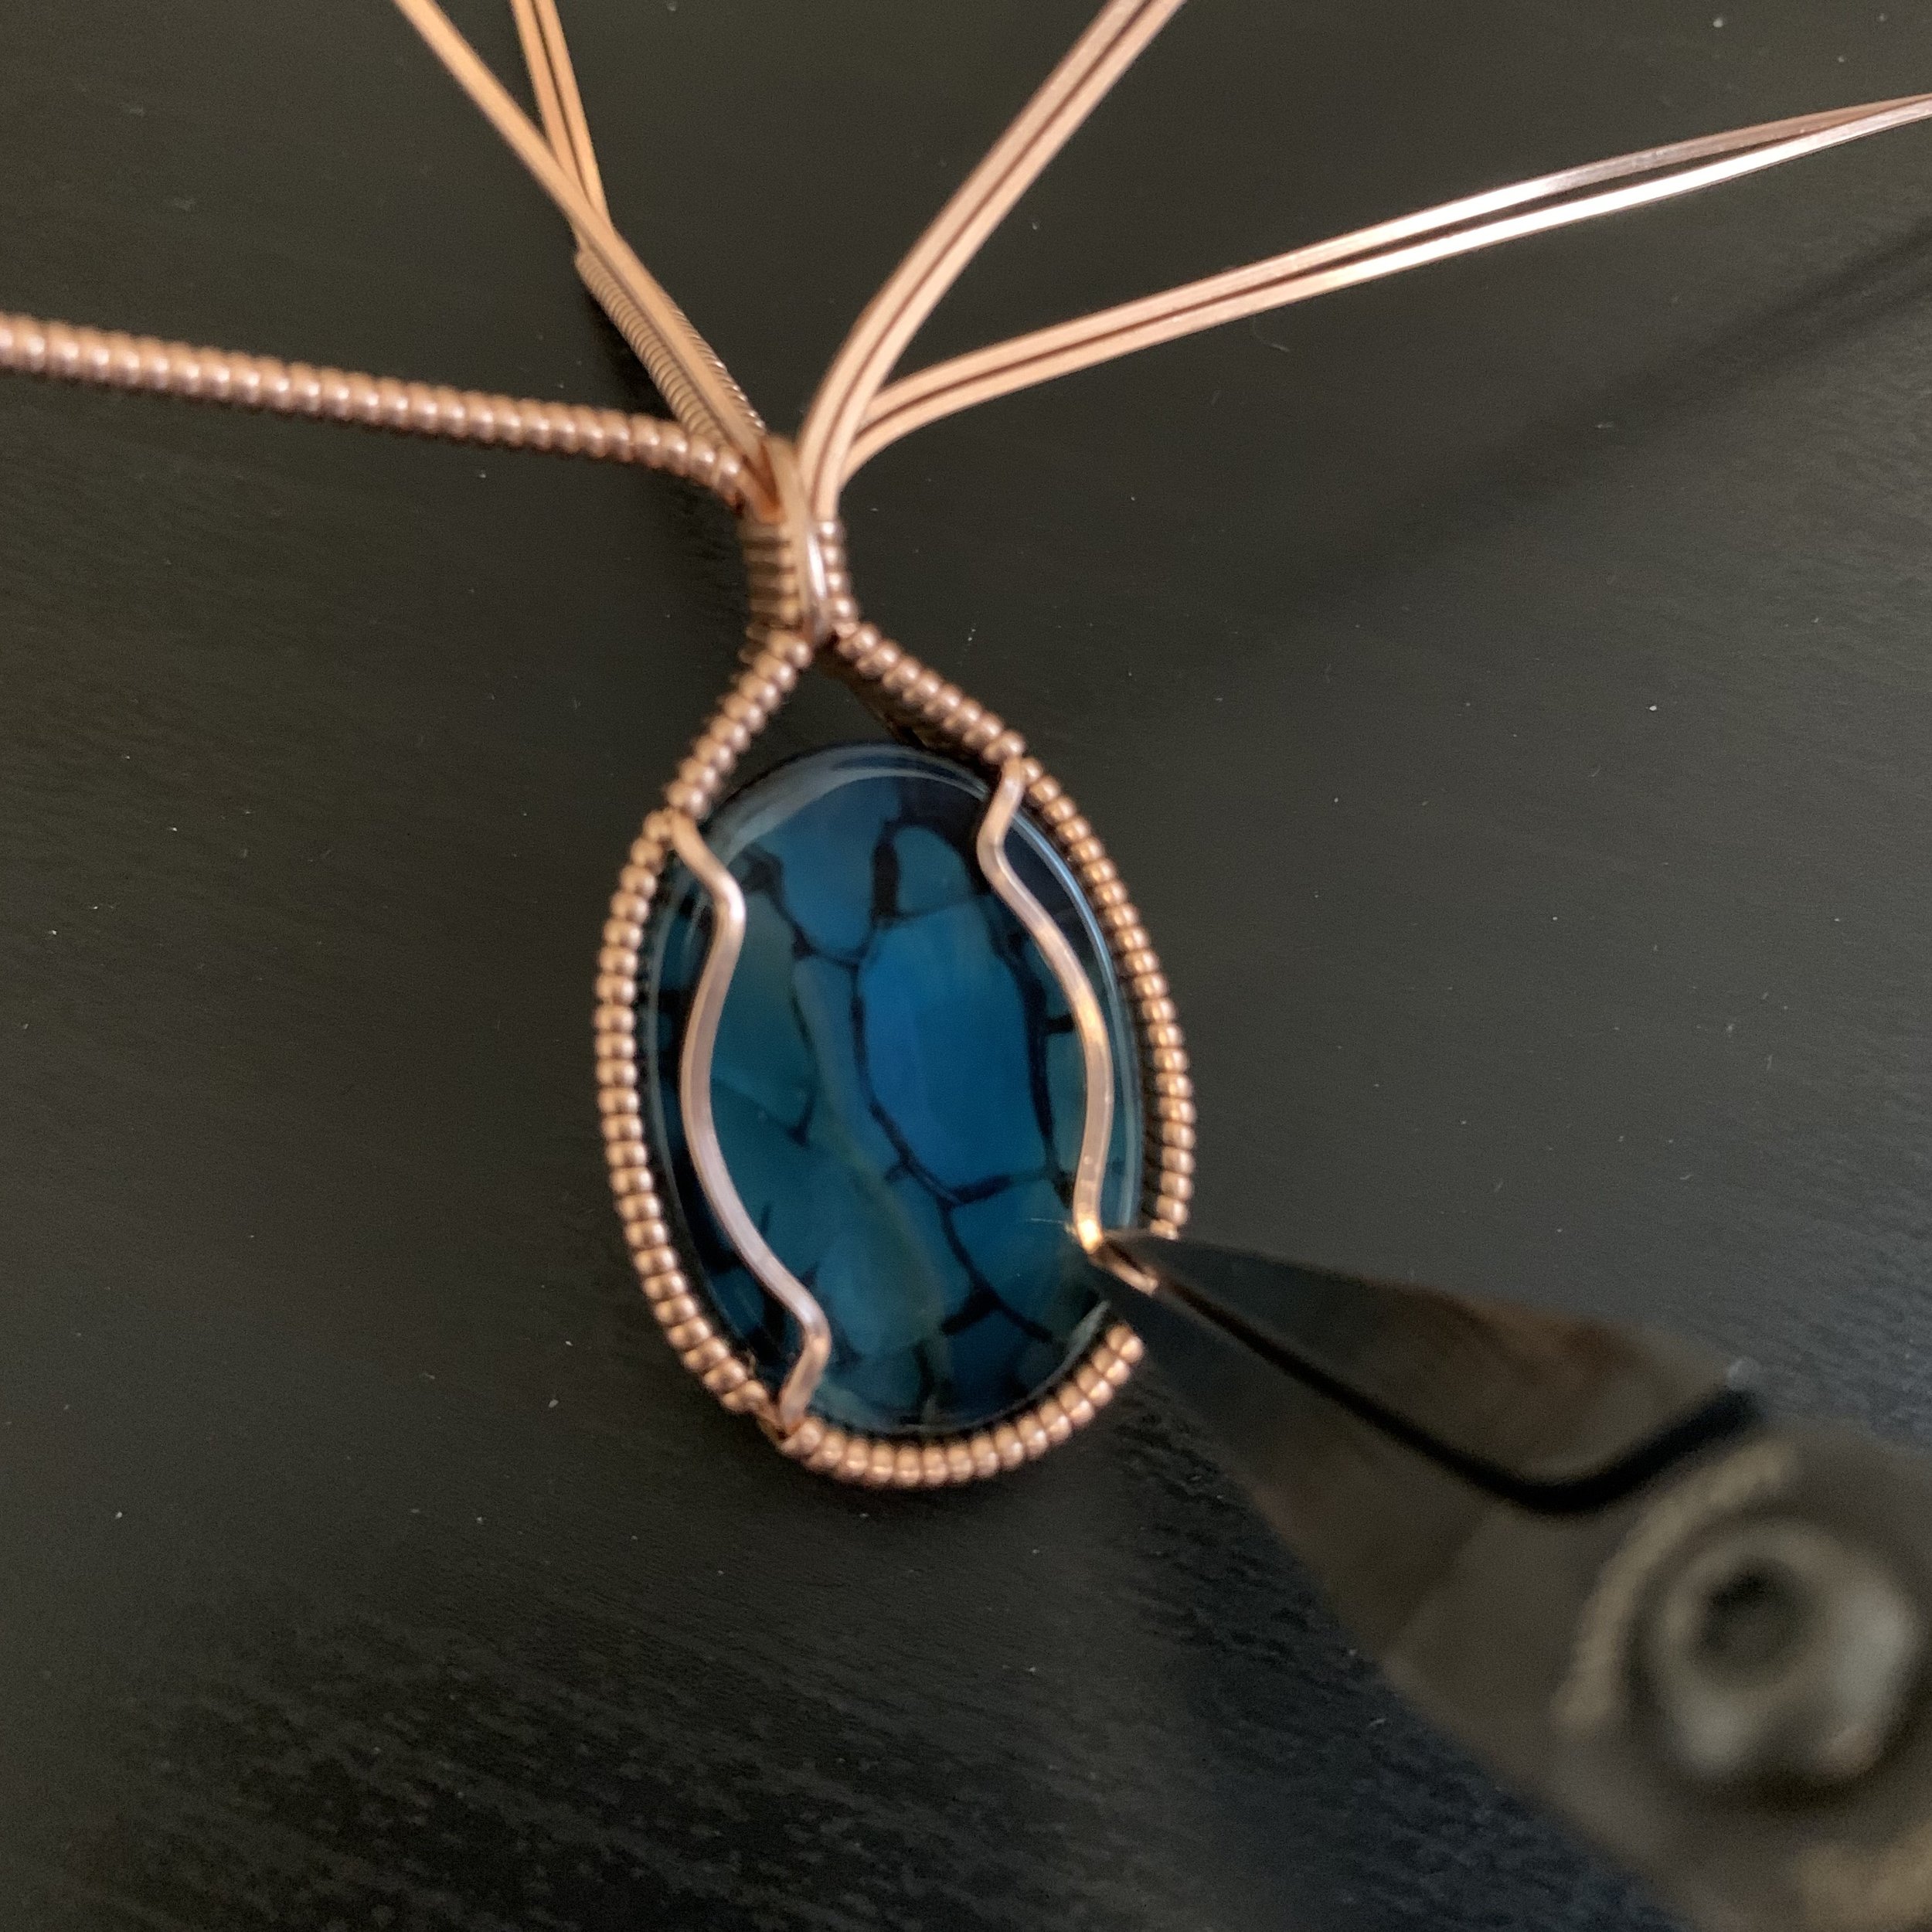
Start by bending the left front two wires forward and down, then swoop up and around to make the first swirl. Your fingers are the best tool for this job.
Now that your middle swirl is placed, bend the right wires up and around it one by one, placing them carefully where you want them.
Arrange your swirl wires as desired, then start to lock them into place by folding the wires around toward the back of the pendant. Since you have placed these wires carefully, try not to pull them around, but rather bend or fold. You don’t want to deform the font of your pendant while you work on the back of it.
Trim and finish the top two wires first, using the same approach you used for the bail wires. Trim the ends long enough that there is a tail that can be tucked in and crimped tightly inside the piece.
Do the same process with the bottom two wires. If your space above the stone isn’t very big, you may want to leave extra tail length in case your ends need to travel up and over the upper wires and end in the middle of the empty space. If you left yourself a little more empty space, then the four wires may be able to sit neatly next to each other.
Step Eight: Place the Back Swirl
You should have one more pair of base wires to place at this point. Instead of swirling on the front side of the bail, bend these wires up and around the back side. This is of course another area where you are able to take creative license and do something a little different if desired.
The natural direction of the wires should now allow you to wrap them around the front of the piece and follow the curve of the right side front setting wire.
Trim the two wires, leaving the outer wire longer than the inner wire by about 5mm. When trimming wires that will be front-facing curls, I like to cut the ends at an angle so the ends of the loops taper slightly rather than being blunt ends.
Loops like these are where I get a lot of mileage out of my bail-making pliers with a 2mm tip and a 3mm tip. The smaller loop is made with the 2mm side and the larger loop is made with the 3mm side. I might then adjust the curve using the tips of standard round-nose pliers, but this is optional. Using the bail-making pliers means I don’t need to pull my wires away from the piece in order to curl them around the middle of my round-nose pliers to get a larger curl, which means cleaner lines and fewer tool marks on the finished piece.
Step Nine: Secure the Front Loops
Using the short length of 22-gauge half-round wire, first wrap it three times around only the right front setting wire.
Next, wrap it around all three wires (setting wire and two loops), securing the front loops in place.
Finally, wrap three more times around just the right front setting wire.
Trim the 22-gauge wrapping wire so that the ends point inward toward the piece, then use your needle-nose pliers to press the ends down.
You are ready to antique, polish or otherwise finish your piece as desired, put it on a chain or cord, and wear it proudly!
