Filigree Heart Pendant
This heart pendant makes a beautiful gift. You can adorn the design with beads or pearls to make it your own.

Tools & Materials
- 60” 26 gauge round wire
- 2x 8” 18 gauge round wire
- Large jump ring (6mm 16 gauge works well)
- Ruler/tape measure & Sharpie
- Ring or other clamp
- Cutters & nylon-tipped pliers
- Flat-nose & round-nose pliers
- Ring mandrel or dowel for shaping the heart.
- (Optional) steel block and ball peen hammer
Step One: Shape the First Point
Measure and mark 3” from the left side of both 8” wires.
Make a 90-degree bend in the first wire, using flat-nose pliers.
For the second wire, bend the wire all the way in half, pressing the two wires together fully.
(Optional step) Use a steel block and ball-peen hammer to flatten the folded end of the second wire. This helps provide a finished look in the final piece.
Un-bend the second wire so that it fits nicely under the first wire’s 90-degree bend. You can decide how much of a point you leave in the second wire, depending on the shape you want for your finished heart.


Step Two: Start the Weave
Bend the 26-gauge weaving wire so that 20” is on the left and 40” is on the right. You will need more weaving wire on the right side of the heart than on the left. Wrap six times around the first heart wire, to the left of the 90-degree bend.
Continue by wrapping the weaving wire six times around the other side of the 90-degree bend.
Place the second wire under the first, ready to start integrating it into the weave.
Start the weave on both sides, following a pattern of two wraps around both wires, then three wraps around the inner (second) wire. This pattern of two, then three wraps make up one set of five wraps.
Use a ring clamp or other clamp of choice to hold the wires while you weave. This will save your fingers and help you create a more even weave.
Weave 18 sets on the right side of the bend and 12 sets on the left side. Use your nylon-tipped pliers to tighten and flatten your weave as you go.


Step Three: Shape the Heart
Use the smallest end of a ring mandrel to shape the right side of the heart. Do this slowly, being careful to keep the inner and outer heart wires next to each other. Use your nylon-tipped pliers to help with this, but your fingers are your best primary tool for shaping at this step.
Bend the inner heart wire 90 degrees, starting the bottom point of the heart.
Add three more wraps to the inner wire.
Bend the outer heart wire 90 degrees, placing the flat-nose pliers somewhat below the end of the weave, leaving space for the bottom point to be created. Once this bend is placed, the two 18-gauge wires should once again be parallel.
Continue the weave up the bottom left side of the heart with five additional weave sets.


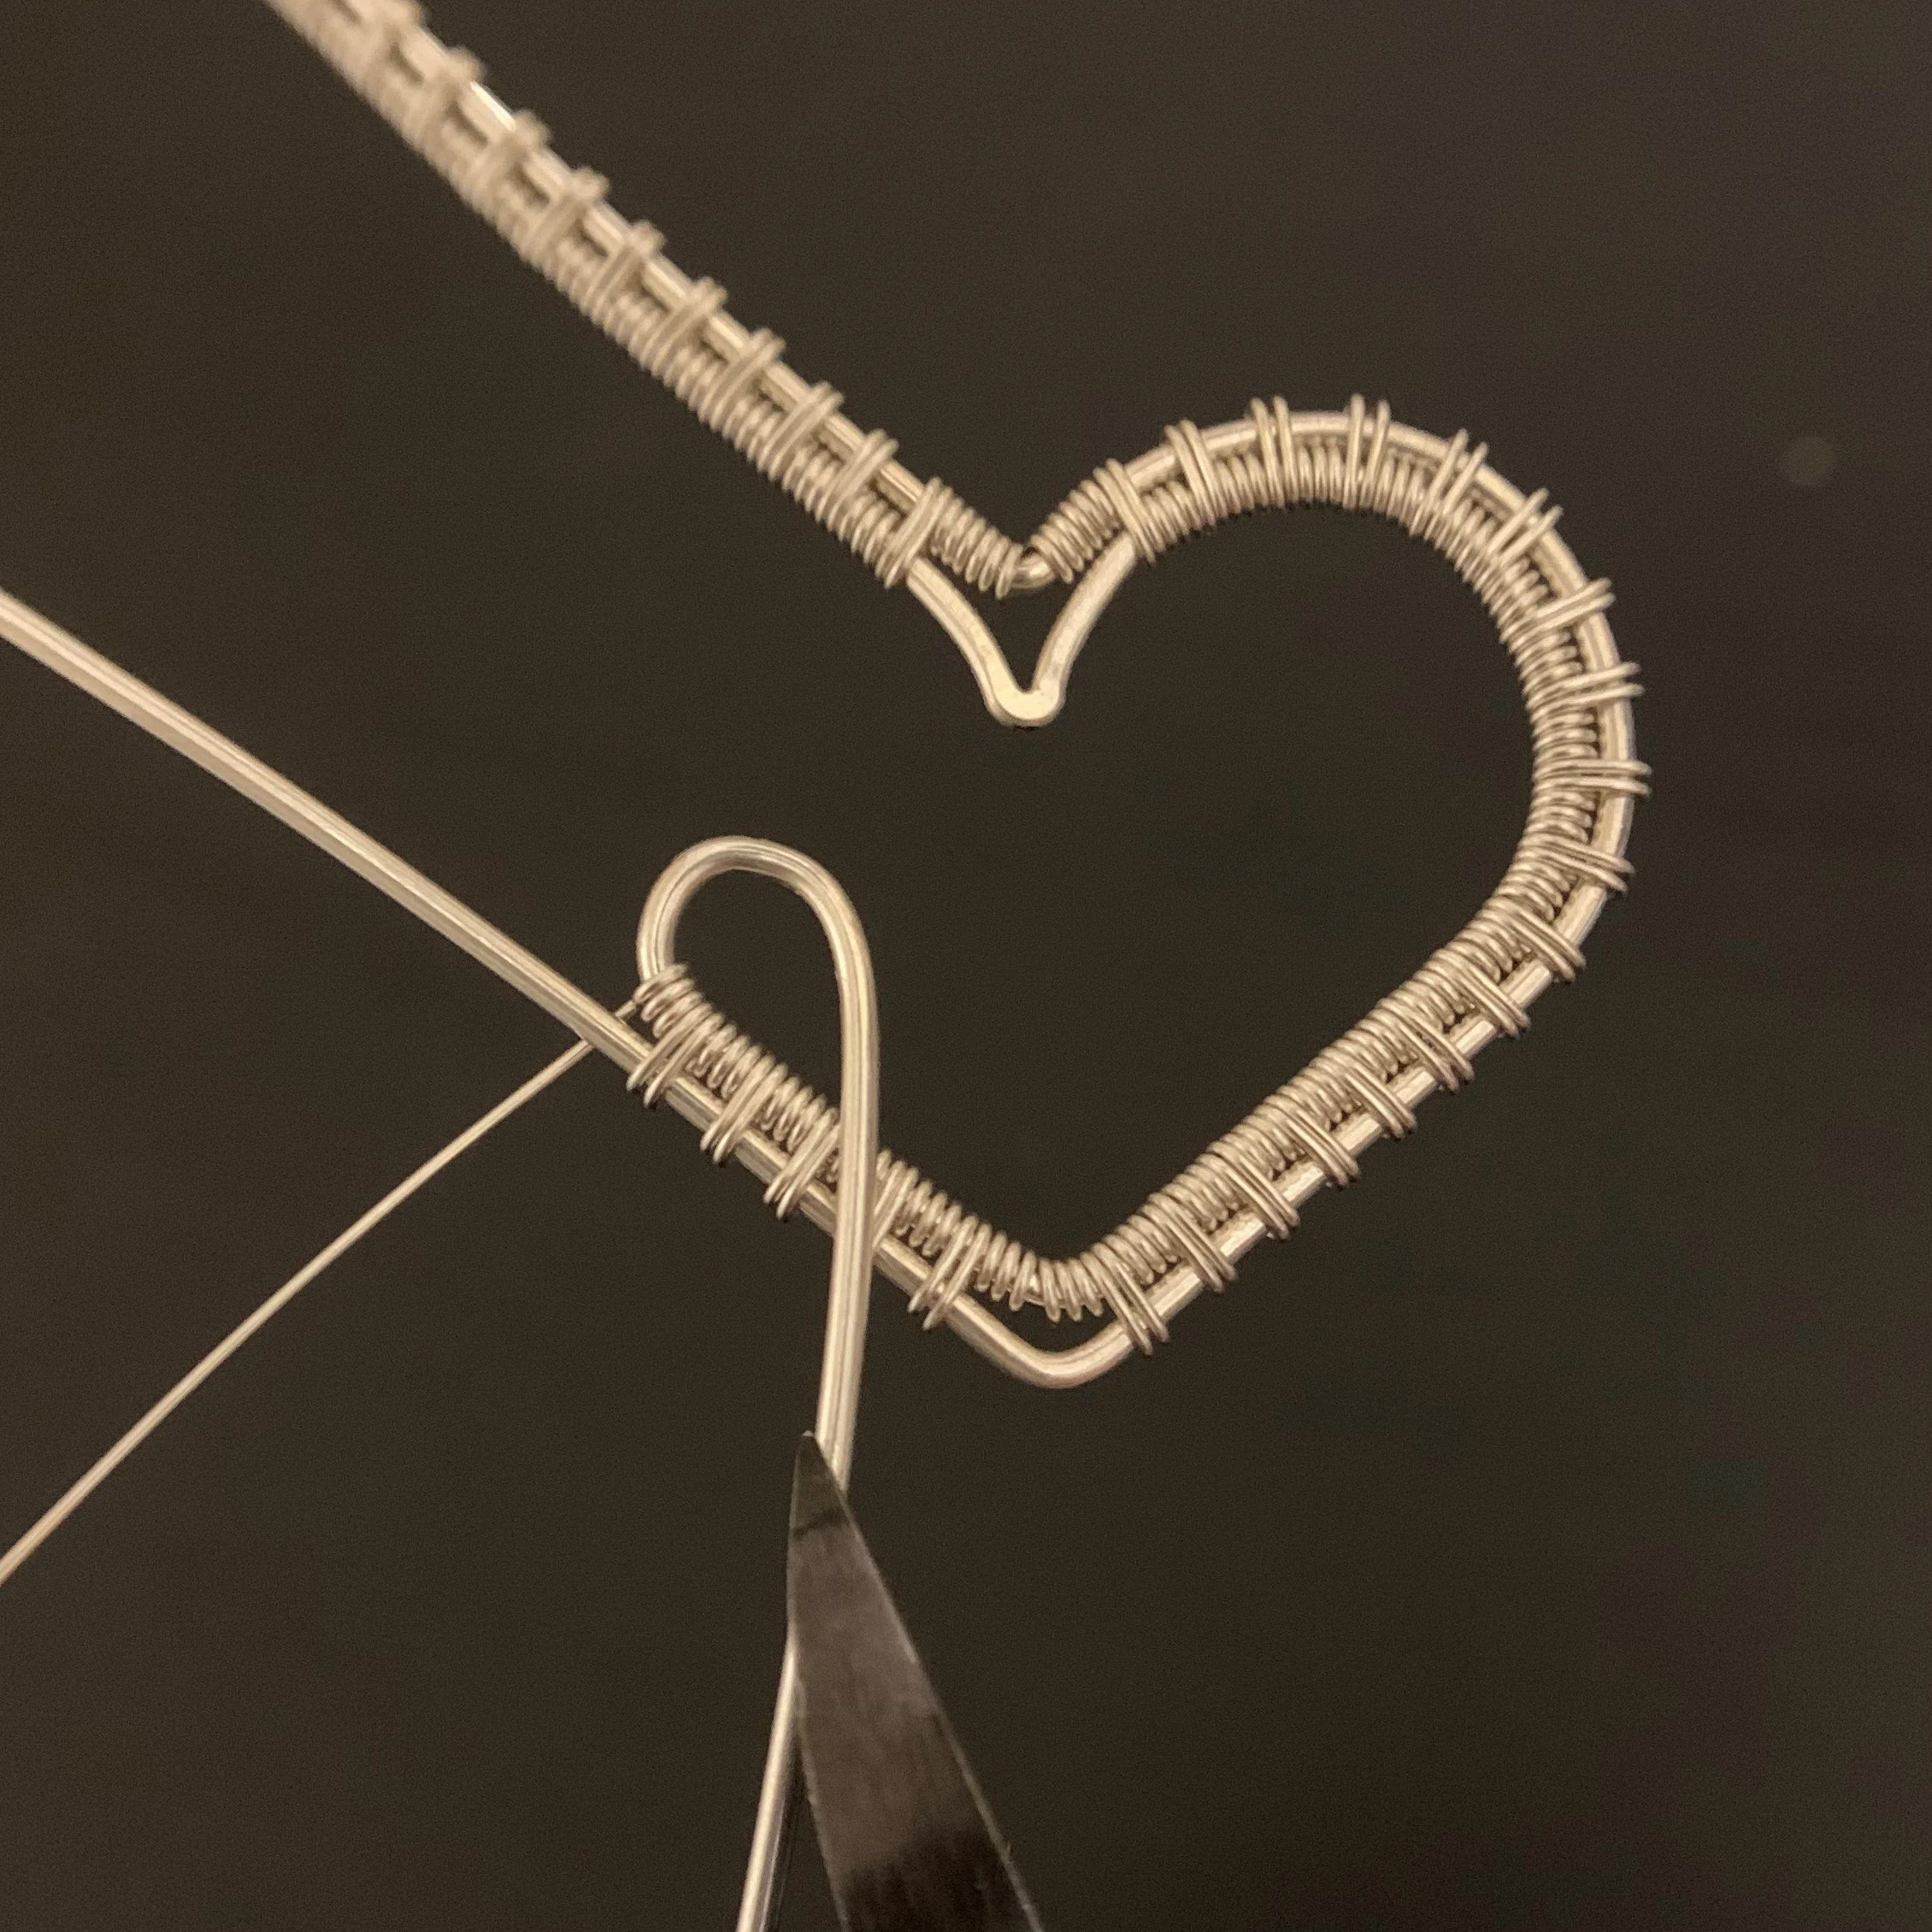
Step Four: Finish the Heart Shape
Bend the inner wire of the bottom side around your round-nose pliers, creating about a 3mm curve.
Cut the wire about 1cm past the curve you just created. If you cut the wire at an angle rather than a blunt end, then your end curls will look more finished and elegant.
Make a curl in the end of this wire that is roughly 2mm diameter.
Shape the top left side of the heart around the small end of a ring mandrel, just like you did for the right side. These wires should go on top of the bottom wires.


Step Five: Attach the Top to the Bottom
The weaving wire from the top of the heart should be used to wrap around the curled wire from the bottom side. You can continue this wrap for as few as 5 wraps to secure it or all the way down the curl, depending on your desired look. When you cut this wire, ensure the end is on the top of the pendant so that it doesn’t poke the wearer or get snagged on clothing from the back.
The bottom weaving wire is going to be wrapped twice around all wires to continue the 2-3-2 pattern of the rest of the weave.
The bottom weaving wire should end up on the back side of the pendant.
Wrap the bottom weaving wire around the remaining bottom wire, again at least 5 times but as many times as you want for the effect you wish to achieve. When cutting off this wire, finish it toward the front of the pendant.


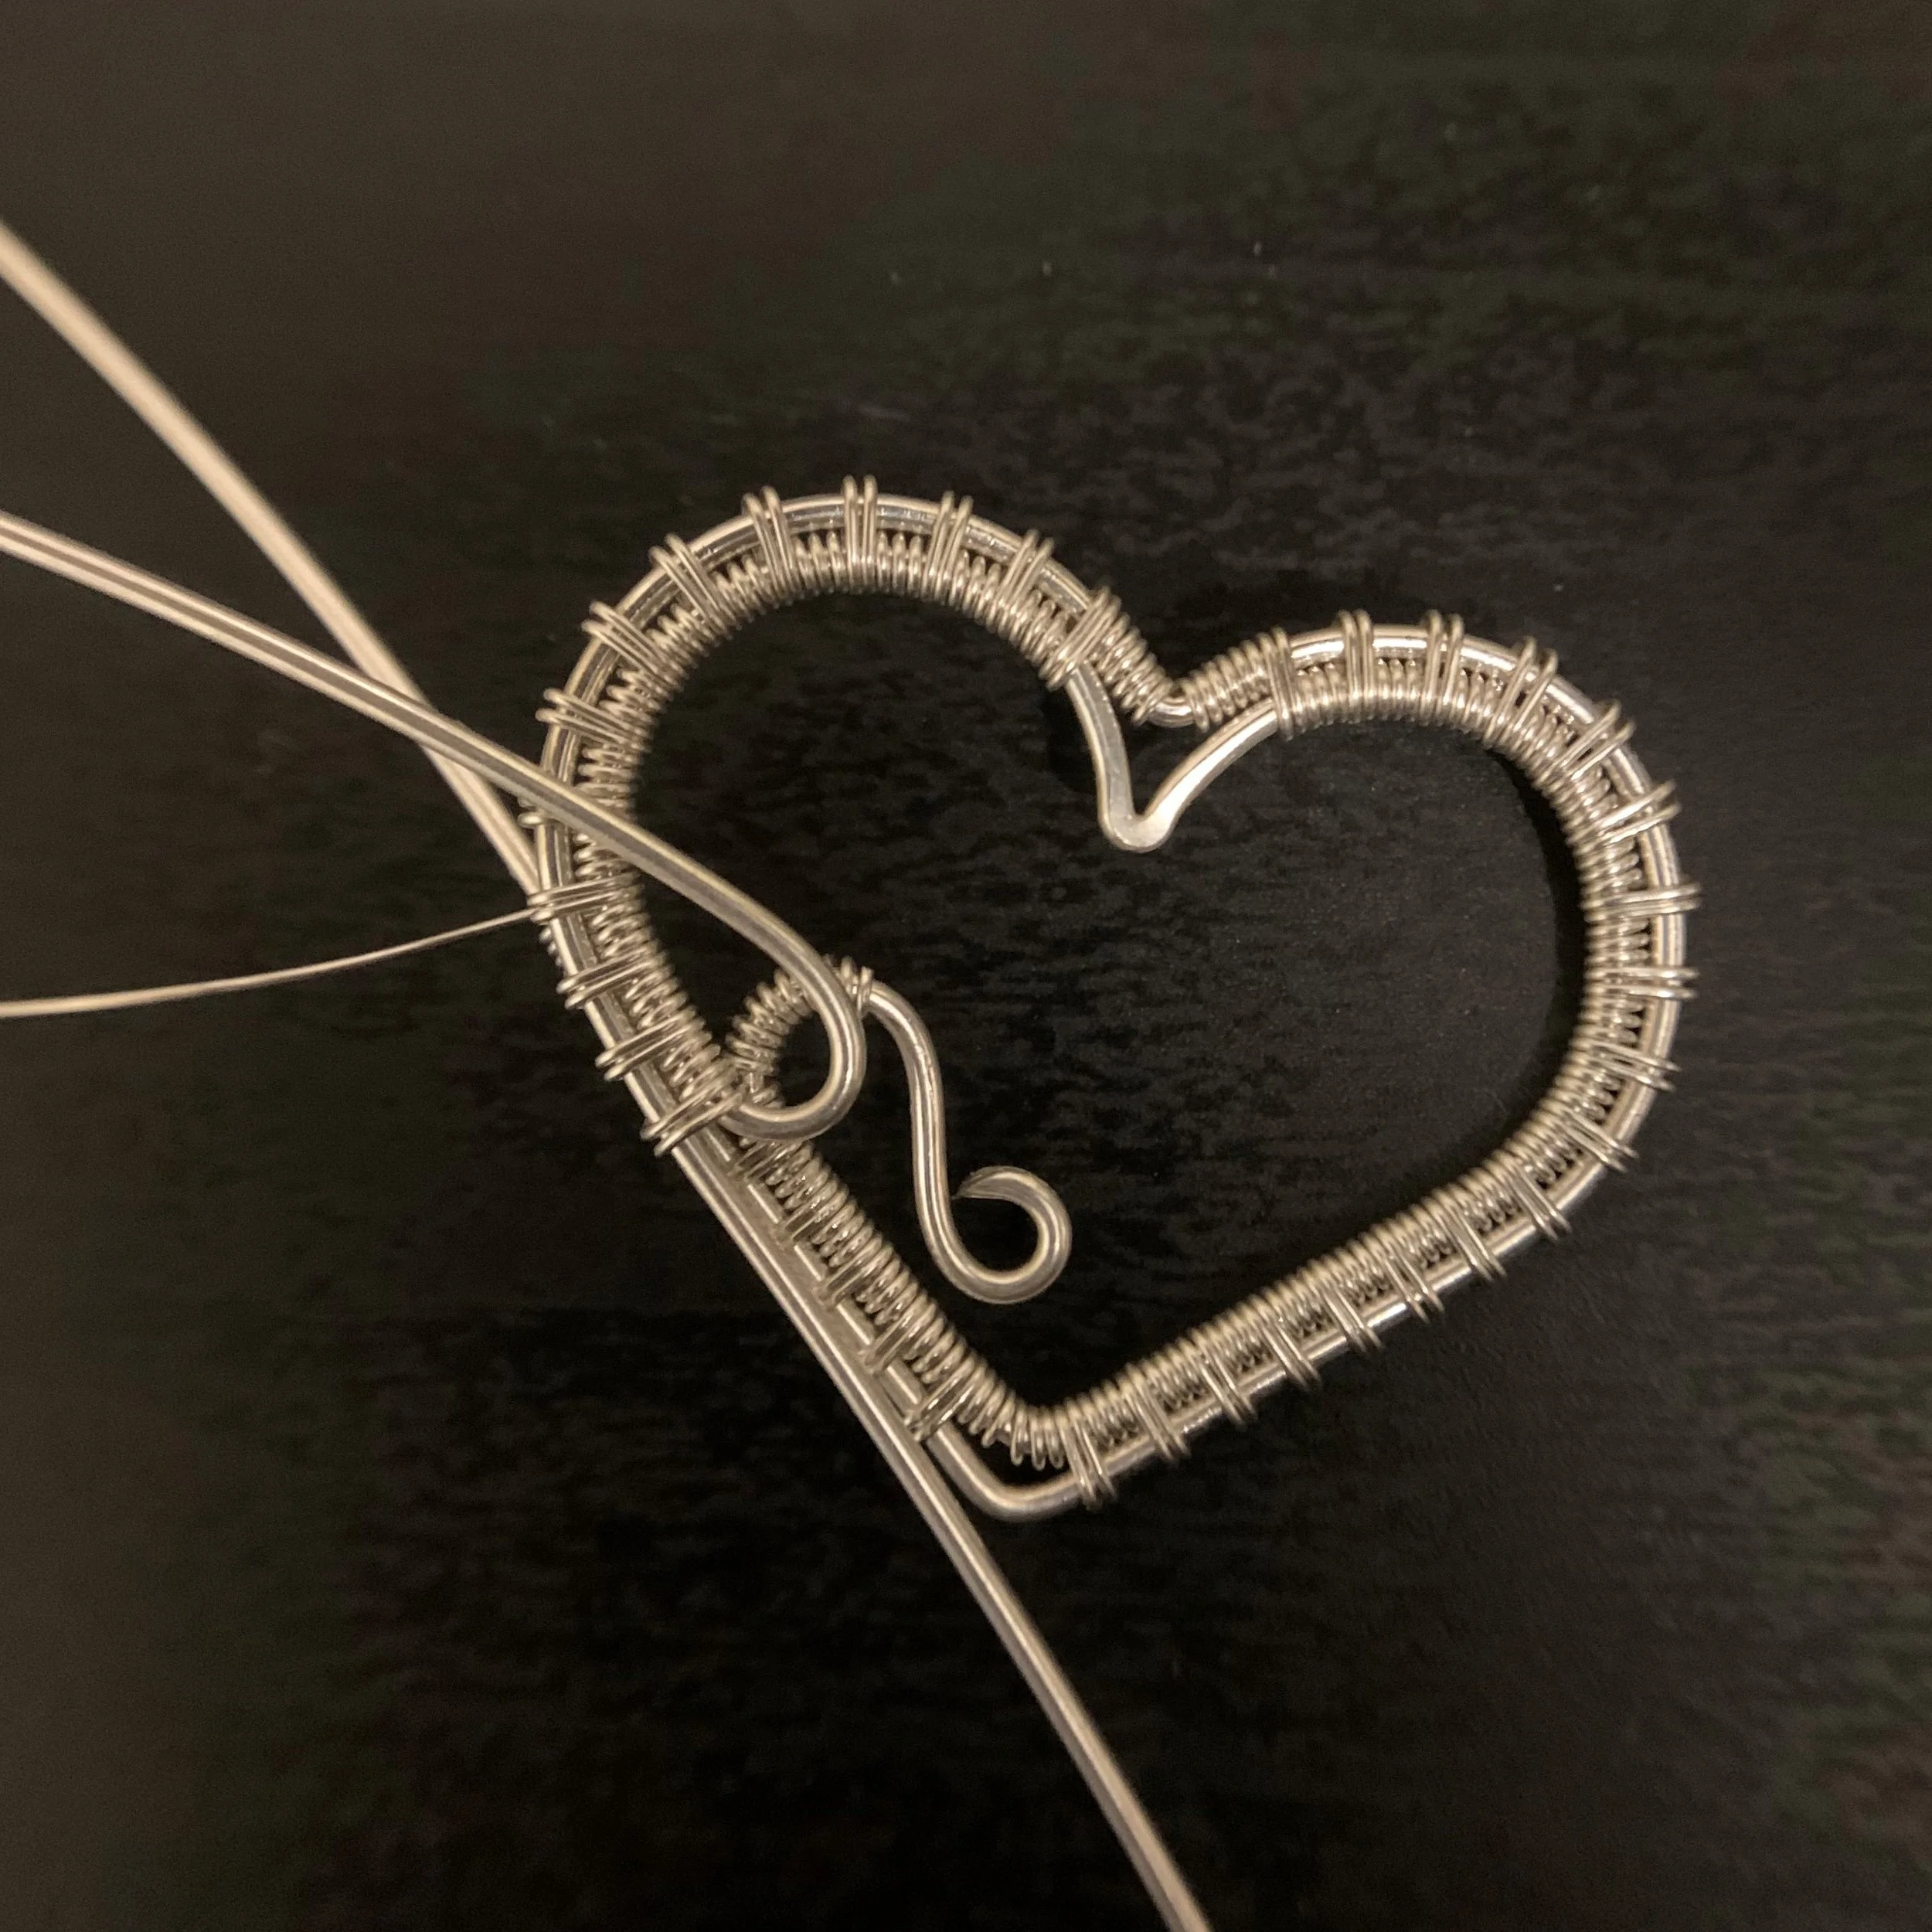
Step Six: Finish the Filigree
Bend the inner top wire into an approximately 2-3mm curve using your fingers and round-nose pliers.
Cut this wire about 1cm past the end of the curve.
Curl the end using your round-nose pliers.
Bend the remaining outer wire from the upper side of the heart inward, toward the middle of the heart shape. Trim it to approximately 2cm length.
Make a 3mm curl in the end of this wire, then tuck the curl behind the first lower curl.
Flip the pendant over and do the same thing to the lower outer wire: bend it inward then trim it to approx. 2cm.
Make the same 3mm curl in the end of this wire, then tuck it behind the first upper curl.
Finish the pendant by adding the jump ring and adding a chain.